Field Templates
A appointmentAppointmentA task scheduled to a resource for a specific period - the scheduled instance you see on the planning board. coming in from the back office arrives with raw data: a job number, a task description, a customer name. What the planner actually wants to see on the appointment is something more useful - a subject line and a body that summarises what this booking is about at a glance. Field templatesField templateA rule that composes an appointment subject and body from job and task fields, so the text reads the way planners want. are how you compose that view dynamically, by stitching together the raw data fields with literal text into a readable string.
The result is a Dime.Scheduler that speaks the customer's language without touching the back office. The template stays on Dime.Scheduler's side; the back office keeps sending its standard data; the planner reads "Service call - ACME Corp - 14 Main Street" instead of "Task 4729".
How a template is composed
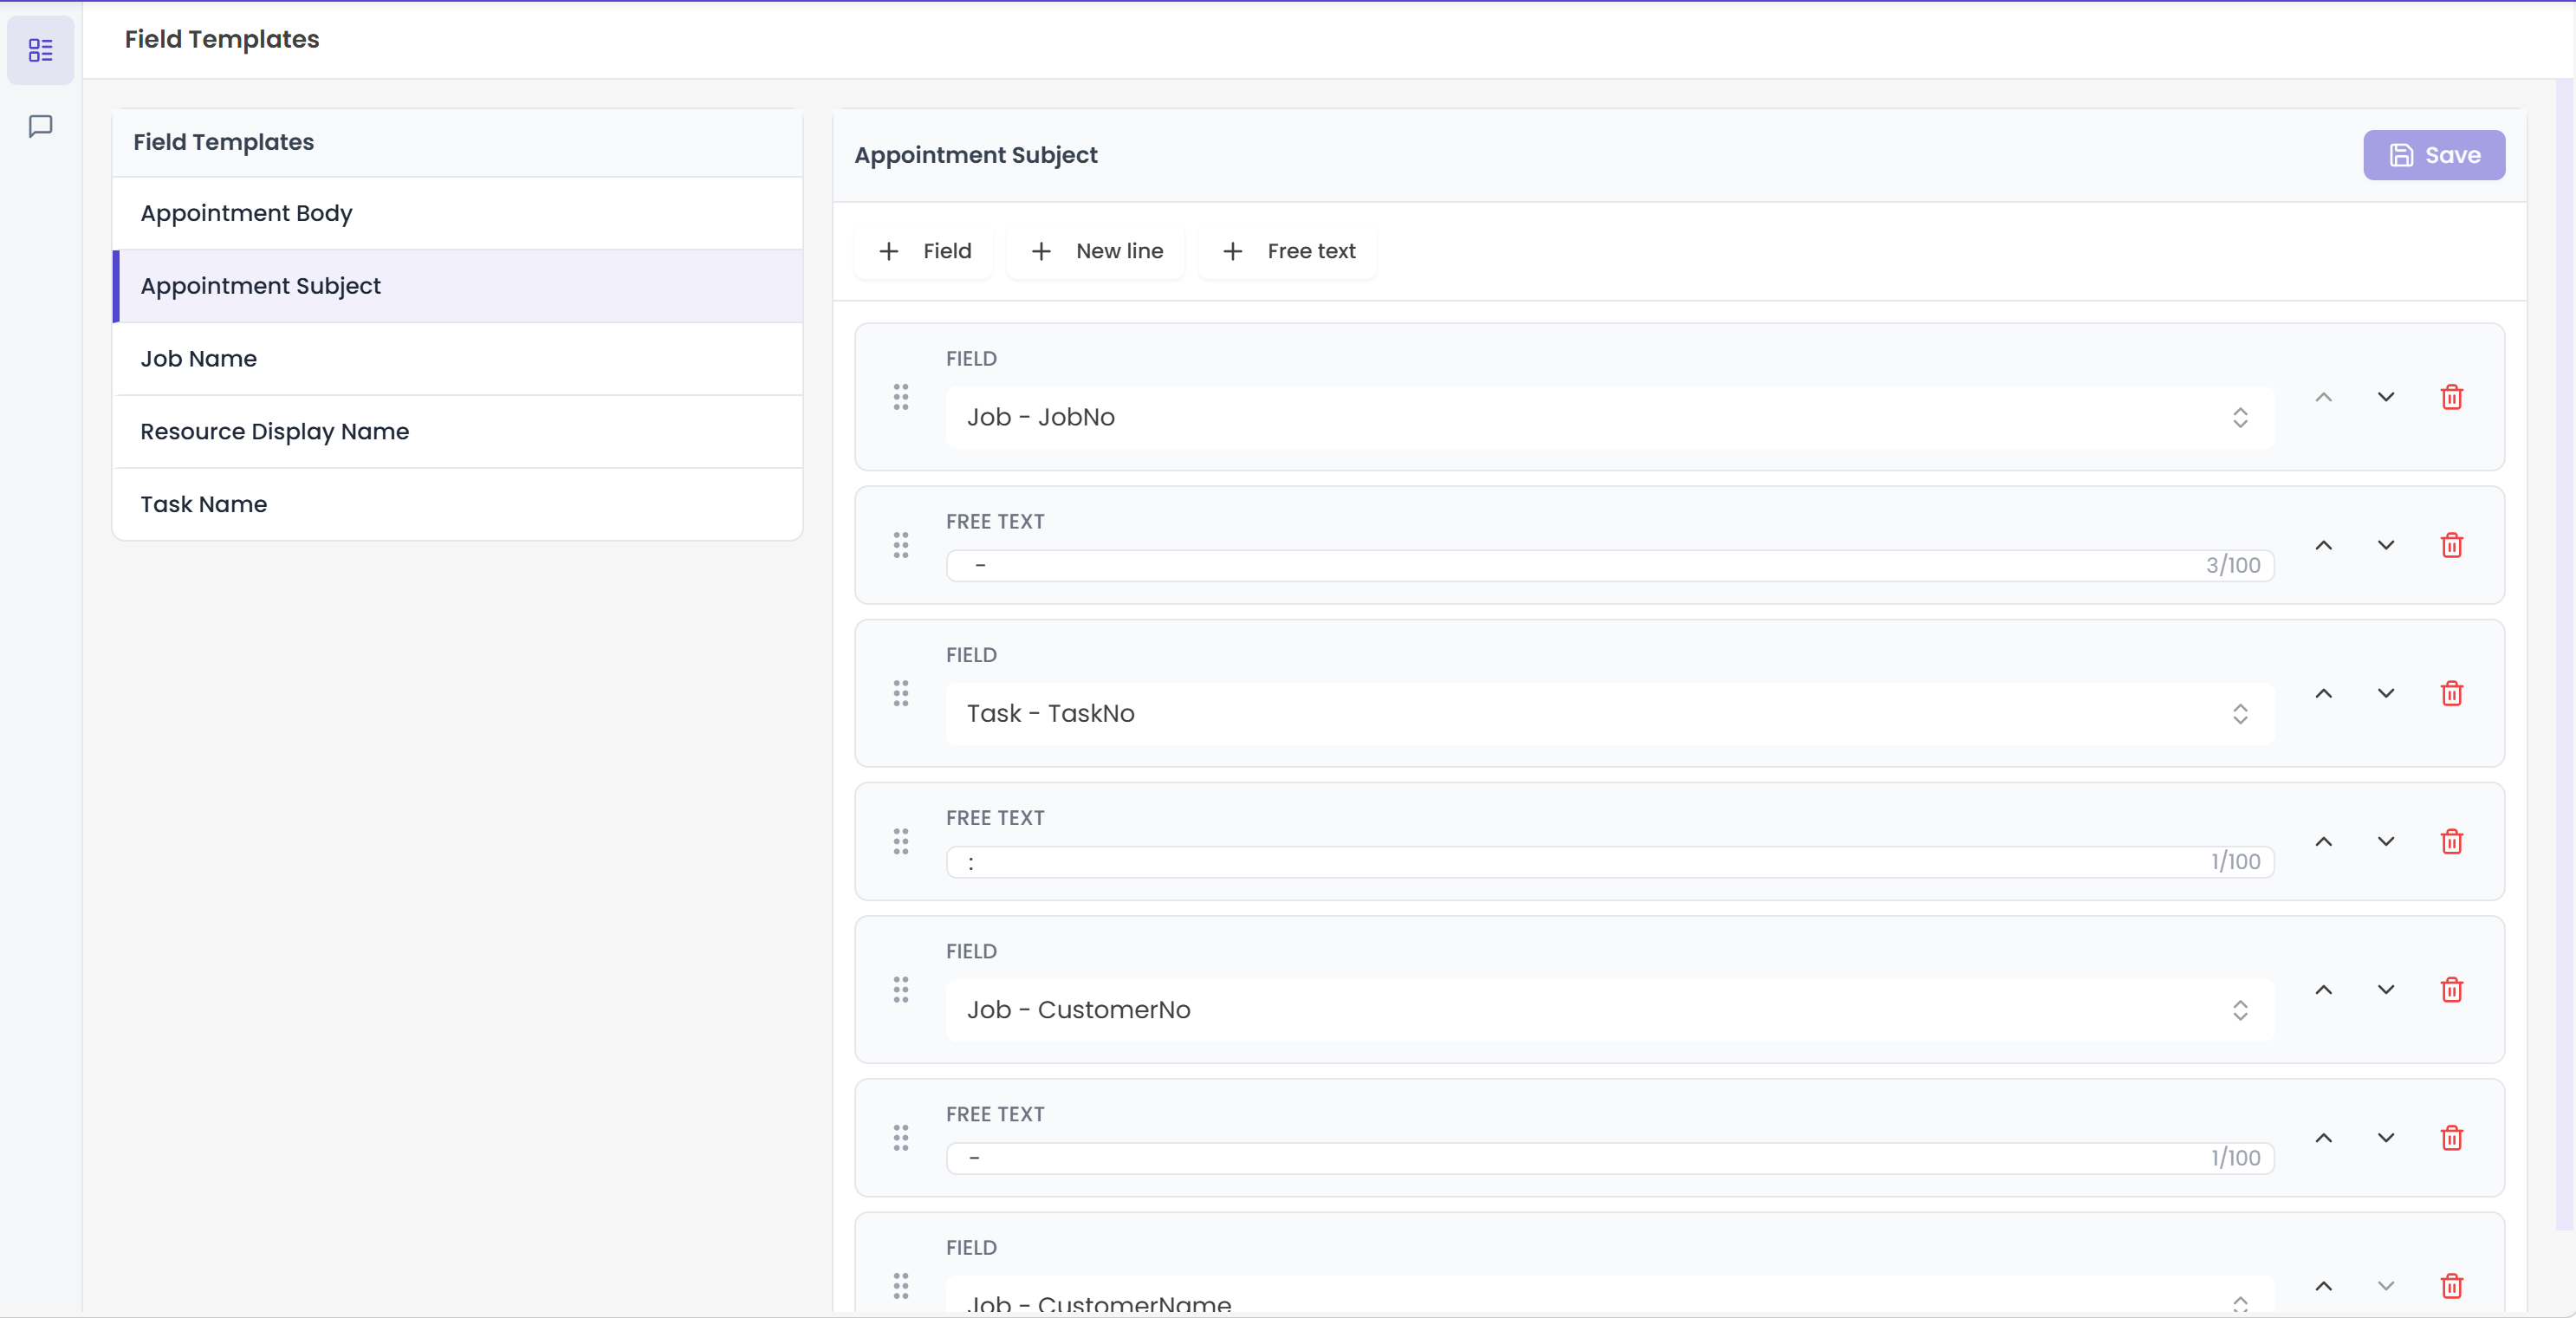
A template is an ordered list of three kinds of building block:
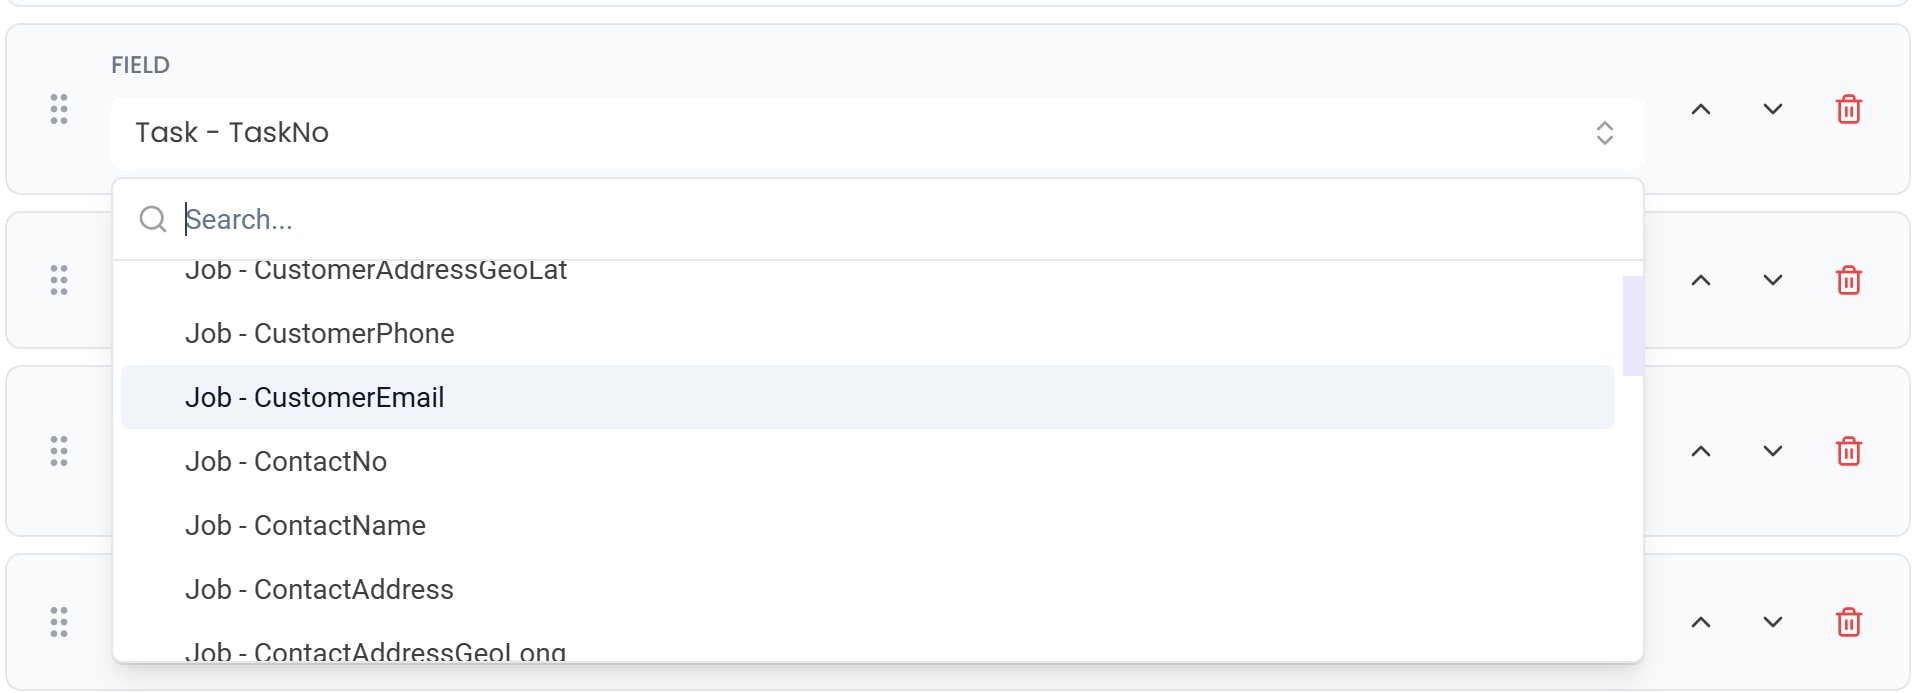
- A field is a placeholder that resolves to a property on the jobJobA high-level container, comparable to a project, that bundles related tasks together with common information such as customer, billing, and address. or taskTaskA unit of work that belongs to a job. It appears in the open task list until it is scheduled to a resource. when the template renders. Drop in
JobNoand the rendered output has the job number; drop inCustomerNameand you get the customer's name. - Free text is whatever literal text you want around the fields: separators, labels, punctuation. "Service call:", " - ", " for ", and so on.
- A new line inserts a line break. Useful in the body field, less so in the subject.
You compose the template by ordering these blocks. Render time fills in the field values and concatenates everything into a single string.
Building a template
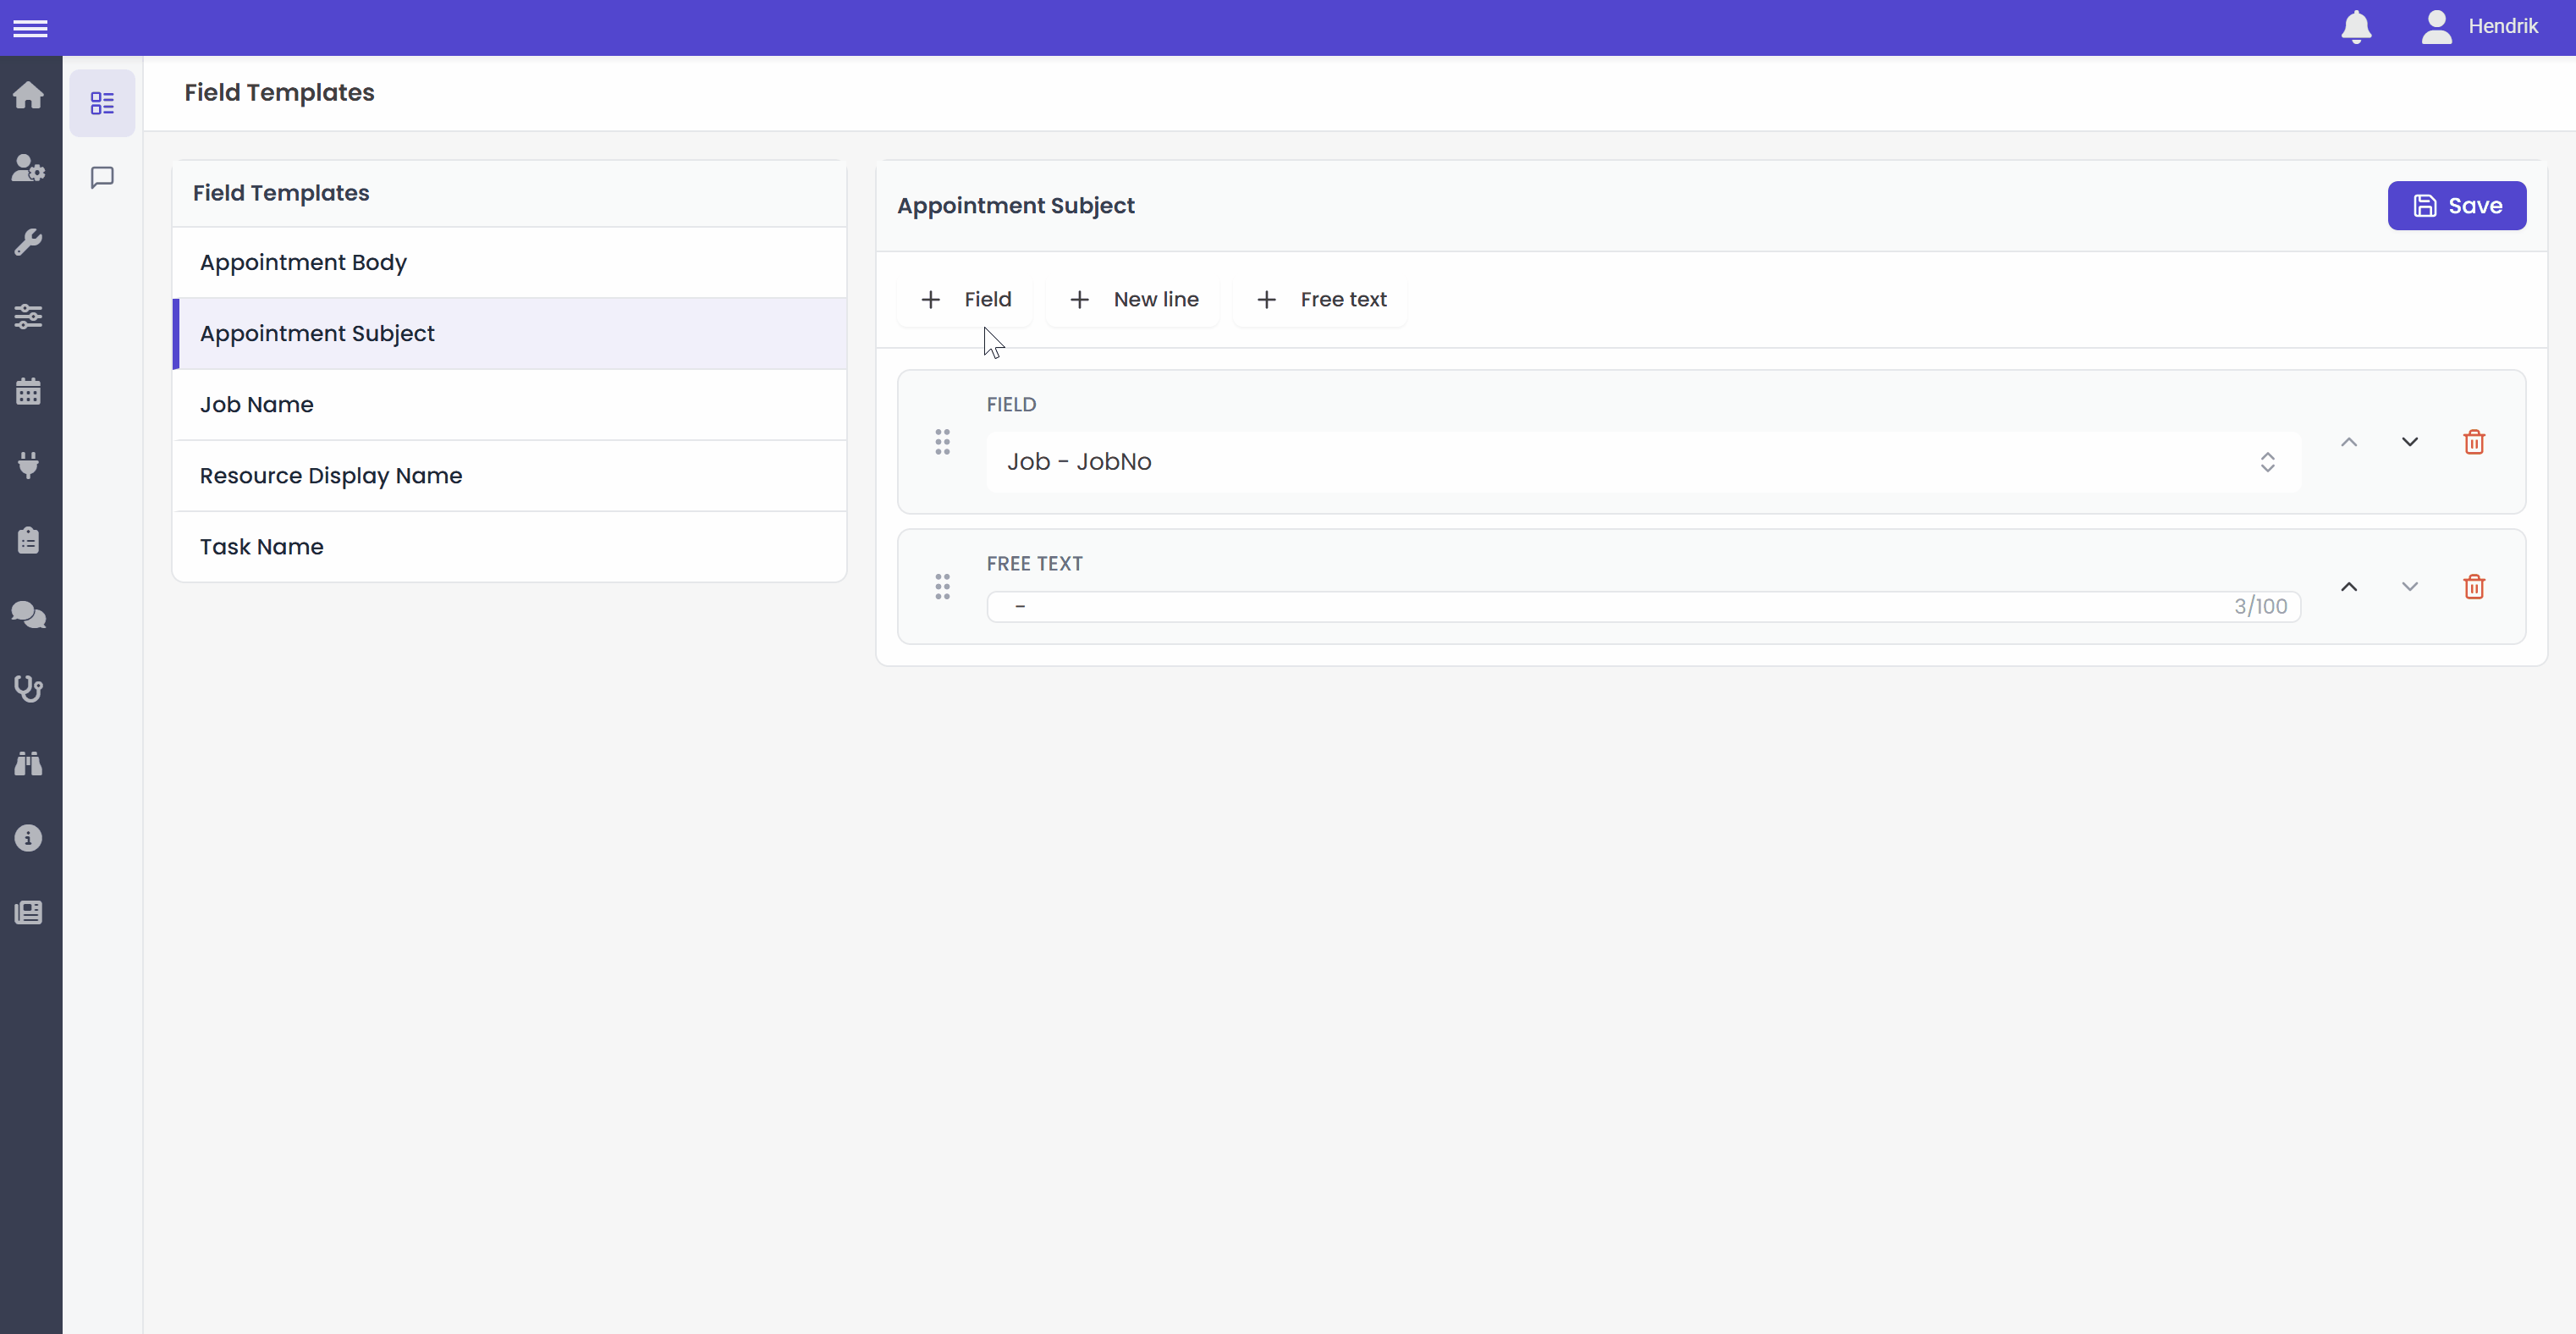
Select the template you want to edit on the left, and it loads on the right.
To add a block, drag one of the three block types from the top-right corner and drop it where you want it in the template - above or below the existing blocks. Then either pick the source field (for a field block) or type the literal text (for a free-text block).
To reorder blocks, drag and drop them, or use the caret buttons. To remove a block, click the trash icon next to it.

Saving
Edits stay in a pending state until you commit them - the Save button on the right-hand side is what writes them to the database. Until then, your changes live only in the browser.
Changes to field templates do not affect existing appointments. Only new records from the back-office system render with the updated template. If you need an existing appointment's subject or body to update, you typically have to push the appointment through the back office again.
Planning board tooltip
This page has a second tab, Tooltip, where you configure the appointment tooltip shown on the planning board. It uses the same drag-and-drop builder but draws from a richer field library. See Planning board tooltip for the full walkthrough.