Profiles
What is a profile
A profileProfileA saved snapshot of a user’s planning board configuration, including the chosen layout and view options. is a snapshot of the planning view's structure. It captures all the settings needed to recreate the user interface and apply the right behavior when the planning view starts.
You build a profile on an almost blank canvas. A few parts are fixed and cannot be removed: the top bar menu and the navigation bar on the left, shown in the image below. The navigation bar can be expanded and collapsed, but neither can be taken away.
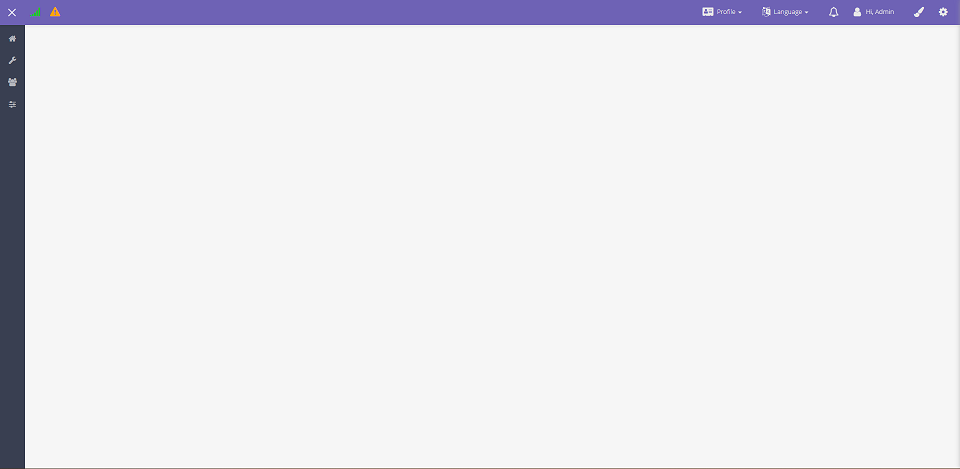
When a user has no default profile, Dime.Scheduler shows a standard planning canvas 1. Beyond that, almost everything in the planning view is configurable. You can create as many profiles as you need and share them with other users and user groupsUser groupA container that coalesces users so security, profiles and layouts can be managed and shared for the whole group at once. 2.
A profile stores almost everything about the planning view's layout and behavior, much like taking a picture of your view and putting it aside to rebuild later, minus the data.
Stored settings include, but are not limited to:
- Color
- Theme
- Sidebar menu collapsed state
- Dock panels and their position, width, height and the default layout of the component that is contained inside
- Planning boardPlanning boardThe main graphical scheduling surface where dispatchers drag tasks onto resources across a timeline. presets
- Map presets
- ...and many more
Profiles are most useful in the planning view. Administration views such as user or resource setup need far less personalization, so profiles do less for you there.
Settings
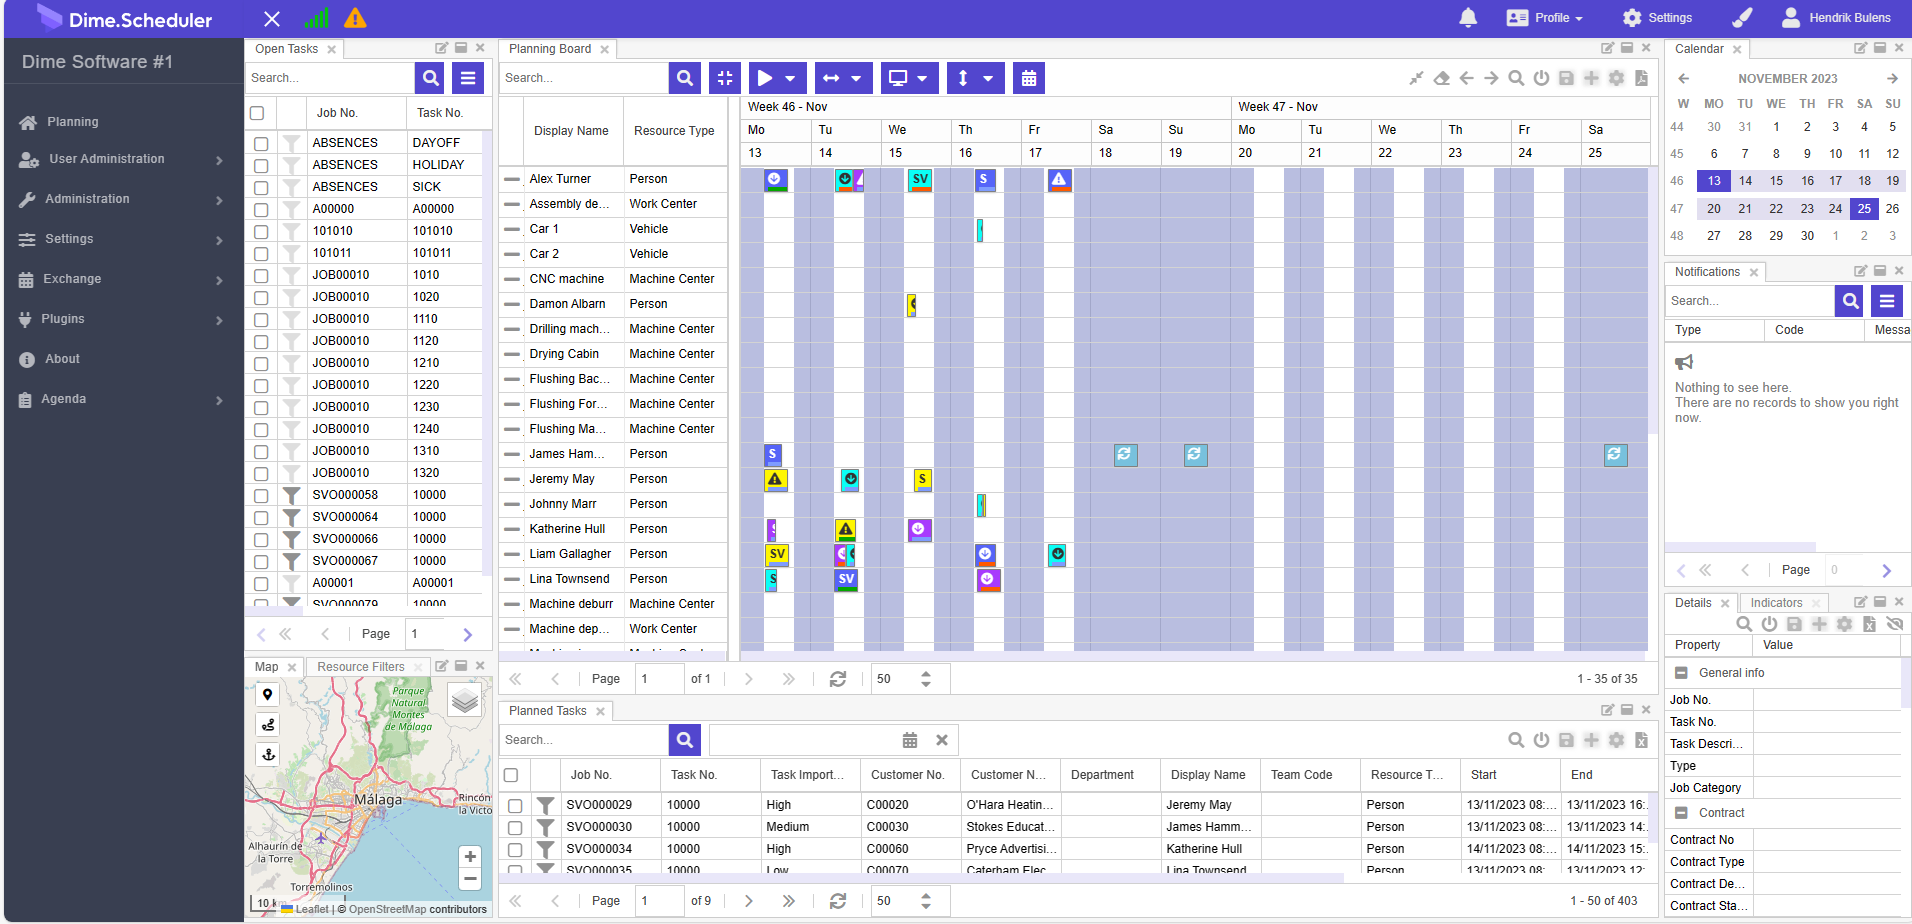
The cogwheel on the right hand side of the planning view reveals a panel of buttons and switches. Some control the planning boards on the profile, others control the maps.
Note the plural: planning boards and maps. No matter how many maps and planning boards a profile contains, all of them follow the profile settings when the profile is first loaded.

For the planning board, these are the settings:
| Configuration | Description |
|---|---|
| Start date | Sets the (initial) start date of the planning board(s) |
| Range | Sets the (initial) range of the planning board(s) |
| Snap interval | Sets the (initial) time unit to snap to when dragging and dropping tasks and appointments |
| Start & end time | Sets the (initial) time range to show in the cells of the planning board |
These are the items for the map:
| Configuration | Description |
|---|---|
| Unit of distance | Sets the unit of distance (km/mile) of the map and route calculation |
| Route profile | Sets the route profile (e.g. truck, fast car) to calculate the route and its duration |
| Show route, distance and travel time | Sets the flag to automatically calculate routes when selecting tasks and appointments |
| Show waypoint sequence | Sets the flag to display the sequence number of the pins in the route |
Besides these functional settings, there are two visual settings: color and theme. Click the brush icon to slide in a window with options to style the application to your taste.
| Colors | |
|---|---|
| Black | |
| Sea green | |
| Red | |
| Green | |
| Orange | |
| Purple | |
| Blue |
| Themes | |
|---|---|
| Side bar with dark color, top bar with lighter color |  |
| Top bar with dark color, side bar with lighter color |  |
| Top bar with dark color, side bar with dark color |  |
| Top bar with lighter color, side bar with lighter color |  |
All these settings override the default or initial behavior of the components in the profile.
Take the start date setting as an example. This combobox has four options: today, start of the week, start of the month, custom. When you pick a value, every planning board's start date changes to match. As you keep working with the planning board afterward, the profile's setting no longer applies until you change it or reload the profile.
Profile settings define how the application behaves at startup. When a profile loads, its settings apply immediately. Users can still change these values through the settings panel or directly in a component during the session.
Components
Dime.Scheduler provides a set of building blocks, called components, that you arrange as you see fit. The components expose the planning capabilities: they are what lets you schedule tasksTaskA unit of work that belongs to a job. It appears in the open task list until it is scheduled to a resource. and resourcesResourceAn entity that can carry out work - a person, vehicle, tool, or room - that you schedule on the planning board. graphically.
The components are:
- Open Tasks: shows tasks that need to be planned.
- Planned Tasks: shows planned tasks in a grid for easier querying.
- Task Details: shows detailed information about a selected task (open, planned or project) or appointment.
- Gantt Chart: allows to plan projects using a Gantt chart including dependencies, constraints and multiple planning modes.
- Map 3: shows the map, location of addresses, position of resources and assets, calculated route, travel time and travel distance.
- Resource Filters: allows to filter resources on the planning boards.
- Calendar: you use the calendar to select a custom date range (other than the presets you find on the planning board) for the planning boards.
- Category: shows a legend of the categories, which color means what?
- Notifications: shows notifications about a selected task or appointment.
- Route Sequence: visualize and change the sequence of a selected route on the map.
- Capacity: reporting feature on the resource capacity
No component is mandatory, and you can use each one multiple times within a single profile. The components are covered in depth elsewhere in this user manual. The introduction to components is a good place to start.
Dock panels
Every component sits inside a dock panel. Dock panels are part of the visualization engine that lets you build tailored profiles. With this framework you can add, remove and edit components and organize them to match the way you work. To learn what you can do with dock panels, read Organizing the workspace.
Profile management
If you log in for the first time and the administrator hasn't created a workspace for you yet, you can create one yourself. By default the application window looks something like this:
For more on configuring this window, see Look and feel.
Personalization is central to Dime.Scheduler. You can choose a theme and language, and reshape the entire layout of the application window to fit your needs. Every choice is stored in a user profile. You can create as many profiles as you want and switch between them at any time. For example, you might build one profile for planning resources in the EMEA region and another for planning tasks in Western USA, then switch between them in a few clicks. All of this requires a user profile to work with.
Note: you may not be able to manage user profiles if your administrator hasn't assigned you this user action. Ask the administrator to grant you a user role that includes the 'Personalization' user actionUser actionA single protected capability, such as 'edit appointment', that a role can grant. The building block of role-based access control..
Consulting the active profile
Default profiles and layouts are worth understanding from the start. When you open the application for the very first time, assuming the administrator created only your user account and nothing else, you will see an orange warning triangle in the top left corner of the top menu bar: .
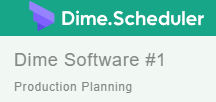
Hover over it and a tooltip tells you that you haven't selected a (default) profile. Expand the navigation menu on the left hand side to see the profile you are currently working on:
While you work on a blank user profile, the application will not let you store component layouts:
Saving a profile
To store profile settings and component layouts, you first need to save them to a user profile. Use one of these paths:
Profile -> Save
...or
Profile -> Save as

If you don't have a default profile, either option does the same thing. Once there is an active profile in your session, Save overwrites the active profile while Save as creates a brand new profile.
A window prompts you for:
- The name of the profile
- Whether to mark it as your personal default profile
- Whether to share it with a user group or with everyone in your organization

Click save and a message confirms the profile was saved. If you marked it as your default profile and refresh the application, this profile loads by default in the areas described in the active profile section.
To see this in action, change the theme or color and save the profile. No window appears this time, because the application already knows which profile you are working on. Change the theme or color again, but this time choose Save as. The same window appears as before. Give it a name, save it, and reload the application.
Loading profiles
After you reload the application, your default profile loads into your session. You can switch between profiles at any time during a session using this path:
Profile -> Load
A window like the following appears:

The user profiles available to you are:
- The profiles you created
- The public profiles
- The profiles that were shared with the user group you are a member of
The grid shows each profile's name, who created or owns it, and whether you marked it as your default.
By now you have at least two profiles in this grid. There are two ways to load one:
- Click the row to select a profile, then click the select button
- Double click the row of the profile you want to load
Load the profile that is not your default profile. The application loads the profile along with all its settings. After a few seconds you will see a different profile in your session. Confirm it by consulting the active profile.
Customize existing profile
The profile currently loaded into your session is the active profile. Your default profile becomes the active profile every time you (re)load Dime.Scheduler; it simply tells the application which profile to start with.
If you followed the steps in the previous section, your active profile is now different from your default profile. You can update this profile freely. Try it by removing the map and resources component, as shown here:
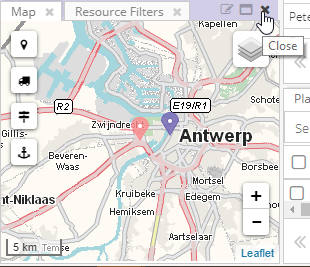
The map and resources stack disappear from the planning window. Save the profile and reload the application: the default profile is untouched, but when you reload the second profile, the map and resource filters components are gone, exactly as you set them.
You can do the same with profiles you don't own, with one limit: you cannot overwrite a profile that belongs to someone else. Instead, save a copy of it. The same settings are saved along with your changes, and you become the owner.
Managing profiles
You can manage your profiles by changing the default and deleting profiles you own. Open this window with:
Profile -> Manage
A window like the following appears:
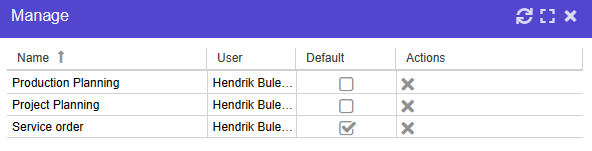
This window is much like the load profile window, except that here you can change the default profile and delete the profiles you own.
Change default profile
Change your default profile by ticking the checkbox. A small red triangle marks this pending action:
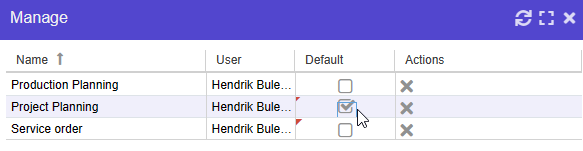
When you are sure, click OK to save the change.
Delete profiles
You can delete profiles you own. Click the delete icon in the row to remove a profile. As above, you need to confirm with the OK button before the application deletes anything.