Create a profile
This guide walks you through building a profile from scratch: arranging a few components and giving each one a default layout. For the concepts behind profiles and layouts, see the user manual. Here we go straight to the hands-on steps.
Prefer to watch? Here's the video:
Getting started
This guide assumes the user has a role with the "Personalization" user action.
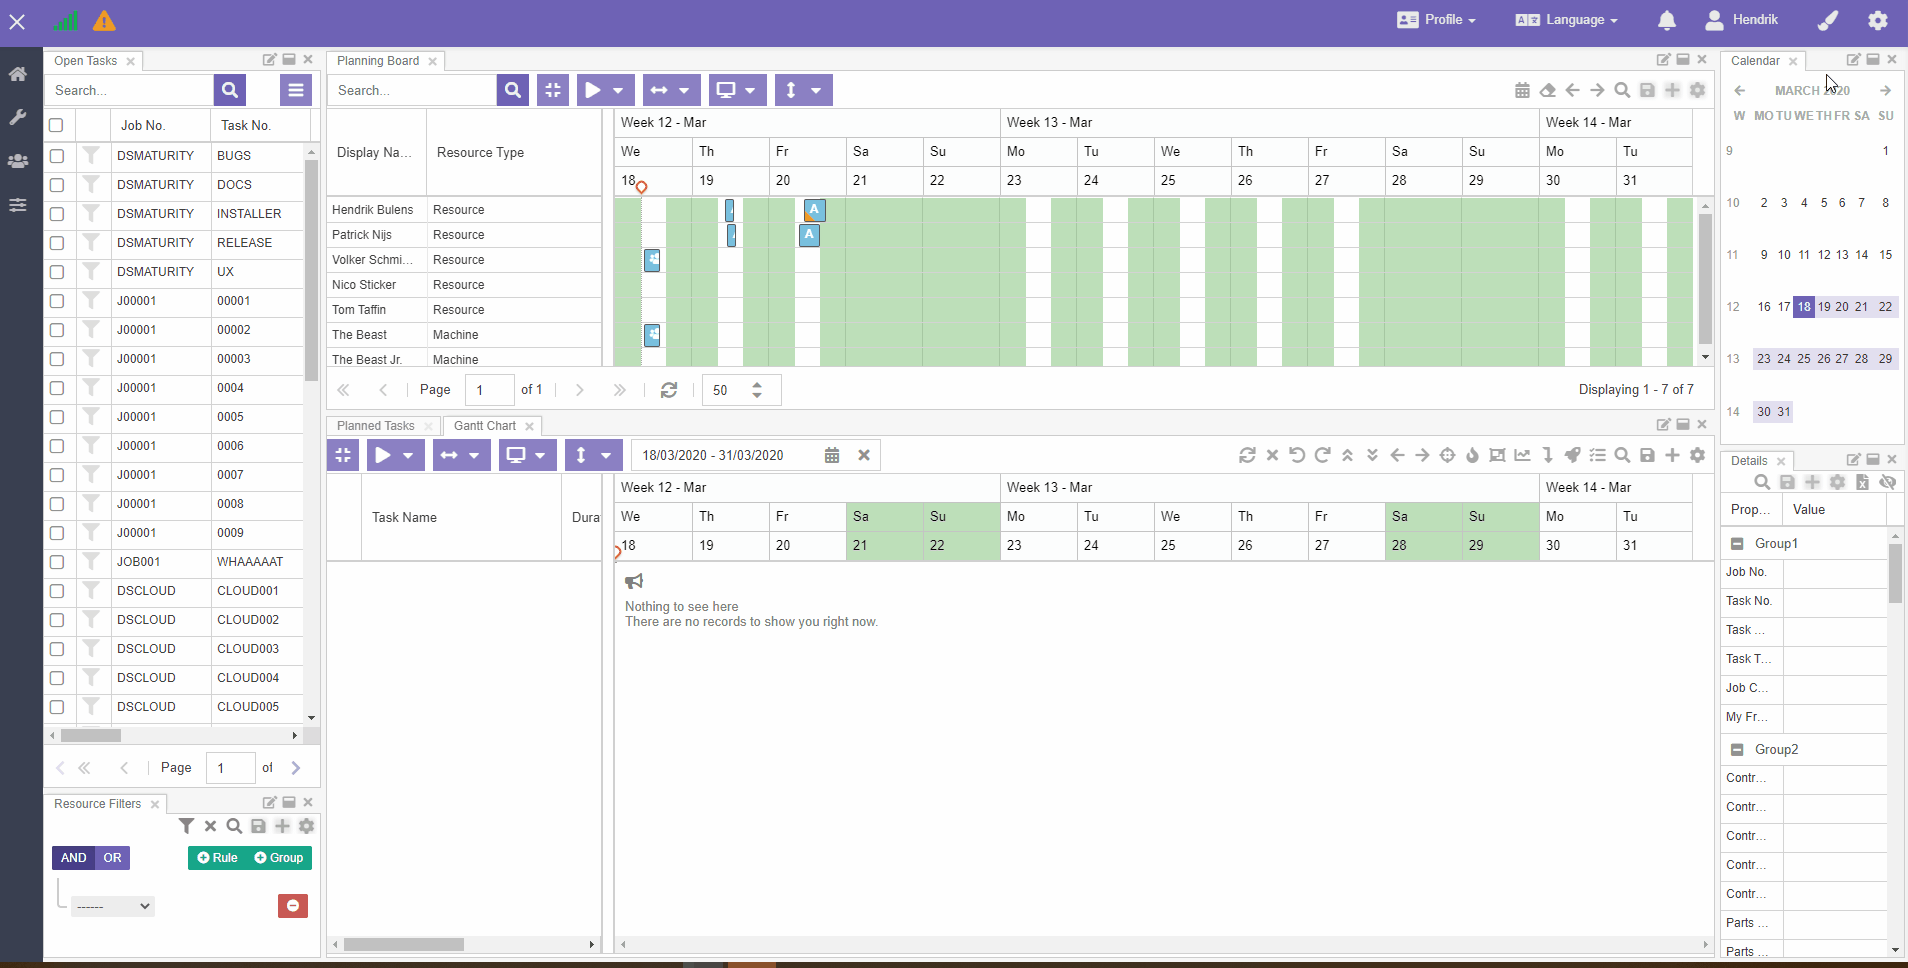
Start from a known baseline. The quickest way is to take the standard profile that Dime Software provides and build on it. Navigate to Profile -> Manage, uncheck the "Default" checkbox, and save the changes:
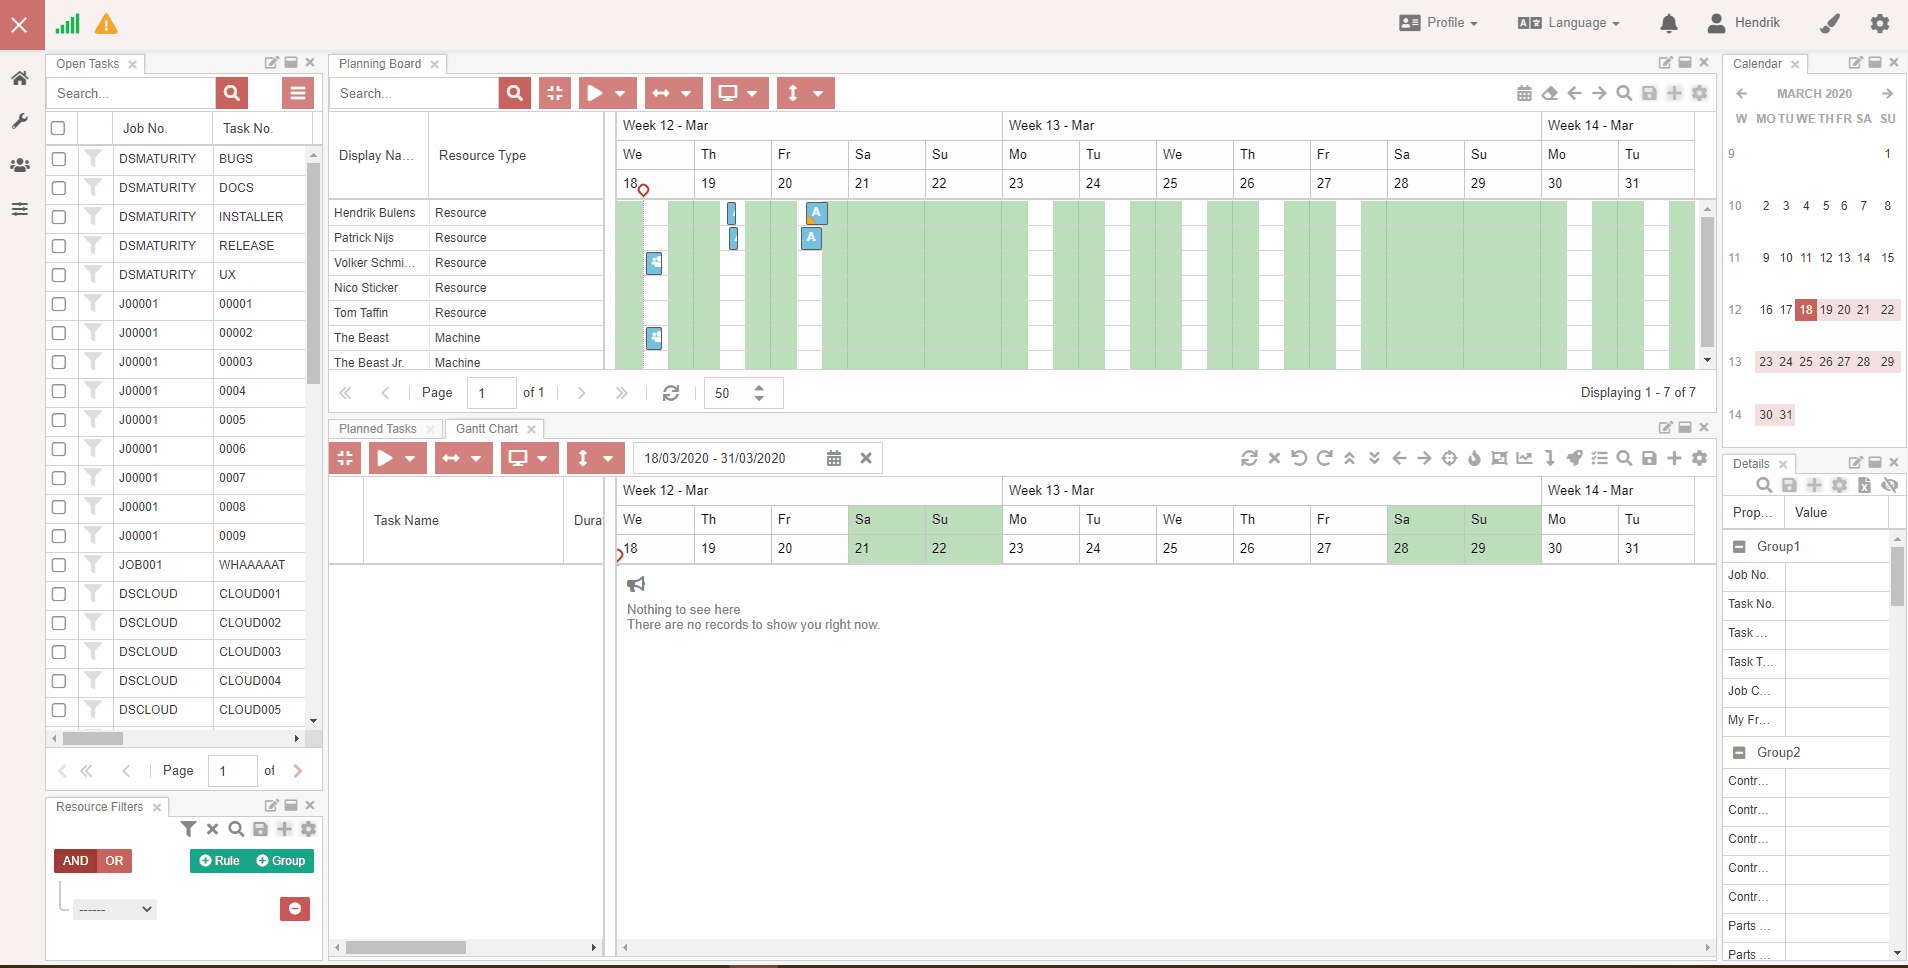
Refresh the page, and you'll be on the standard profile.
Manage components in the profile
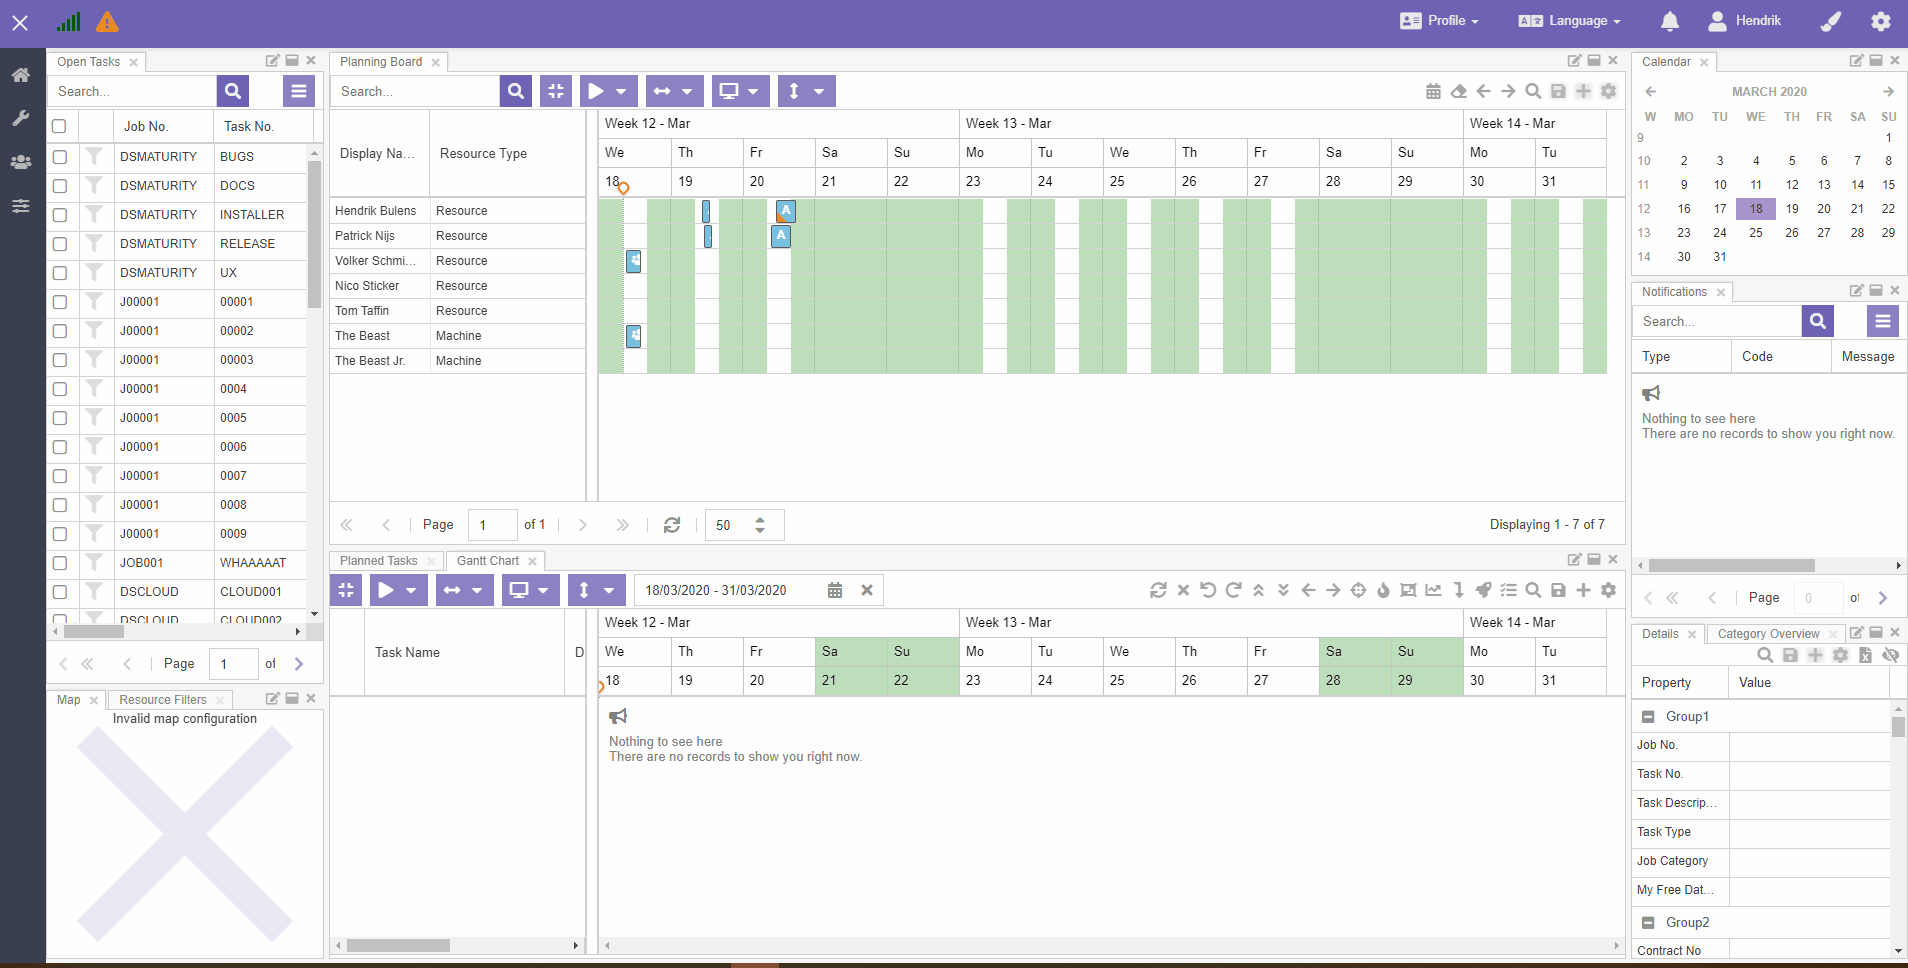
Next, organize the components. In this example we want to manage projects, and the Gantt chart is the perfect fit. It isn't on the standard profile, so add it first.
Go to the "Profile" menu and scroll down to the components section. Locate the "Gantt chart" component, then click and hold it and drag it onto the canvas:
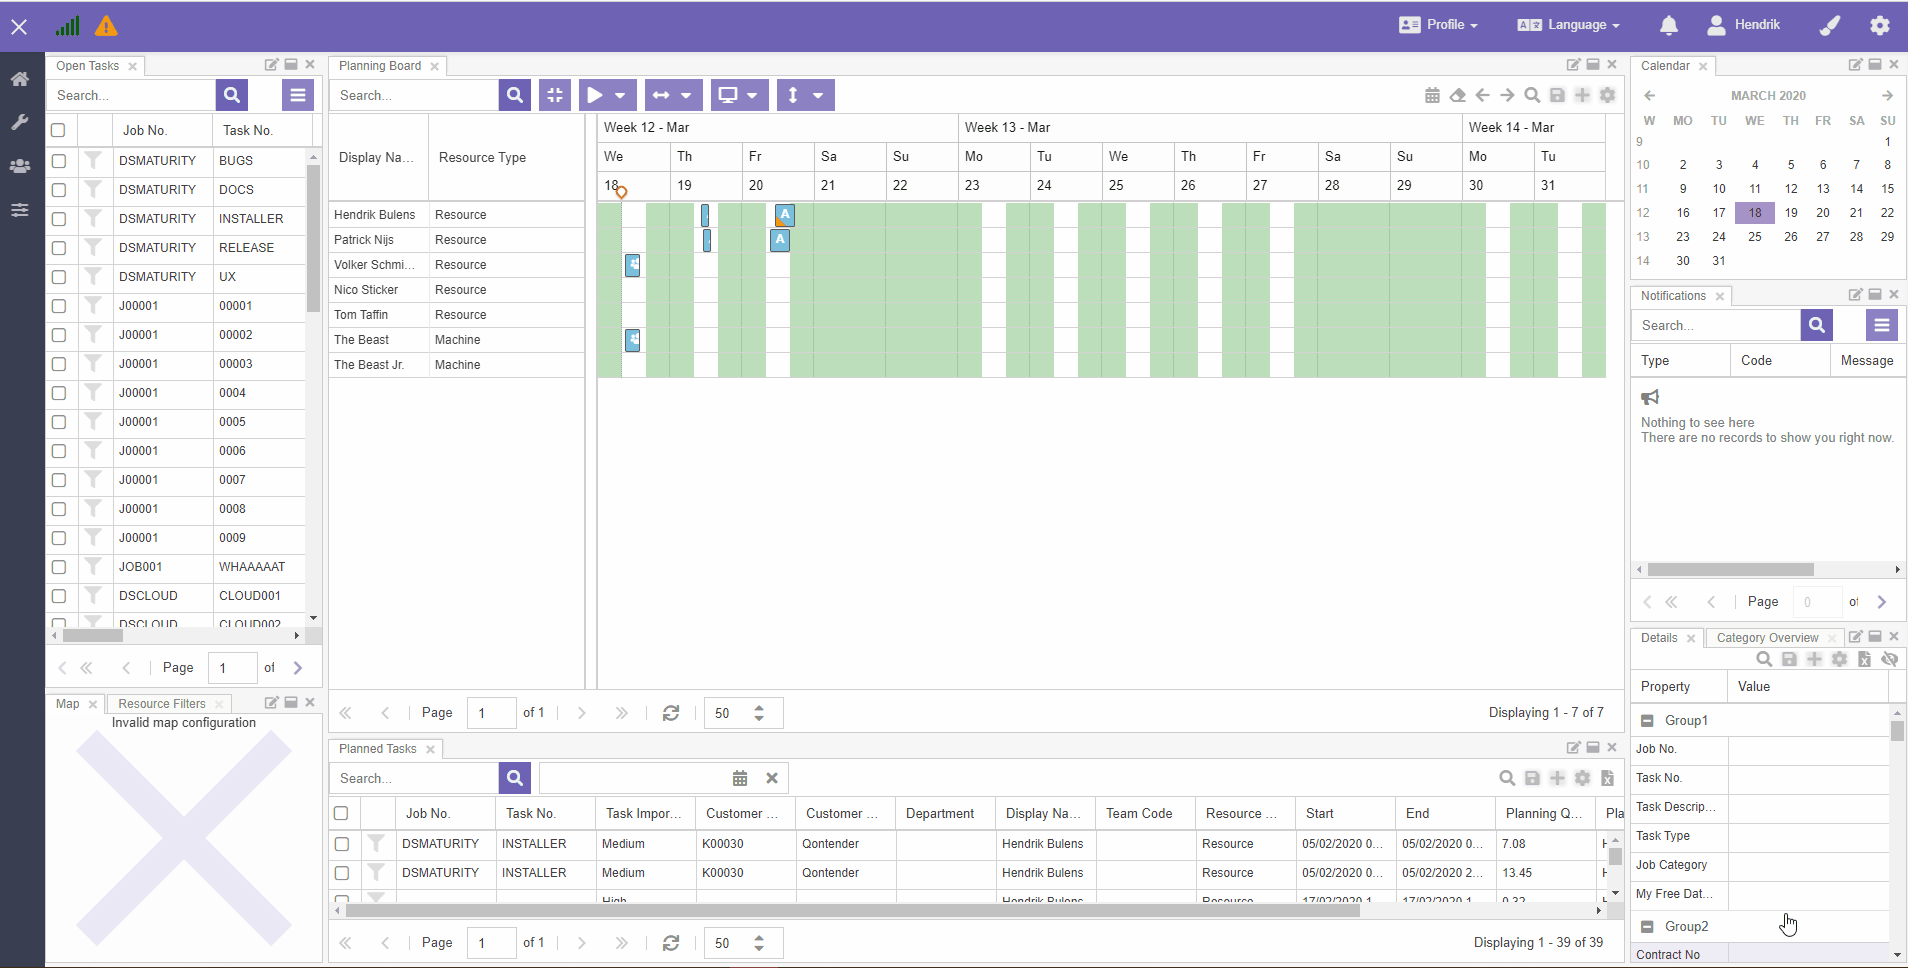
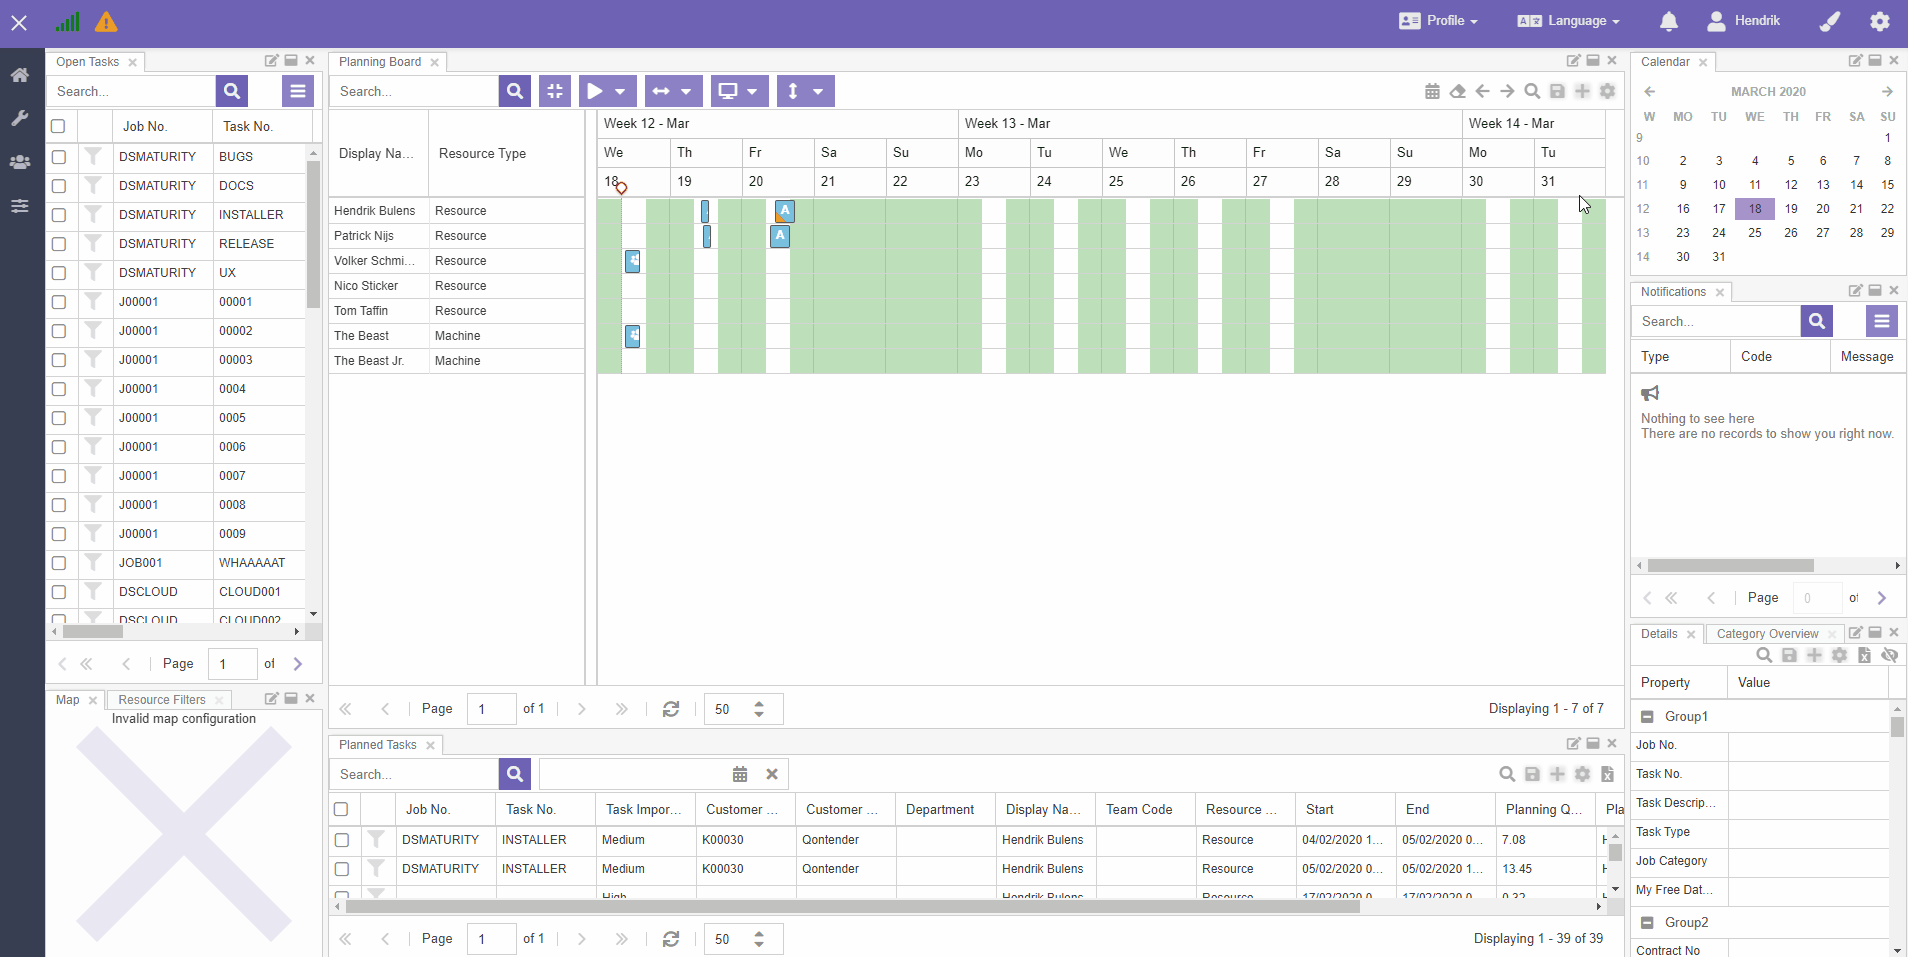
To clear up some space, remove three components from the canvas: Map, Category Overview and Notifications. Click the small icon next to each component. Don't confuse this with the icon on the right-hand side, which closes the entire stack.
With the extra room, you can resize the dock panels to give your main components more space:
One final touch: change the styling. Click the brush icon in the topbar to adjust the color scheme and the theme:
That's enough for now. Save the profile before continuing.
If you're working on a blank profile (shown by the orange warning icon in the top bar), you'll need to give it a name and decide whether to flag it as your new default profile. For existing profiles, nothing extra is required.
To save, go to the "Profile" menu and click "Save". A modal window asks you for a name and whether to mark it as the default profile:
The orange warning icon in the top bar disappears the moment the profile is saved. From now on, the profile you just saved is the active one, and any changes you save are stored in it. You can always check the active profile by expanding the left navigation menu:

Saving also unlocks a range of buttons in the components. For example, the planning board's buttons went from to .
You can now manage layouts for the components in this profile and mark them as the default layout. That's the next section.
Create default planning board layout
With the profile set up, turn your attention to configuring the components. For this example, work to these requirements:
- Projects are only done by resources in the "Resource" type.
- The planner wants to see a daily planning.
- The work day starts at 09:00 and ends at 18:00.
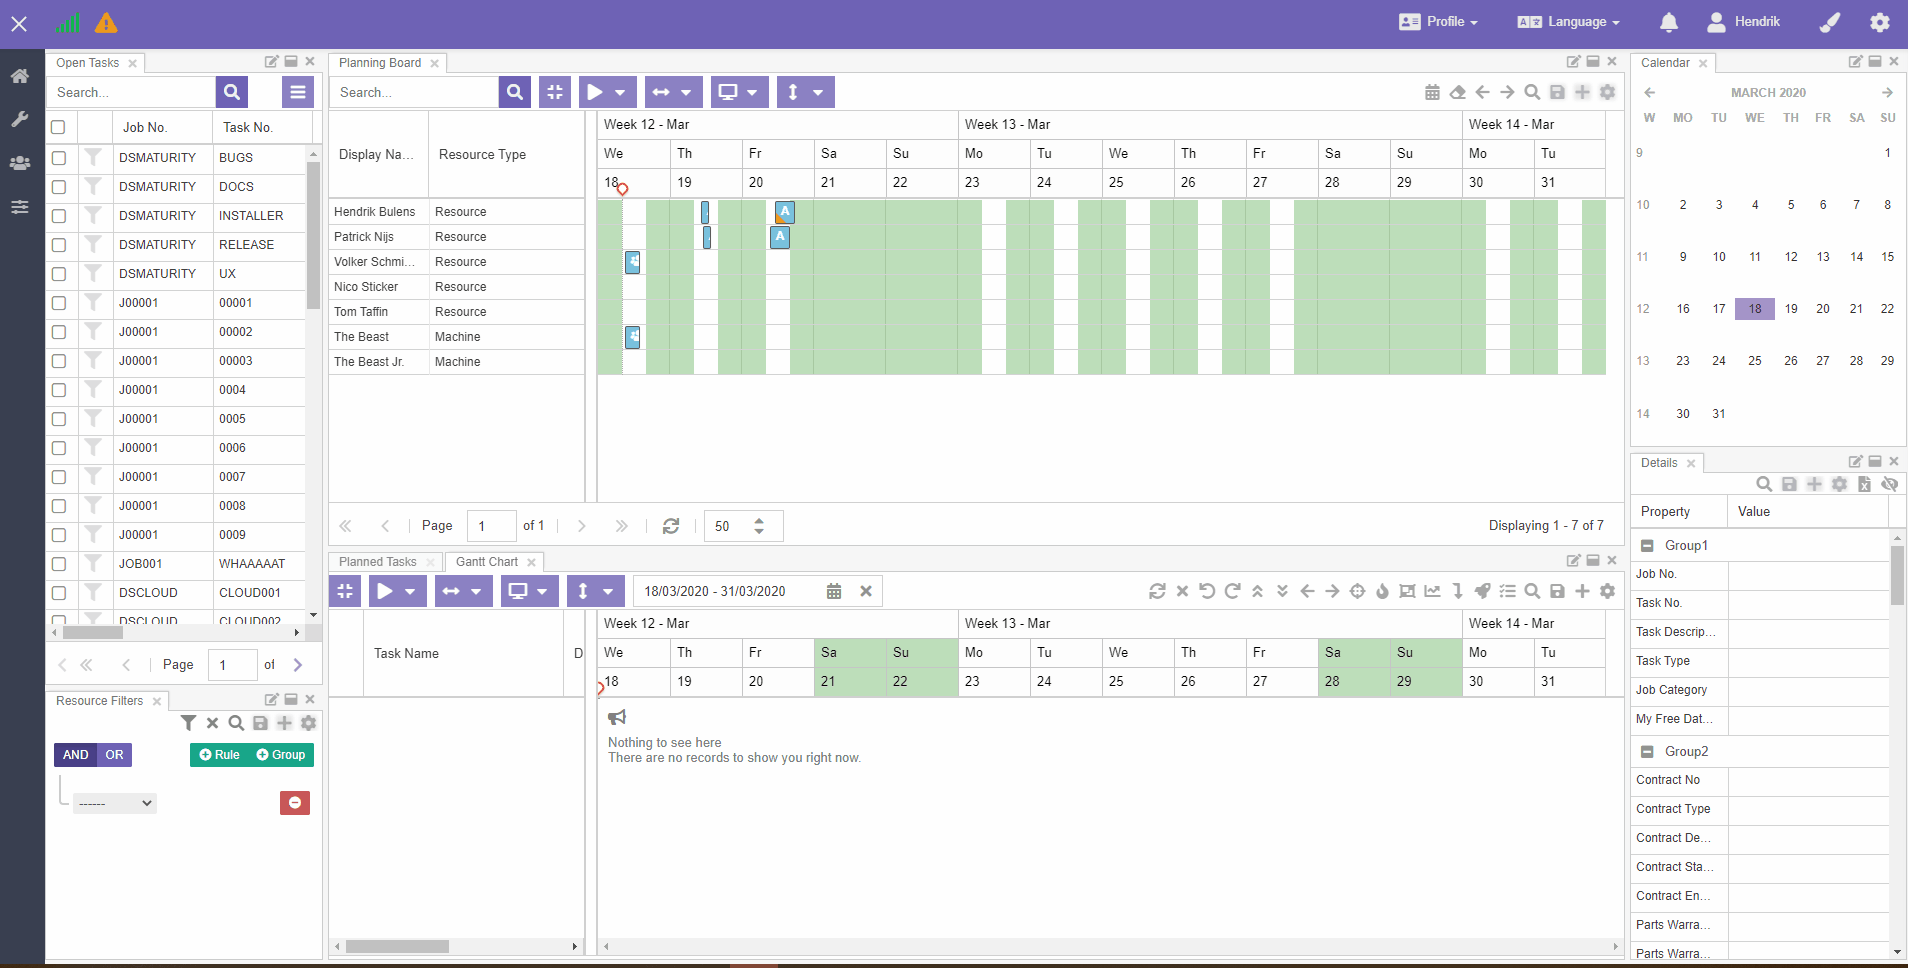
Filter planning board
The first requirement is straightforward: add a filter to the "Resource Type" column in the planning board:

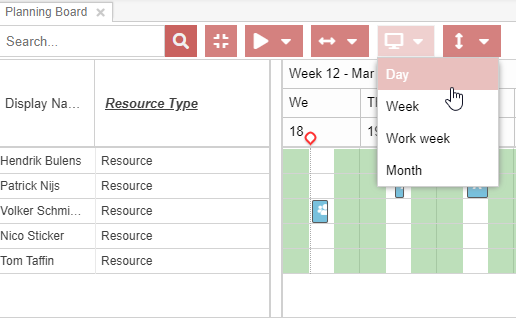
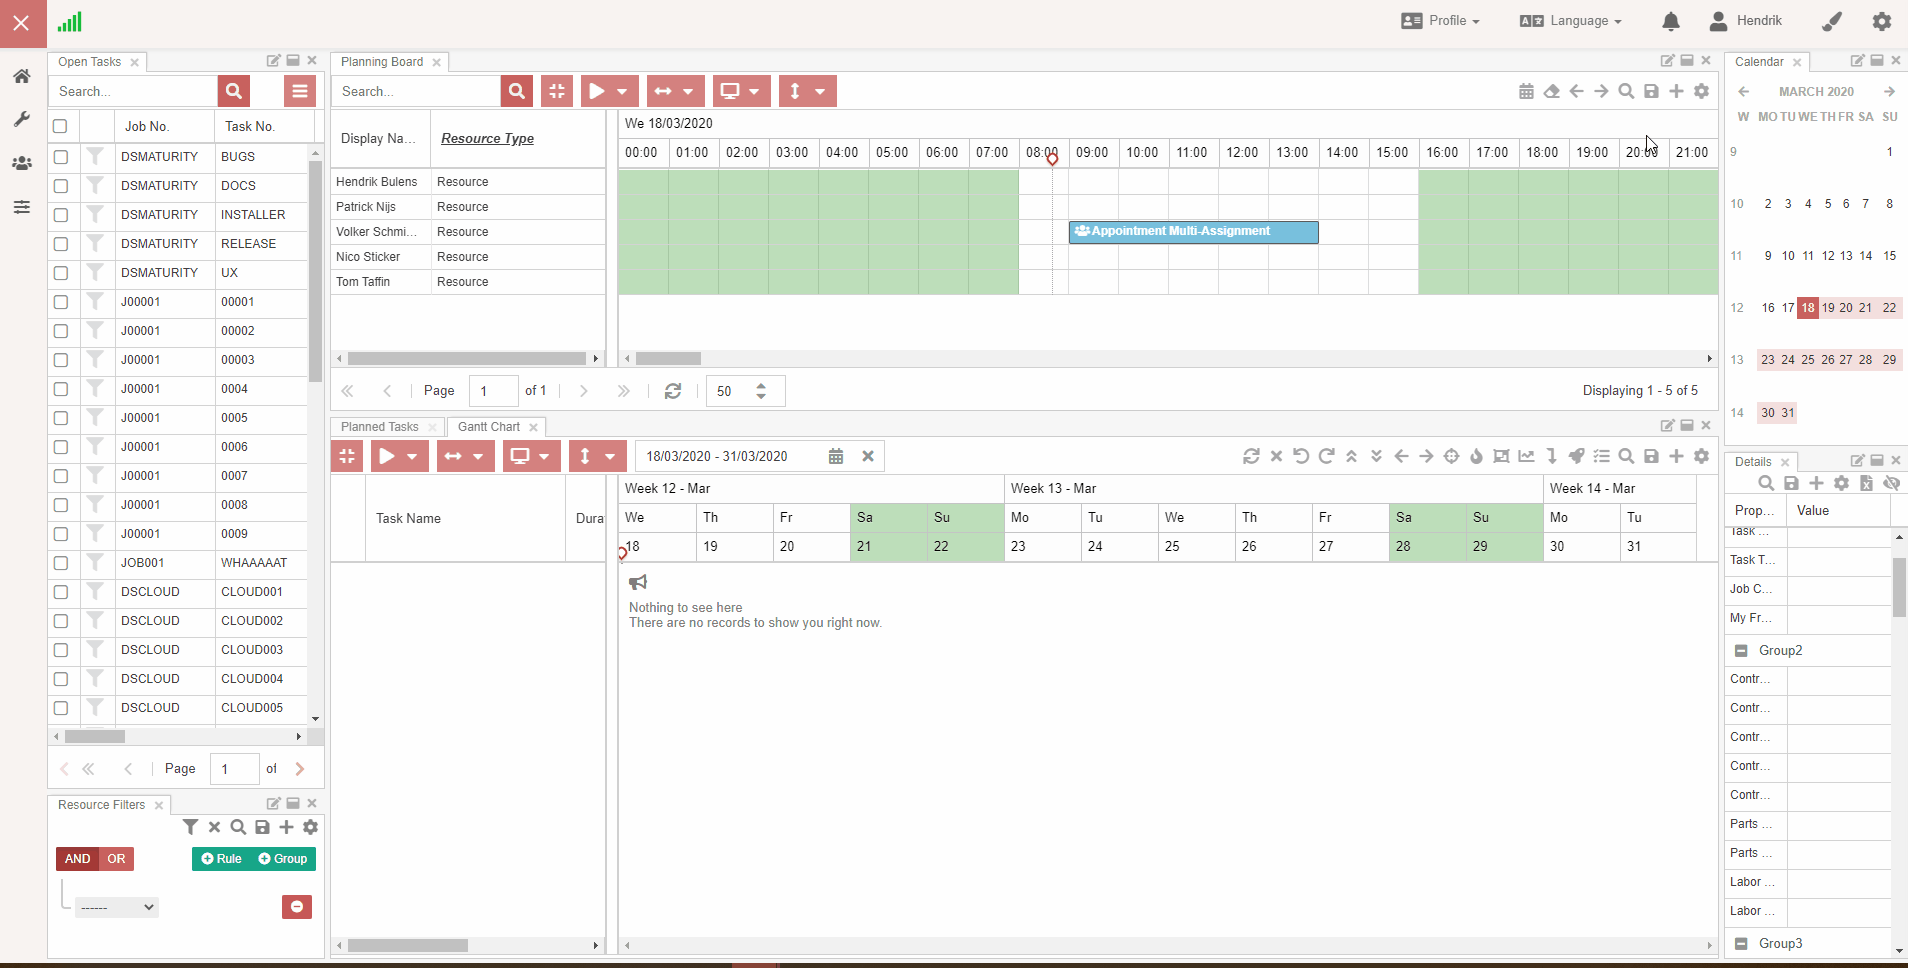
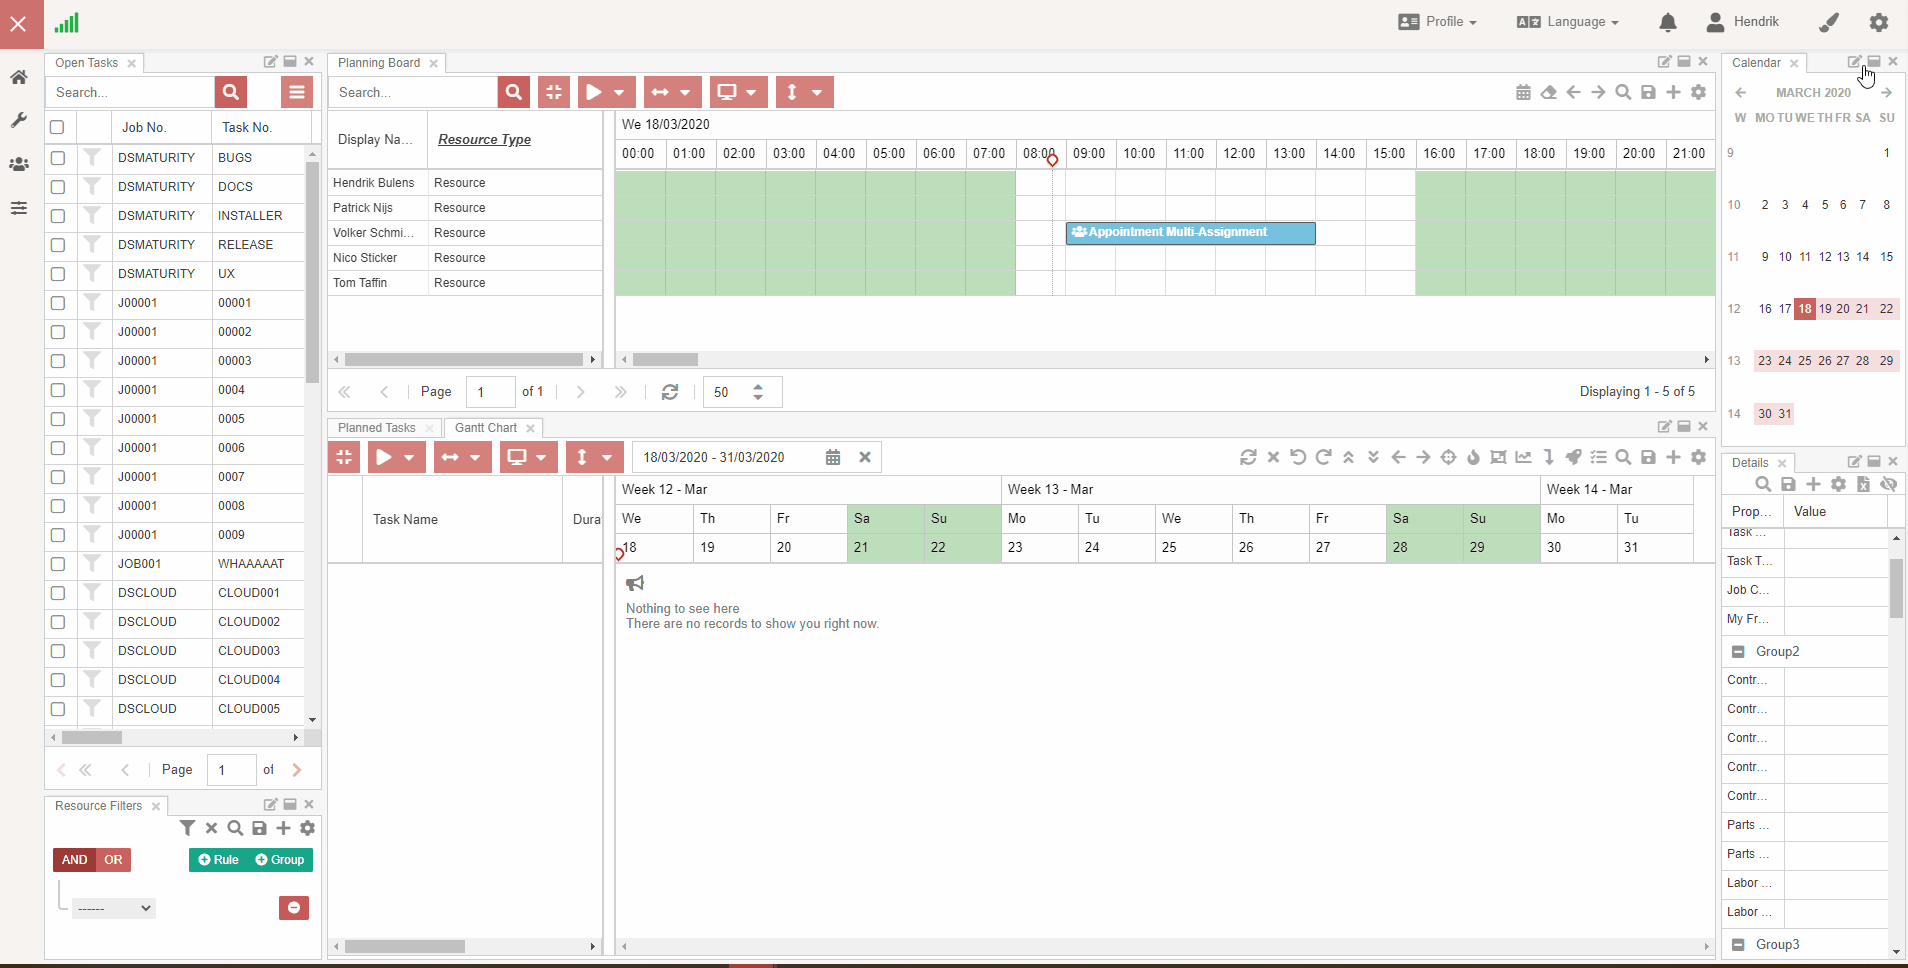
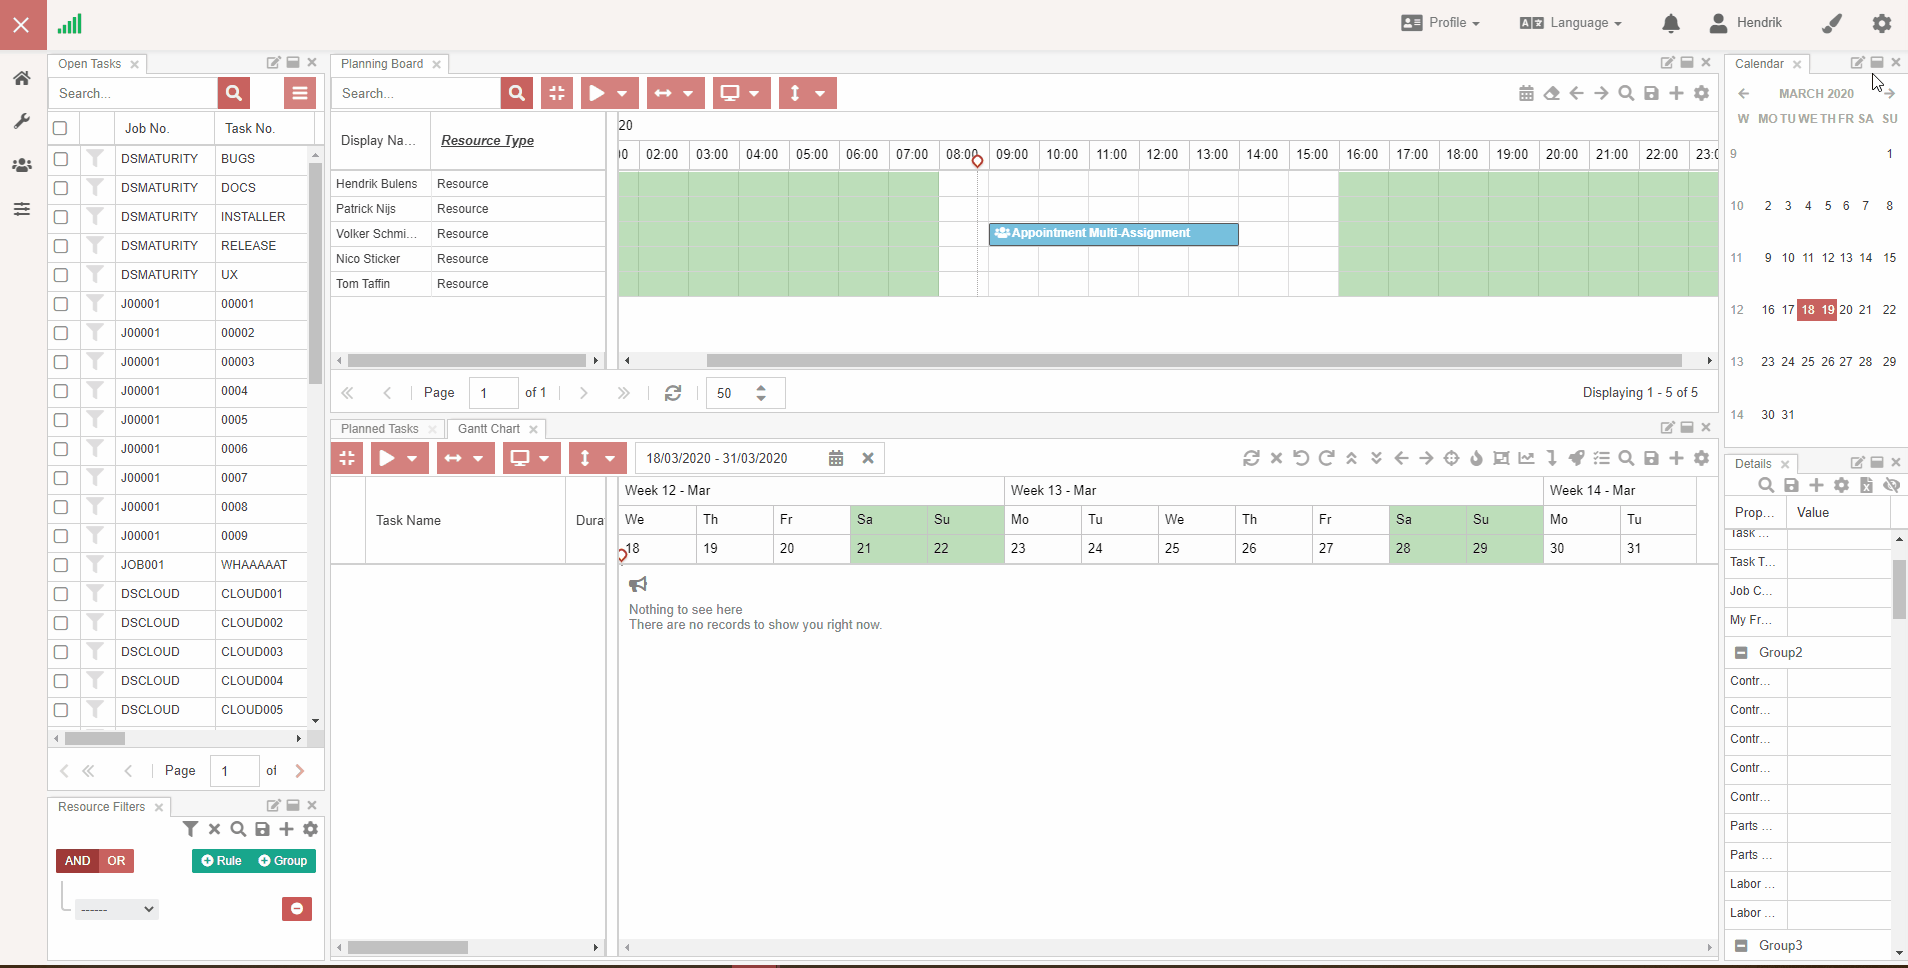
Next is the daily planning. You can keep the current view, but it's best to activate the "Daily" view:
There's a second part to the daily planning configuration, but it isn't set in the component itself. Before you get there, save the layout and mark it as the default layout:
You've now set two defaults:
- The "Planning projects" profile is the default profile.
- The default layout for the "Planning board" component instance in the "Planning projects" profile.
Set range
The standard profiles show a 14-day interval in the planning board. In this example, you need to reduce it to one day. Adjust this in the settings area:
The "Range" combobox sets the default time span in the planning board. Notice how the date picker adjusts to match.
Set start and end time
In the same window, set the "Start & End Time":
Remember to save the profile: the settings in this fly-in window are stored in it. Go to "Profile" and click Save.
Conclusion
Refresh Dime.Scheduler, and you'll see exactly the same view as before:
- The color and theme are the same
- The Gantt chart is still available
- The other components, such as the map and notifications, have been removed
- A planning board that shows the hourly planning for one day between 9 AM and 6 PM
You now have a default profile and a default layout. This is just the start: you can create as many profiles and layouts as you want, building a library of presets so you don't have to set up your environment every time you open Dime.Scheduler. This is usually done at go-live, but you can add more profiles and layouts whenever you need them.