Users
A user account is the bridge between a person and Dime.Scheduler: it controls whether they can sign in, what they see when they do, and what they are allowed to change. This page is where you create those accounts, attach the permissions and security data that decide each user's experience, and clean up after people who have moved on.
It is the busiest administration page in most tenants, because user setup is rarely one-and-done. People join, change roles, leave, swap teams, get extra responsibilities. The view is built around that churn: one grid for the users themselves, a row of contextual grids for everything that hangs off whichever user you select.
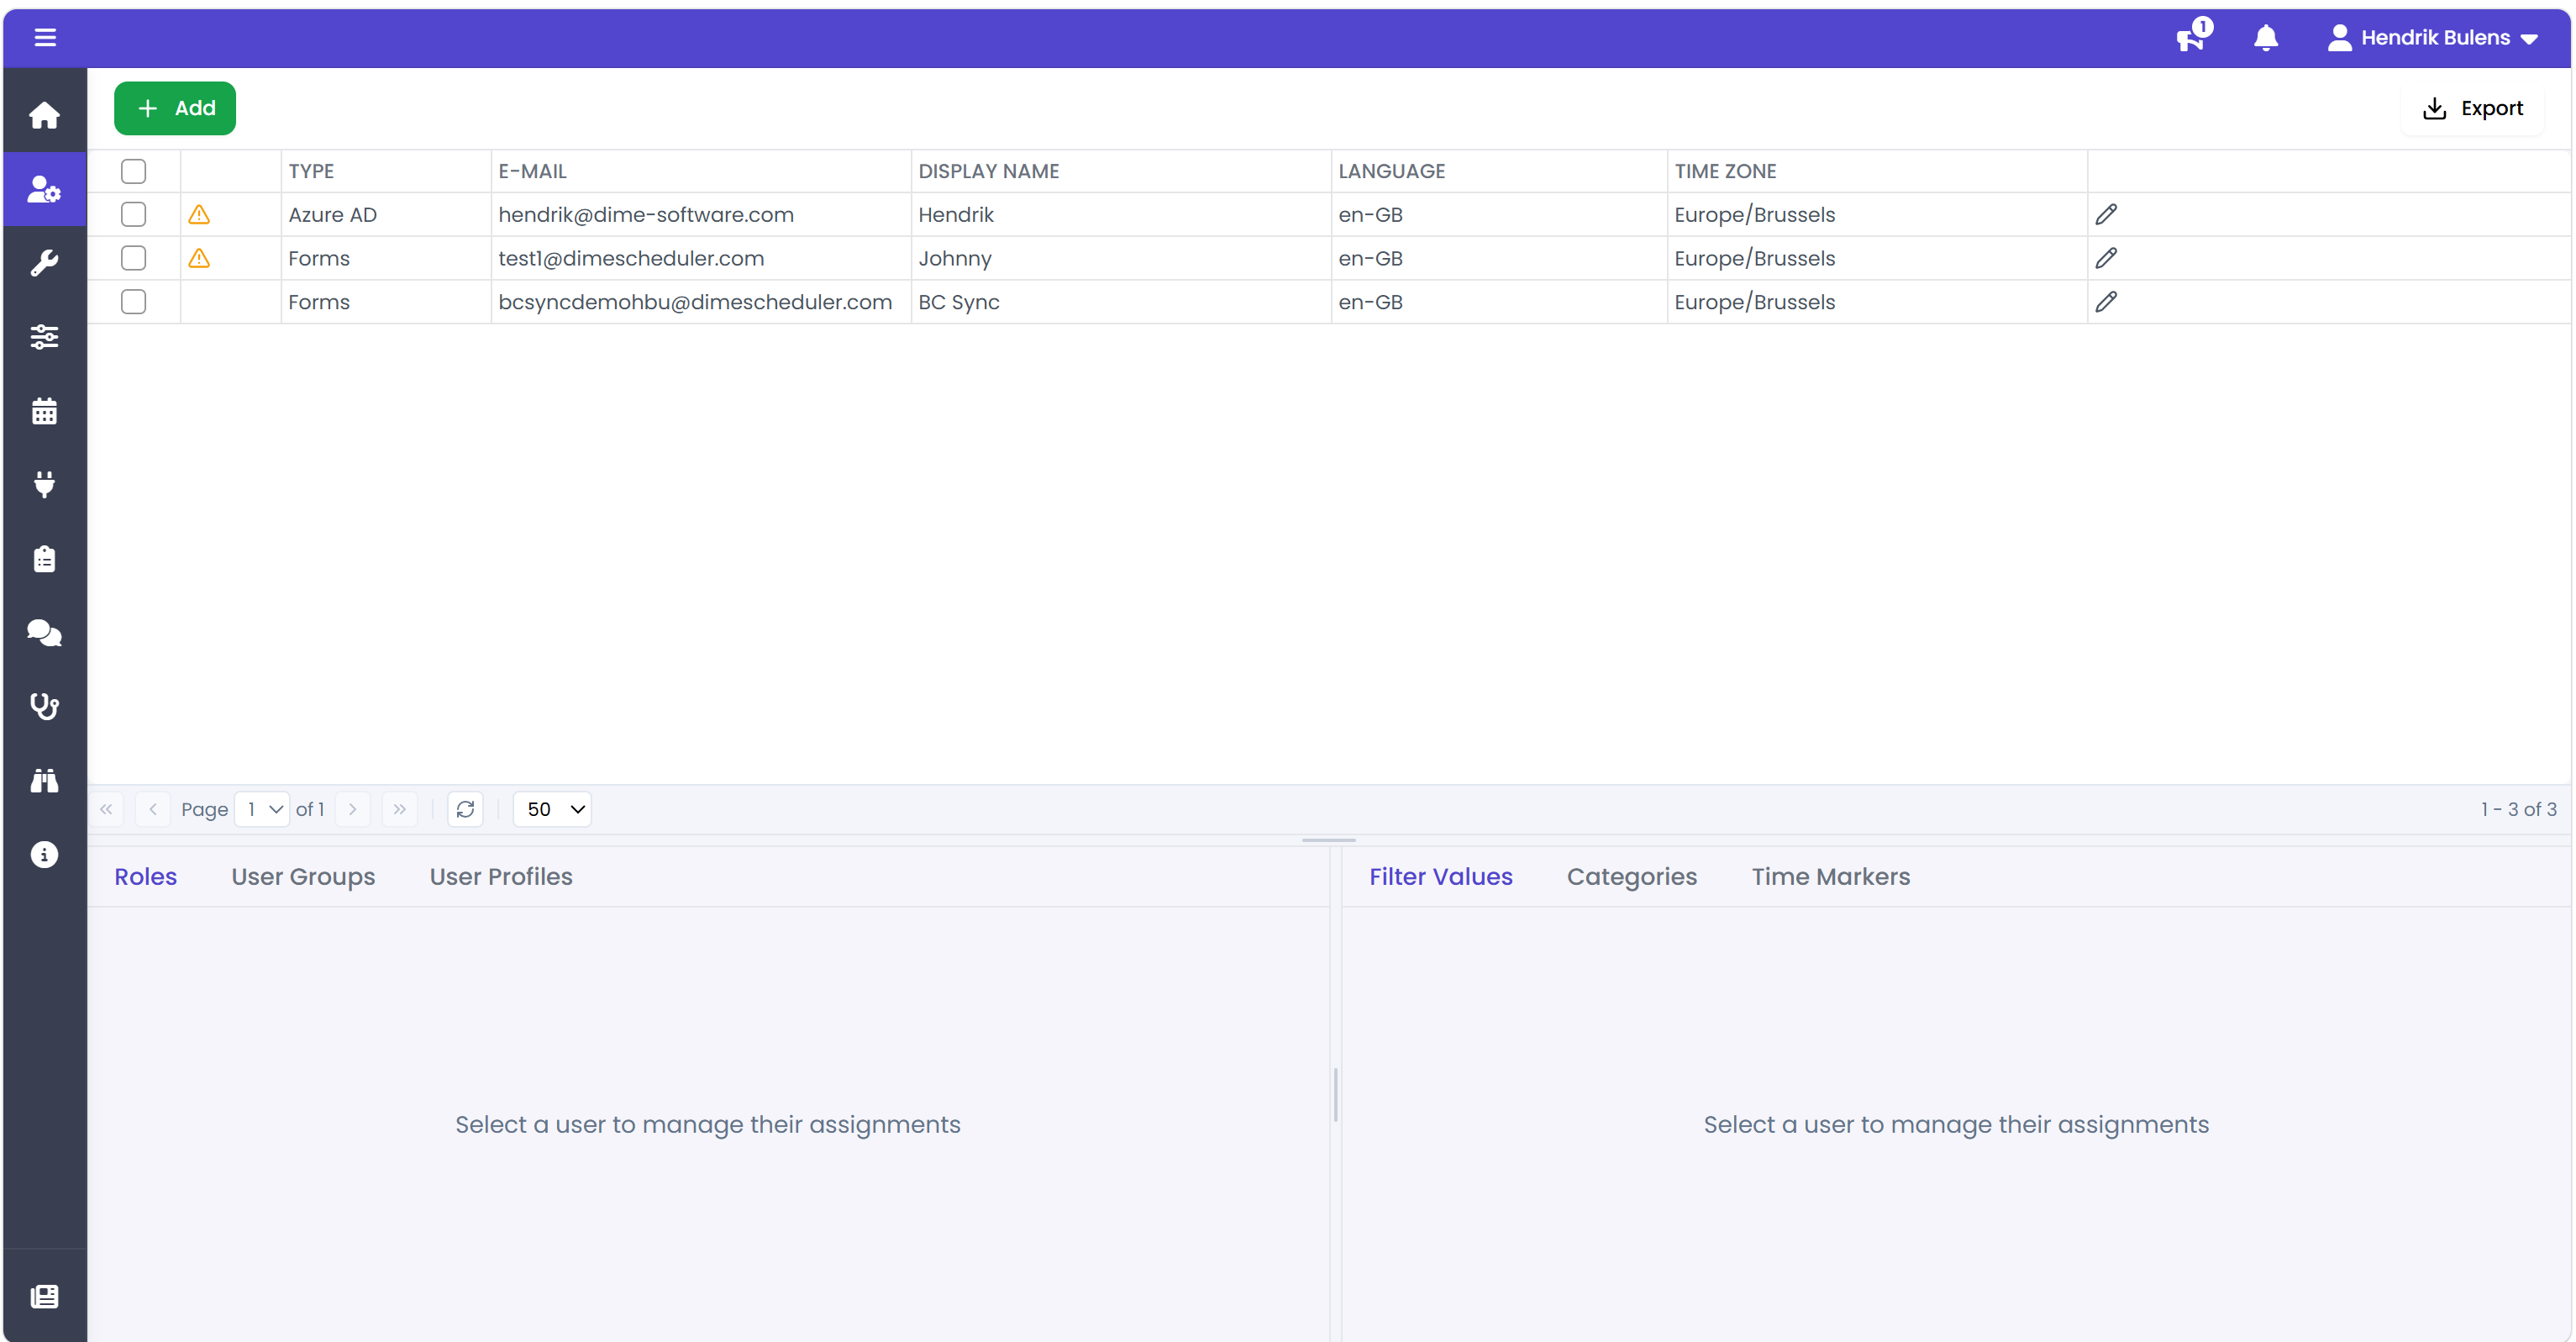
The users grid
The central grid lists every registered user. Every other grid on this page is contextual to whichever row you select here.

Each user has these properties:
| Column | Description | Required |
|---|---|---|
| Type | The account type. Forms, Microsoft Entra ID, or Windows AD. See Choosing an account type. | ✔️ |
| The user's e-mail address. Vital for forms users. | ✔️ | |
| Display Name | The display name of the user. | ✔️ |
| Language | The language Dime.Scheduler renders in for this user. | ❌ |
| Time zone | The time zone Dime.Scheduler renders in for this user. | ❌ |
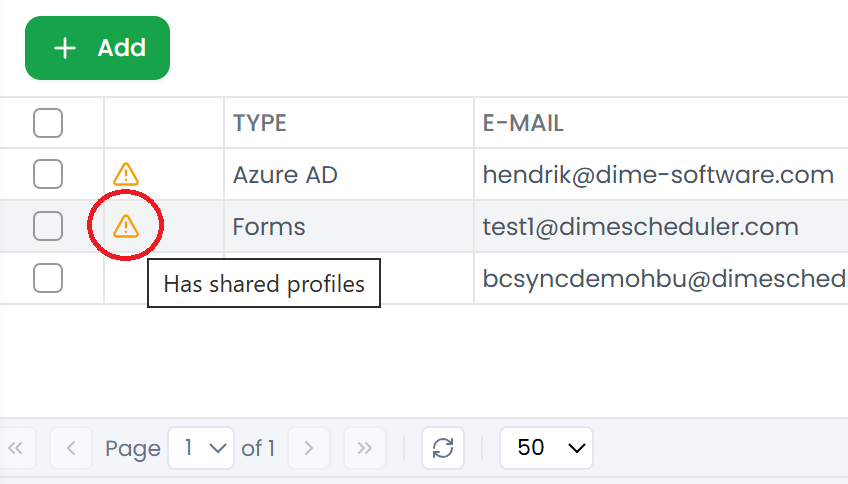
There is a sixth column that doesn't store data - it warns you when the user has shared content (layouts, profiles, filters) that other people depend on. More on that in Deleting a user.
Adding a user
Before clicking Add, decide what account type you want this person to use - the choice changes which fields you need to fill in. See Choosing an account type. The default and simplest choice is Forms, a Dime.Scheduler-managed account.

Type, e-mail, and display name are always required. Language and time zone are optional; leave them blank and the user is prompted to pick them at first login:

Once chosen, the user can change them anytime from the preferences page:


Deleting a user
Most user records can be deleted directly: select, click Delete (or press the delete key), confirm. The complication is shared content.
When a user owns shared layouts, profiles, or filters that other users depend on, the warning icon appears in the first column. Deleting that user without reassigning the content can leave broken references in the views of everyone they shared with. Hover the icon to see what needs reassigning, and use the User Generated Content flow to transfer ownership before deleting.
When there is no icon, the user is safe to remove.
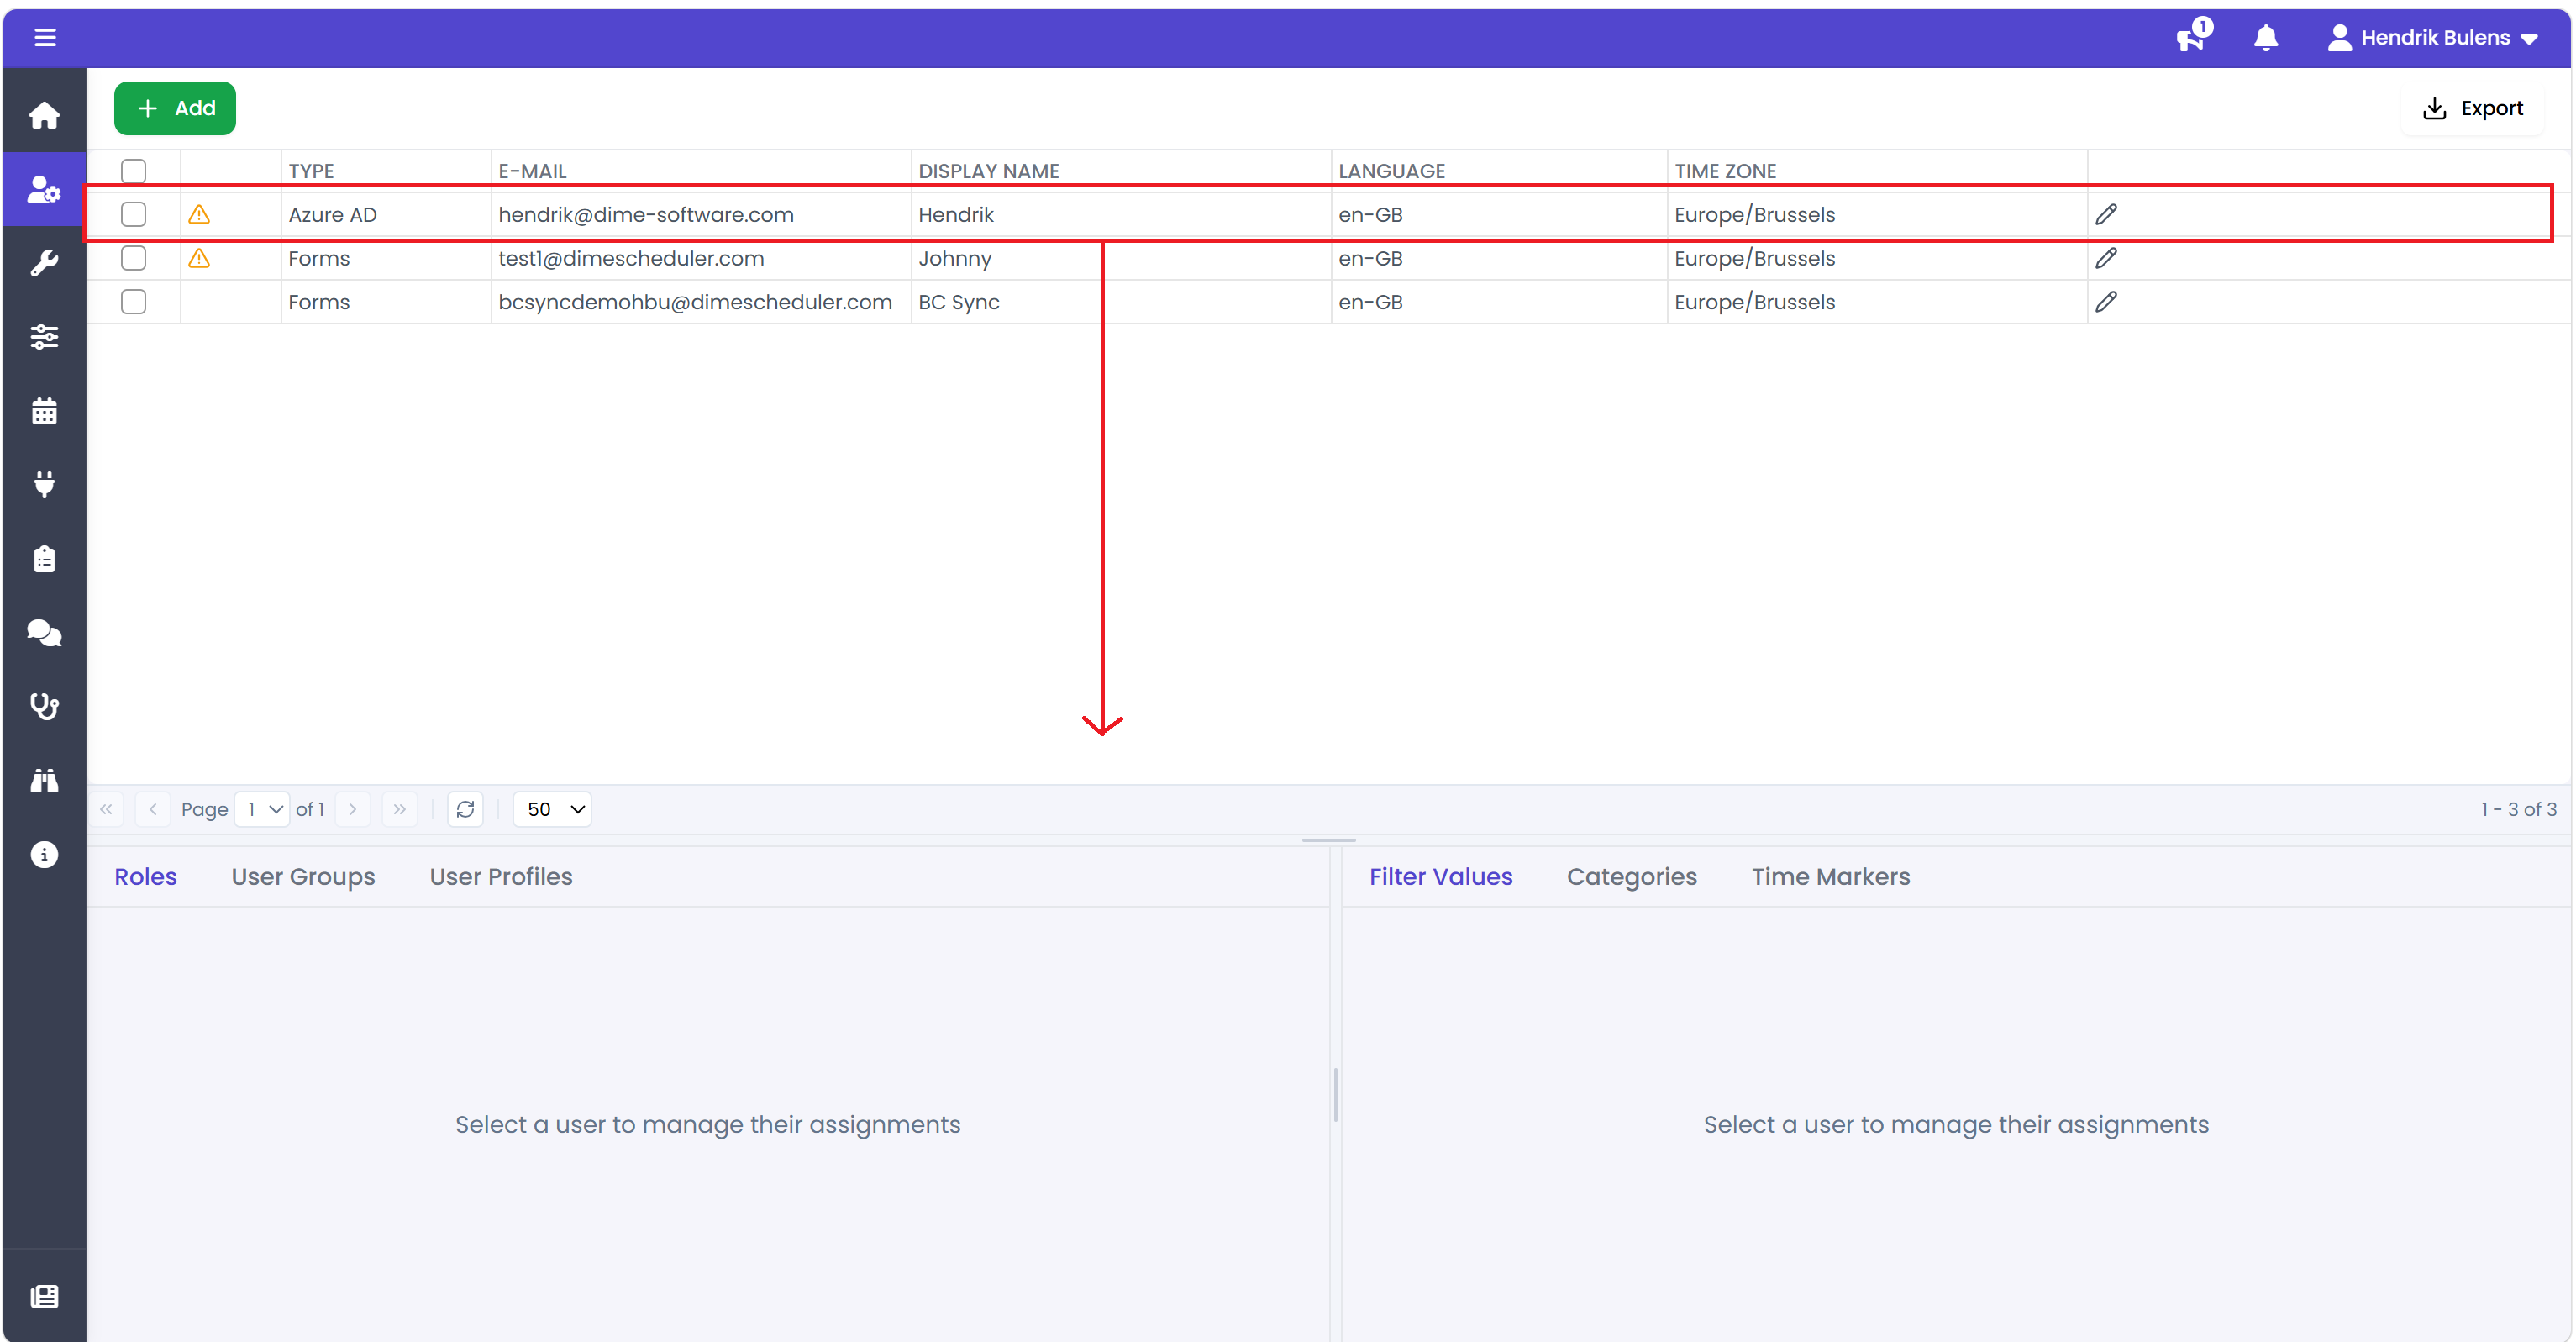
Attaching permissions, groups, and security data
The grids around the users grid are where you give a user their permissions and data-driven security. Each grid is filtered to the user currently selected in the central grid, so the workflow is select user, tick what applies, move to the next user.
The example below shows a user with every role assigned:
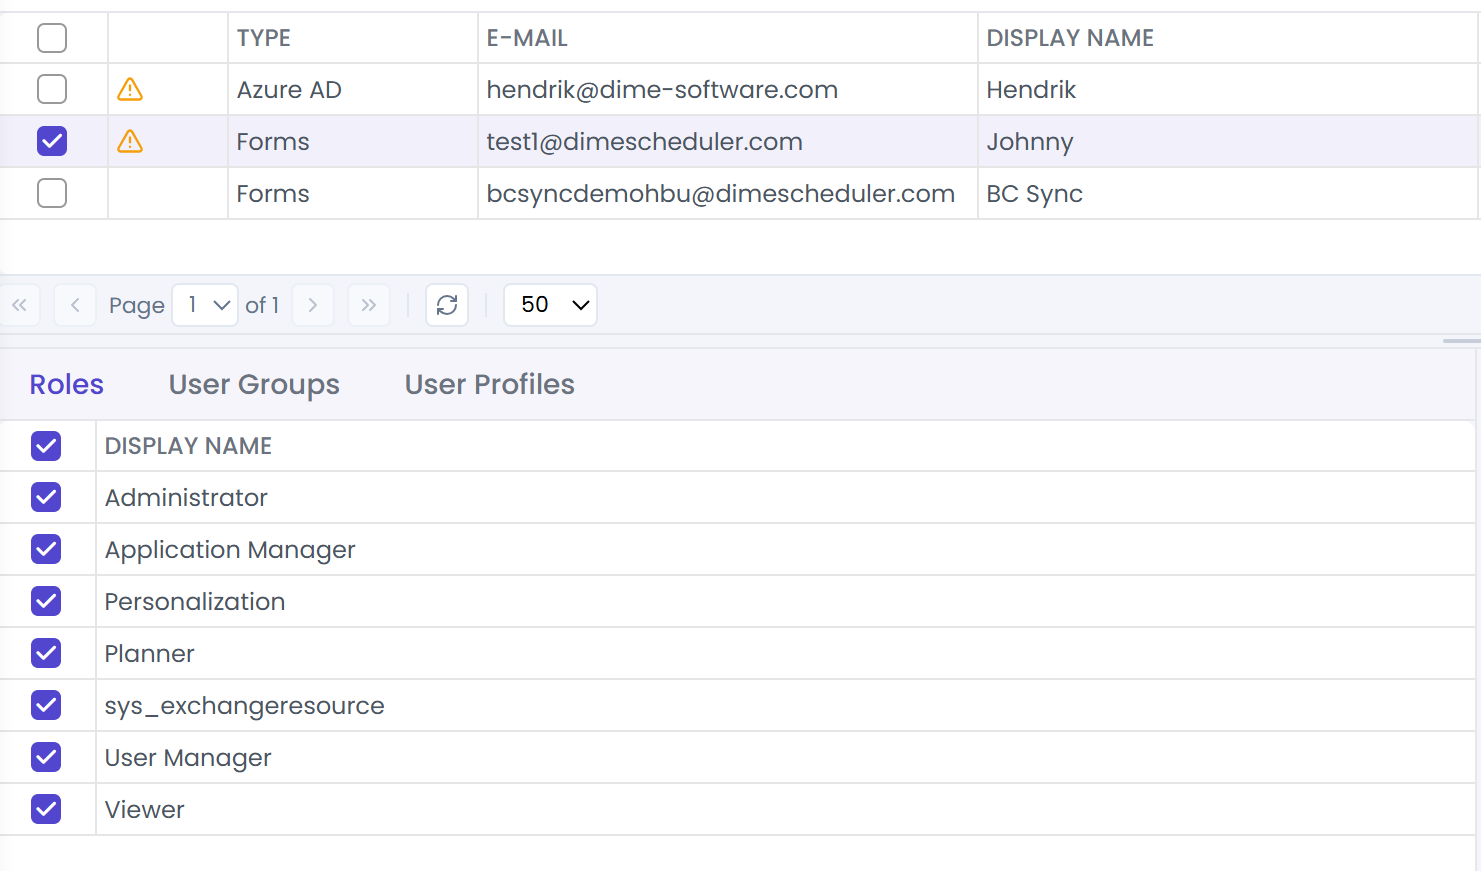
And one with all roles except one:
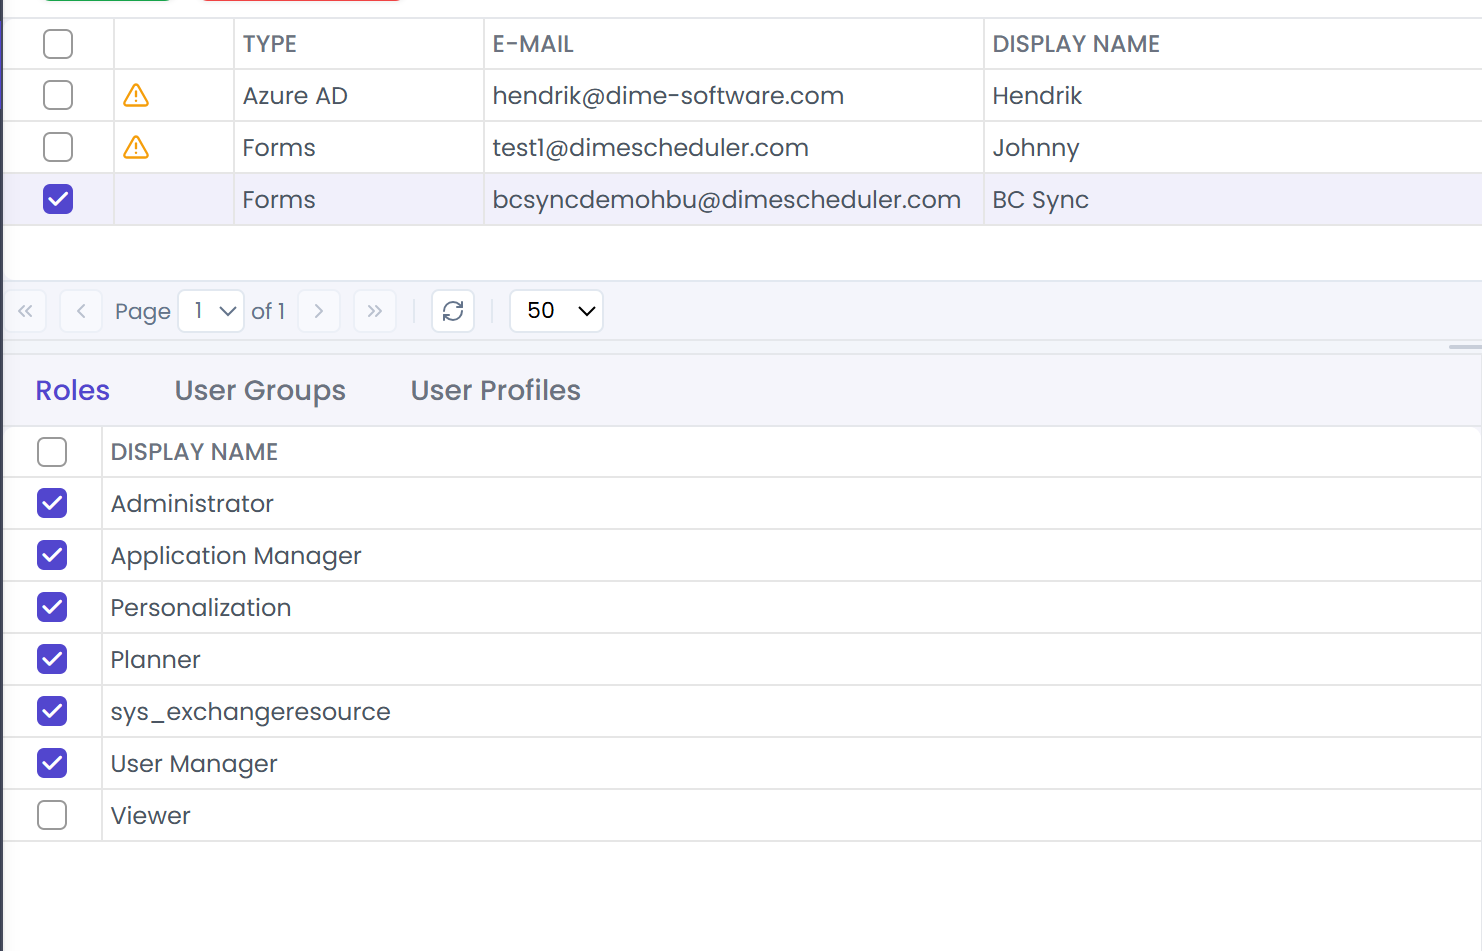
Assignment is a single click - tick the checkbox next to whatever you want to grant.
Changes to a user's assignments only take effect after that user signs out and back in. If a planner just lost a permission they should no longer have, ask them to log out before assuming the change "didn't work".
The contextual grids and what each one controls:
| Grid | What it does |
|---|---|
| Roles | Assigns roles (Planner, Administrator, Viewer, …) to the user. |
| User Groups | Adds the user to user groups. |
| User Profiles | Marks which shared profiles are available to the user. |
| Filter values | Restricts the user to specific filter values. Empty means "access to all". |
| Categories | Restricts the user to specific categories. Empty means "access to all". |
| Time Markers | Restricts the user to specific time markers. Empty means "access to all". |
The last three matter most for what a planner can see and do in the planning view. They are how data-driven security works in practice - "this planner only sees jobs in the Northern region" is enforced by assigning them only the Northern filter value.
Choosing an account type
Every user account has a source: the system that holds the credentials and authenticates the sign-in. Dime.Scheduler supports two:
Microsoft Entra ID
An account that already exists in Microsoft Entra ID (the service formerly known as Azure Active Directory). The user signs in through the Microsoft sign-in screen with their existing organisational credentials. This is the right choice when the organisation already uses Office 365 / Microsoft 365 and wants Dime.Scheduler to live inside the same identity system - single sign-on, centralised offboarding, the works.
Required fields: e-mail and display name. The e-mail must be a real Entra ID address.
Dime.Scheduler identity service (Forms)
A forms account is stored in Dime.Scheduler's own database. The user signs in with their e-mail and a password. Pick this when there is no central identity system to integrate with, or when the user does not have an Entra ID account.
A random password is generated on account creation; you can pass it on, and the user also receives an e-mail with a reset link. They will be prompted to change it on first login.
Password policy:
- At least 6 characters
- At least one digit
- At least one lower-case letter
- At least one upper-case letter
- At least one special character
Required fields: e-mail and display name. Language and time zone are optional - if blank, the user picks them on first login.
Reference
Shortcut keys
| Shortcut key | Action | Remark |
|---|---|---|
| DELETE | Deletes the selected records. Is the equivalent of the delete button. | Only when a delete button is present |
| CTRL + click on group | Collapses the other groups in the grid | Only possible when grouping is set |