Customizing columns
This guide walks you through customizing two columns so you can tailor the look and feel of the grids. You will change the display text and formatting of a free date field and a free decimal field.
Prerequisites
You need to be an administrator to access the setup views. Specifically, you need the "Settings module" user action assigned to your account.
Create a profile and layout
This step is optional, but a dedicated profile and layout make the impact of each change easy to see, so we will prepare one first.
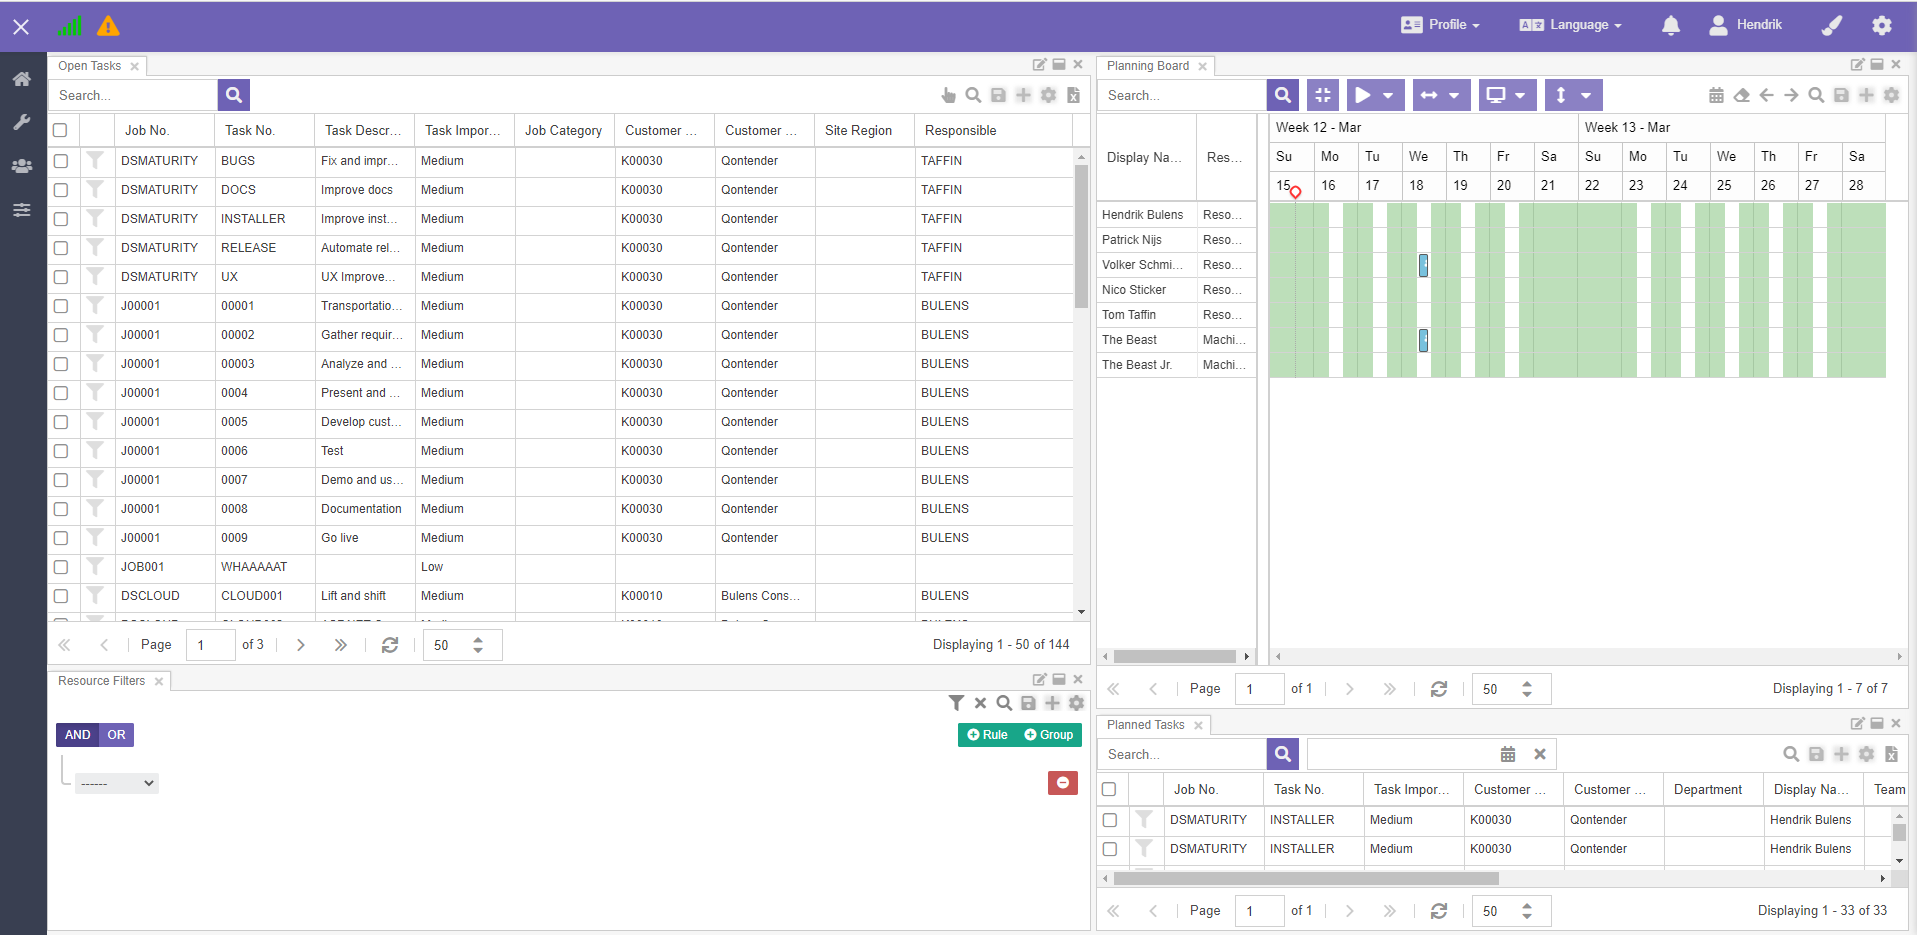
Start from the standard profile. Make the open tasks component a little wider so you can see a good number of columns, and remove any other components from the profile if needed.
Something like this works well:
Save the profile. Go to the "Profile" menu and click "Save as". In the modal window that appears, enter a descriptive name (for example "Customize Columns Guide"), mark it as the default profile, and save.
You now have access to the state buttons in the open tasks grid, which is exactly what you need. Navigate to one of the columns in the grid and open its menu. Open the columns submenu and add the columns "Task Free Date 1" and "Task Free Decimal 1". These fields accept any kind of data; they are not bound to any specific field in the back office, so it is up to you to give each column a meaning.
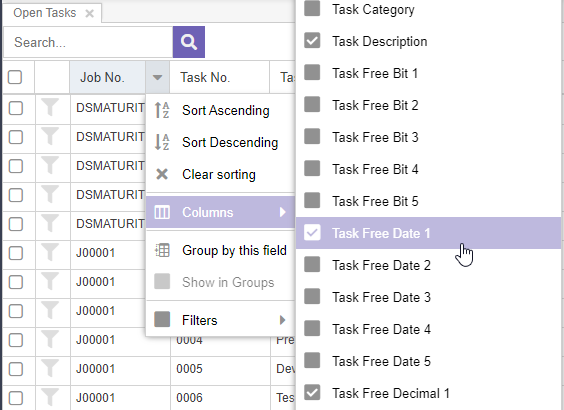
Once the columns are added, move them to the left. Locate them in the grid, drag the column headers to the left, and make them a little wider:

Save the layout. Click the icon in the open tasks grid. In the modal window that appears, enter a descriptive name (for example "Customize Columns Guide"), mark it as the default layout, and save.
That is all for the planning view. Now it is time to configure these columns.
Locate the columns
Go to Settings -> Localization to open the localization settings view.

As the name suggests, this view handles the localization of the application. The first tab lets you provide custom captions for many fields and columns, which is what you need here.
The grid on the left displays every field that can be customized. Add a filter to the "Field name" column for fields that contain the text "Free", and add a filter to the "Source table" column for fields that contain the text "Task". Somewhere in the middle of the grid you should find the records "FreeDecimal1" and "FreeDate1".
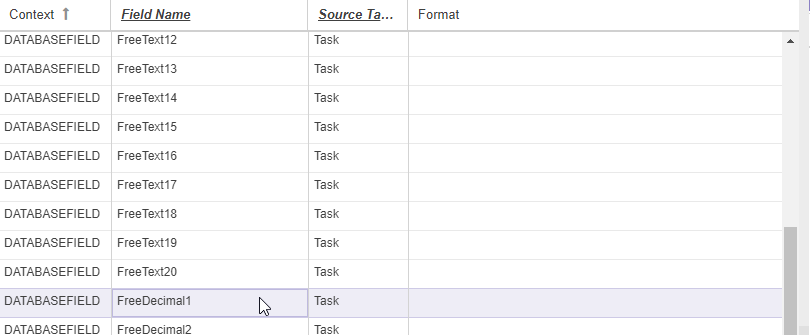
Start with the decimal field.
Configure the decimal field
In this section you will do two things: change the column caption (which is "Free Decimal 1" in English) and change how decimal values are displayed.
Decimal formatting
The supported decimal formats are documented in the localization settings. Suppose you want 4-digit precision, so the value 1.5 is displayed as 1.5000. The format to enter is "0.0000".
In the translations grid, make sure the "Free Decimal 1" field is selected. Double-click the record and enter 0.0000.

Save the changes.
Decimal caption
The grid on the right, called "Captions", is contextual: it shows the captions for whichever field is selected in the fields grid. With the "Free Decimal 1" field still selected, click the "Add" button in the "Captions" grid:
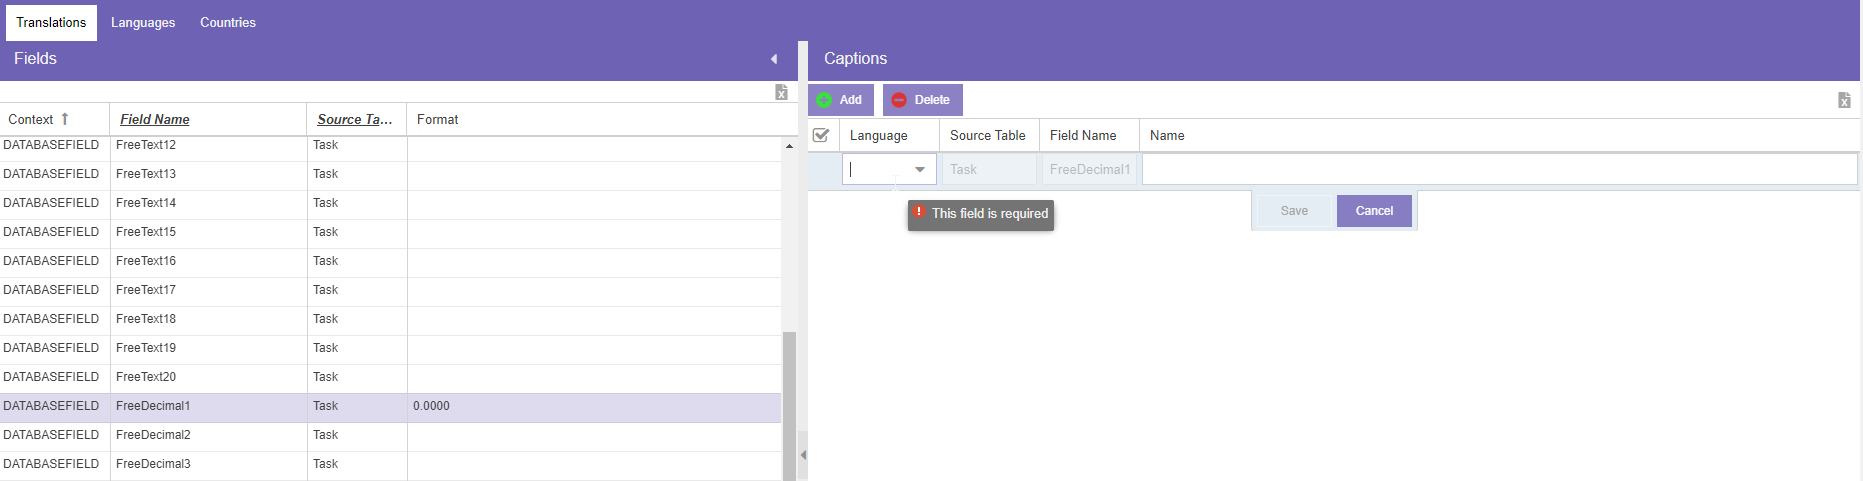
Now do two things: select the language and enter the corresponding caption. Stick to English and give it a name:

Save the changes.
Configure the date field
In this section you will do two things: change the column caption (which is "Free Date 1" in English) and change how date values are displayed. The steps are the same as the previous section.
Date formatting
The supported date formats are documented in the localization settings. Suppose you want to show the full representation of the date, so the value 2020/03/15 is displayed as "March 15 2020 10:10". The format to enter is "F j Y g:i".
In the translations grid, make sure the "Free Date 1" field is selected. Double-click the record and enter "F j Y g:i".
![]()
Save the changes.
Date caption
The grid on the right, called "Captions", is contextual: it shows the captions for whichever field is selected in the fields grid. With the "Free Date 1" field still selected, click the "Add" button in the "Captions" grid:

Now do two things: select the language and enter the corresponding caption. Stick to English and give it a name:

Save the changes.
Validate changes
Navigate back to the planning view. Notice how the column names and formatting have changed:

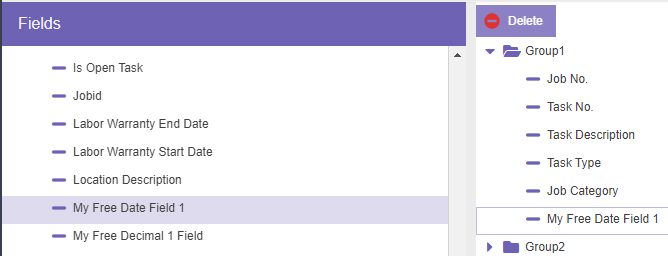
From now on, every reference to this field uses the caption rather than the default translation. The pane contents setup is one example:
The task details window also uses the new formatting and captions:
