Installing the Zapier connector
Step 1: Join the private connector
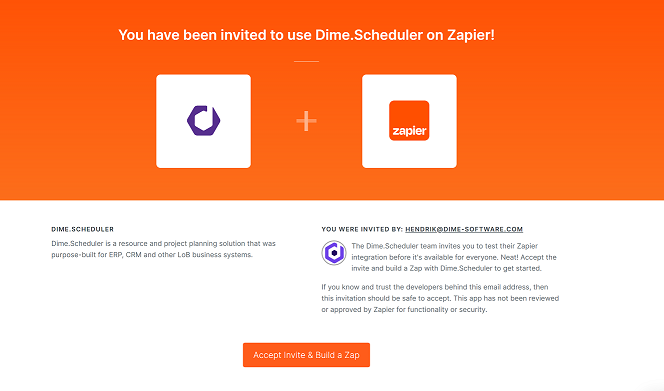
To get the Zapier connector running, join our connector that is currently still under development, and as such it is a private connector.
You'll be welcomed by this page. Simply accept the invite and you're almost ready to build zaps.
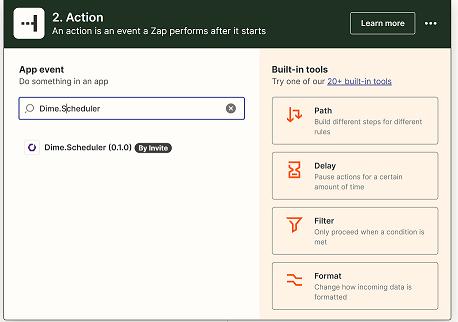
Step 2: Create new zap
There's one thing left to configure the Zapier connector. For that, we'll create a zap. Select any trigger of choice, configure it and proceed to a new action. Look for 'Dime.Scheduler':
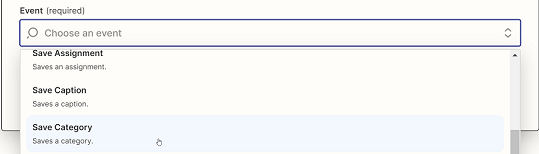
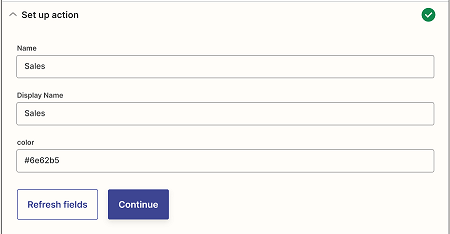
Select the event that you'd like to fire. For example, we could create a new category to distinguish work items that are created from a Google Spreadsheet:
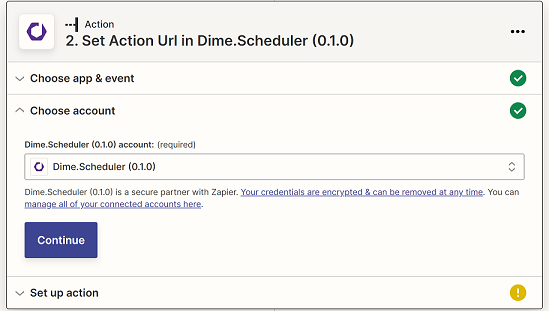
Step 3: Configure account
Zapier will then ask you to choose an account. If this is the first time you use the connector, you will need to sign in:

A new window will appear that prompts the credentials to Dime.Scheduler Connect and Dime.Scheduler.
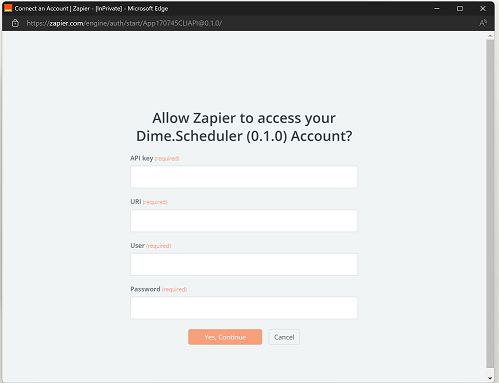
You should then just paste the key in the API Key field The following three fields refer to your instance of Dime.Scheduler. You need to provide the URI of Dime.Scheduler (which must be accessible by Zapier) and a user/password combination so Dime.Scheduler can establish a connection and insert the data.
Once submitted, the window will close and Zapier will allow you to continue building your zap.
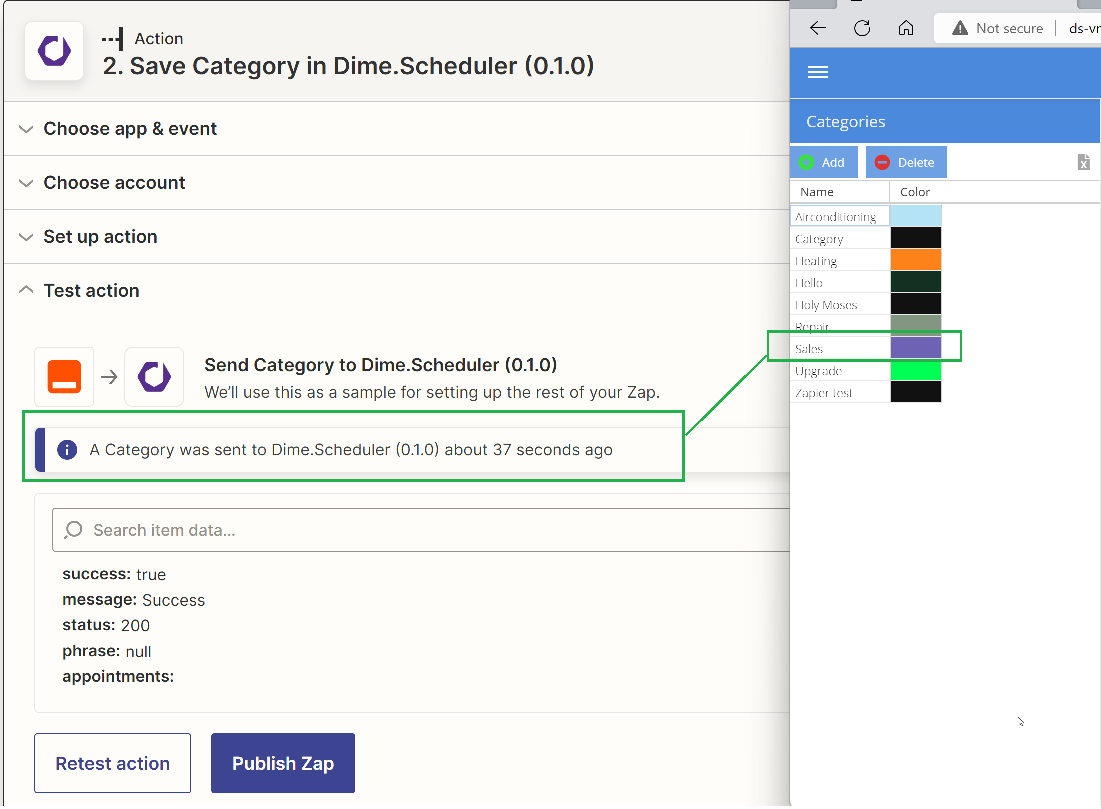
Step 4: Build zaps!
Now it's just a matter of configuring the actions and you're done.
Simply invoke the trigger and see the magic happening.