Configuration
For more information on the setup of a connector, read this first.
As far as configuration is concerned, you'll only need to add a connector to the setup in Dime.Scheduler. The URL should be publicly accessible and must be able to receive a POST request. By default the data is passed as JSON.
As an example, the webhook connector can be used to push appointments back to the Power Platform and everything that's connected to it.
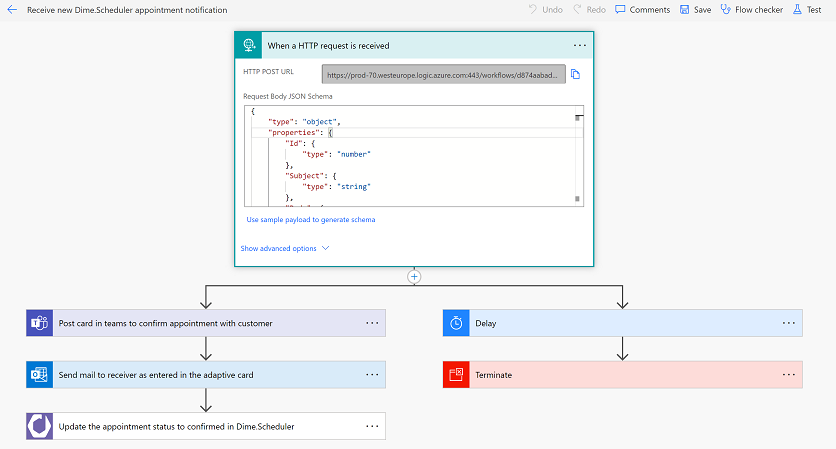
In the connectors settings, you'll find that the HTTP POST URI is used:

The entire appointment schema is published every time you do something on the planning board, so you'll have access to properties such as:
- Subject and body
- Start and end time
- Assigned resources
- The work item (task and job)
- Visual indicators
- Custom fields
- ...and more
Source App
The source app identifies which back-office system resources, tasks and appointments belong to. You could associate a connector to another system, such as Business Central, to do ancillary tasks such as sending out emails, in which you can use the same source app identifier as the BC administration.
In other cases, the underlying may be more fundamental such as a CRM system, in which case you'll want to write back planning data to. Whatever the use case is, it's best to use a unique and descriptive name to identify the originating system.
Alternative: Power Automate triggers
You can use the connector for Dime.Scheduler in Power Automate to achieve the same result. Behind the covers, Power Automate will register a new connector in Dime.Scheduler when you initiate the flow with one of Dime.Scheduler's triggers:
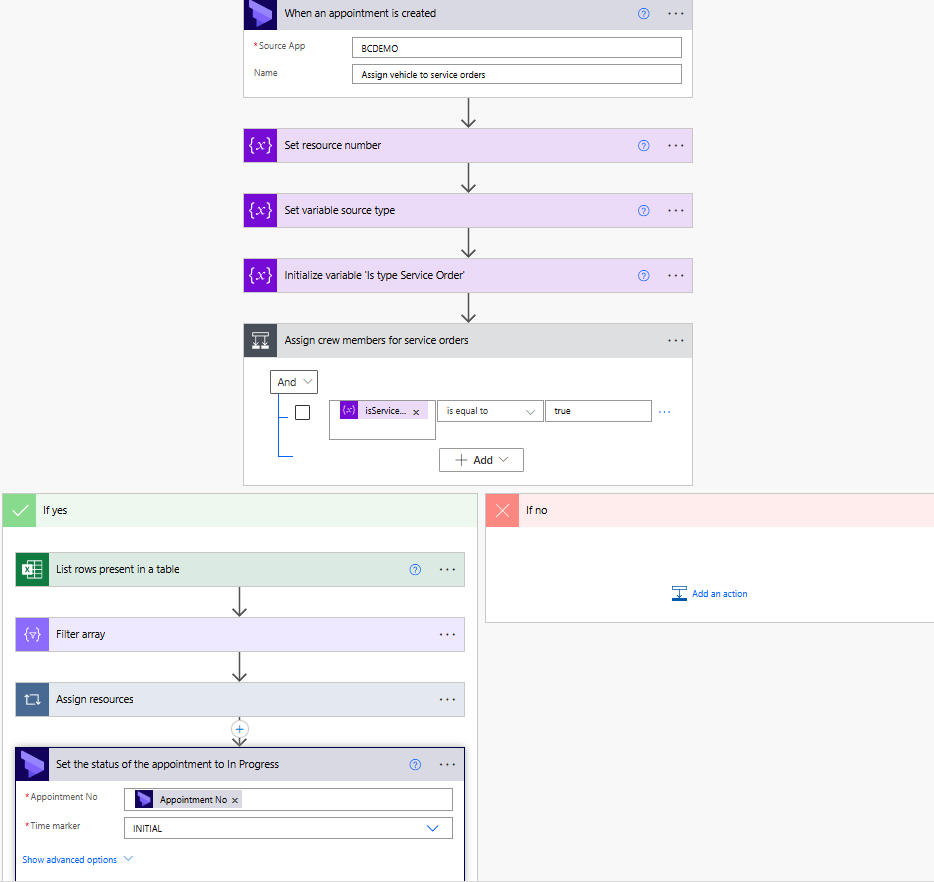
For more info on the Power Automate connector, continue here.