Part 1: Setting up tasks
This part shows you how to make a Planner task available for planning in Dime.Scheduler the moment a user creates it.
This is the first post in the guide on how to integrate Dime.Scheduler with Microsoft Planner through the Power Platform:
- Part 1: Tasks
- Part 2: Processing appointments
You will learn how to:
- Set up a Power Automate flow
- Convert a Planner task into a Dime.Scheduler task
This tutorial assumes a Power Platform connection for the Dime.Scheduler has already been created. If you haven't done so, make sure to check out the Excel tutorial.
Step 1: What constitutes a task
Dime.Scheduler is built around planning resources and tasks. A resource is anyone or anything that can carry out work, and a task is the unit of work a resource needs to execute.
In this tutorial, you schedule Planner tasks that employees create in a plan. The example uses a simple Kanban board, a common tool for teams that want to collaborate and streamline their work.
The Dime.Scheduler task model maps cleanly onto Microsoft Planner because it also has two levels: jobs and tasks. A job is the high-level entity, closest to a plan in Microsoft Planner. It is a collection of activities (the tasks) that need to be completed to reach an outcome, and it bundles information shared by all of those tasks, such as customer info, billing details, and address. For the full list of a job's properties, see the API reference.
A task is the actual unit of work to be carried out. Every task belongs to a job and uniquely identifies an item of work that appears in the open task list, and then on the planning board once scheduled. For the full list of a task's properties, see the API reference.
Step 2: Create a new flow
Create a new flow in Power Automate and choose the 'When a new task is created' trigger.

Make sure you have already created a plan in Planner before you build the flow.
Step 3: Inserting tasks
A plannable task in Dime.Scheduler has two levels: jobs and tasks. A job holds the high-level properties such as customer and billing info, while a task covers the actual work to be performed. To make a Planner task available in Dime.Scheduler, the flow runs two actions: it creates the job, then creates the task. Each time the flow runs, it should ensure the job exists and add the new task to the list in Dime.Scheduler.
Expand either action in Power Automate and you'll find a long list of fields that control how Dime.Scheduler behaves. For the details, see the Job API reference and Task API reference.
For most actions in the Dime.Scheduler connector for the Power Platform, the first field is a Yes/No field that asks whether to append or remove the record. Append creates or updates a record and is idempotent: if a record already exists with that external identifier, the action updates it. When set to false, Dime.Scheduler removes the record with the external identifier (JobNo or TaskNo) you provide. For this tutorial, set append to true.
The Power Platform lets you click your workflows together. Inside an action, Power Automate shows which fields are in scope. You just need to find the right field in Dime.Scheduler and populate it with the value a Planner entry provides:
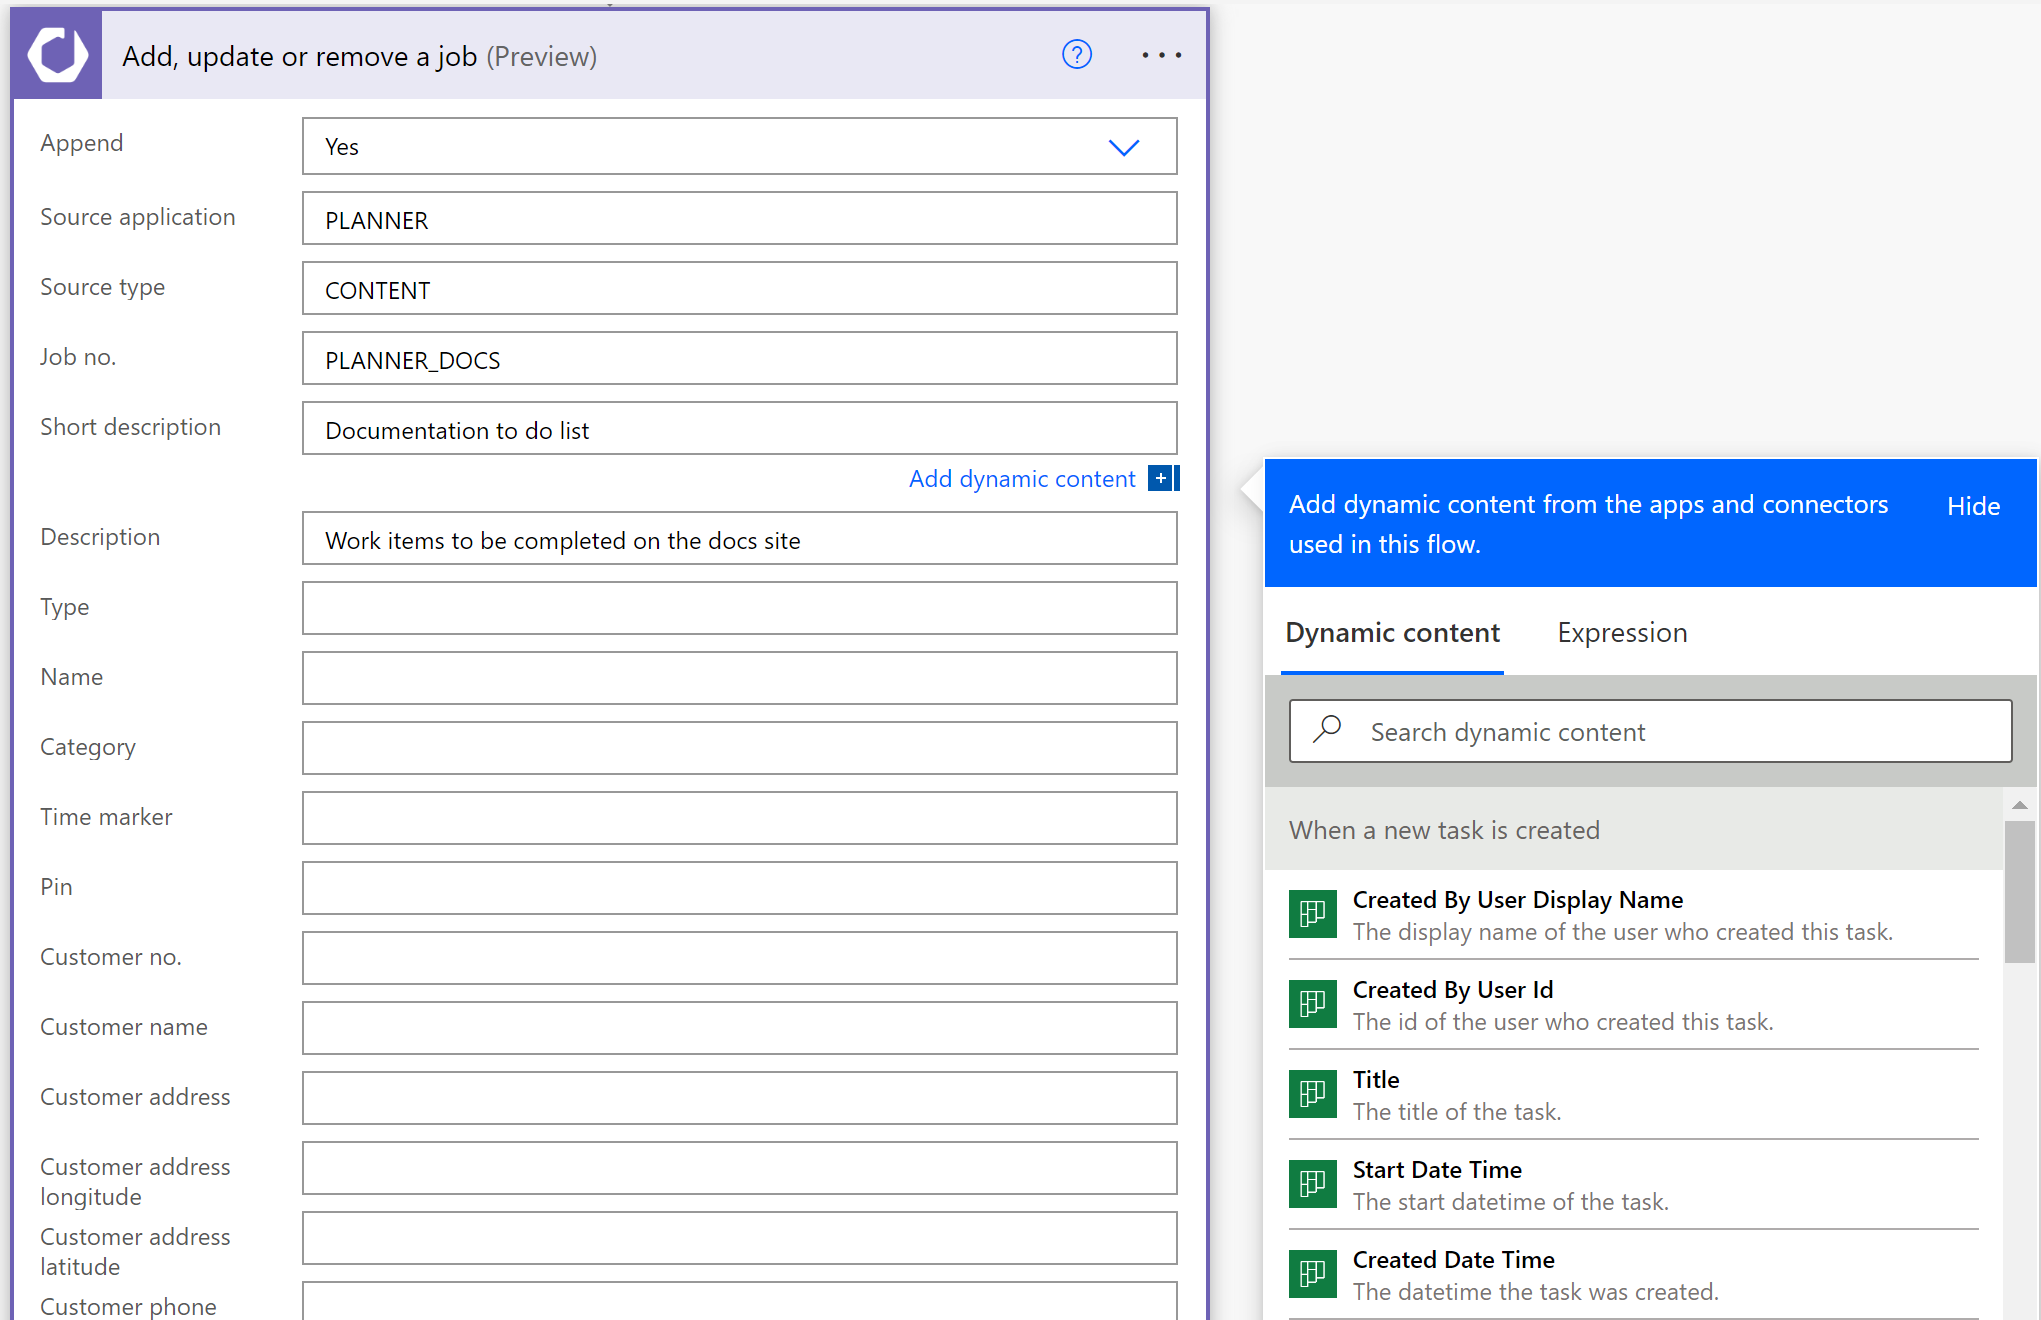
For the source app and source type fields, set static values that apply to every record passing through this flow. For each Planner task, this records that the original data source is a Planner list and that the work type is 'CONTENT' (this board tracks content to be added to the documentation platform). Because the flow is scoped to a single board, you can also use a fixed JobNo field.
When creating a task, you provide a unique external identifier in the TaskNo field and a reference to the job through the job's unique external identifier in the JobNo field. The Job No value must be the same in both actions, and so must the Source App and Source Type fields.
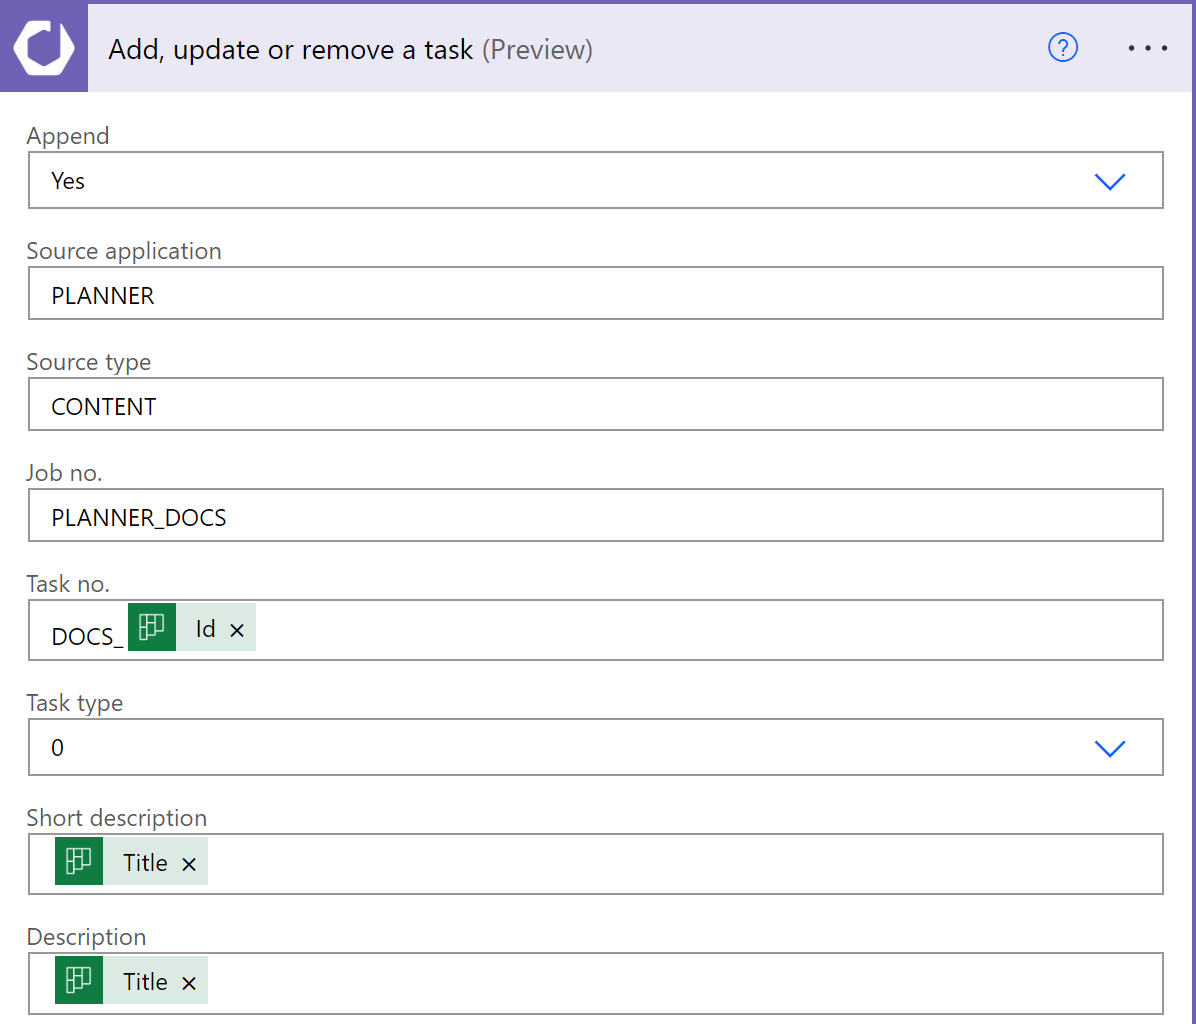
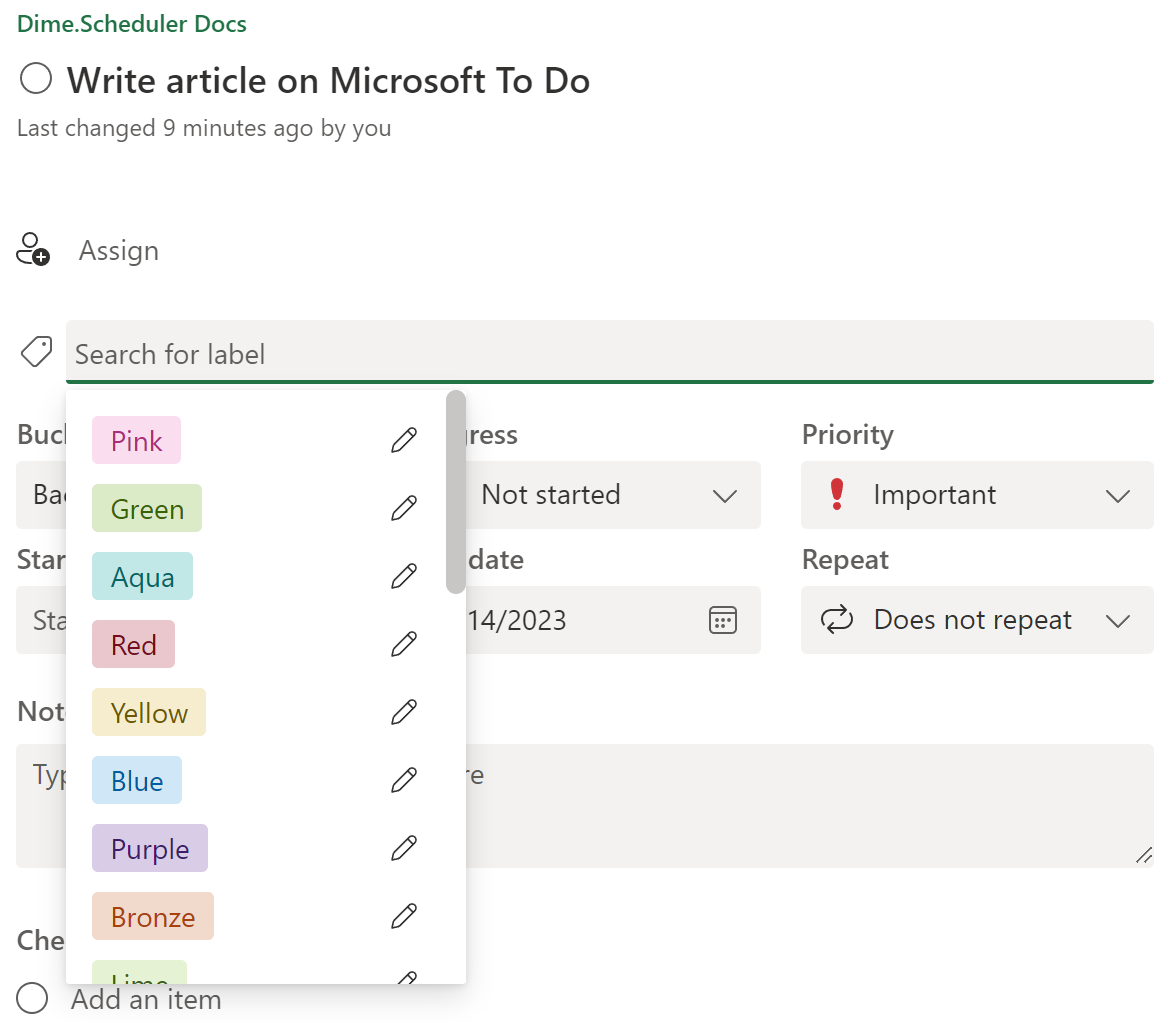
A plan carries little project metadata. At the time of writing, the Planner connector in Power Automate is limited, so there isn't much to do at the job level. Tasks offer more options. For example, you can link Planner labels to the visual indicators in Dime.Scheduler. A Planner task also has a Priority field that indicates its importance, just like Dime.Scheduler, so you can use that field too.
This example also stores the Planner task's ID value in one of the task's FreeText fields. You'll use that value once the task is planned in Dime.Scheduler.
Save the flow and test it by creating a new Planner task. To check the flow's status, go to its 'Run history' section and click the last run:
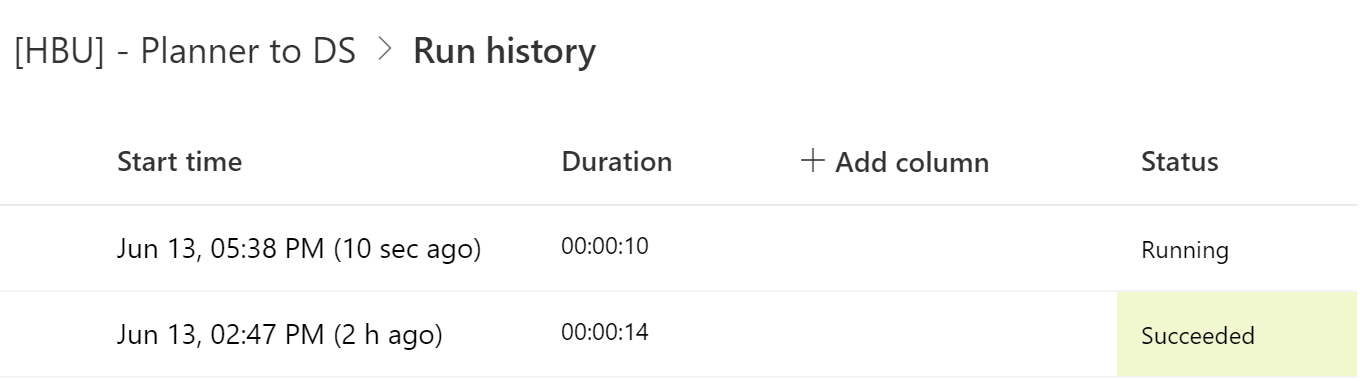
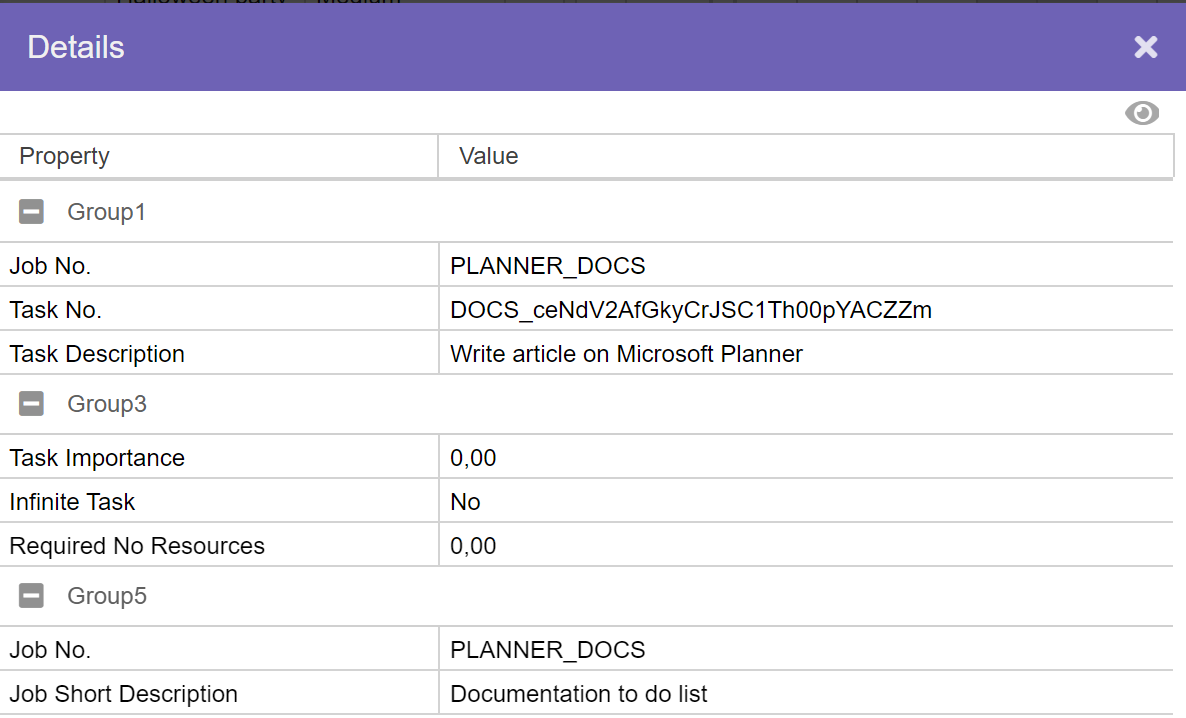
Open the open task list and you should see a new record that refers to the Planner task. If nothing appears, check the status of the step in the Power Platform or the logs in Dime.Scheduler.
You've now added tasks to Dime.Scheduler and they're ready to plan. Take any task, find an available resource, and drag and drop it onto the right date and time.