Part 1: Setting up the connector
This first part has a single goal: connect the Power Platform to Dime.Scheduler so you can build flows against it.
This is the first post in the guide on integrating Dime.Scheduler with Microsoft Excel through the Power Platform:
- Part 1: Setting up the connector
- Part 2: Resources
- Part 3: Tasks
- Part 4: Processing appointments
By the end of this part, you will know:
- The prerequisites
- How to obtain an API key
- How to create a connection in the Power Platform
- How to test the connector by inserting a visual indicator
Step 1: Get a Dime.Scheduler API key
Ask your administrator to generate an API key and store it somewhere safe. You will need it in the next step.
Step 2: Create a Power Platform connection
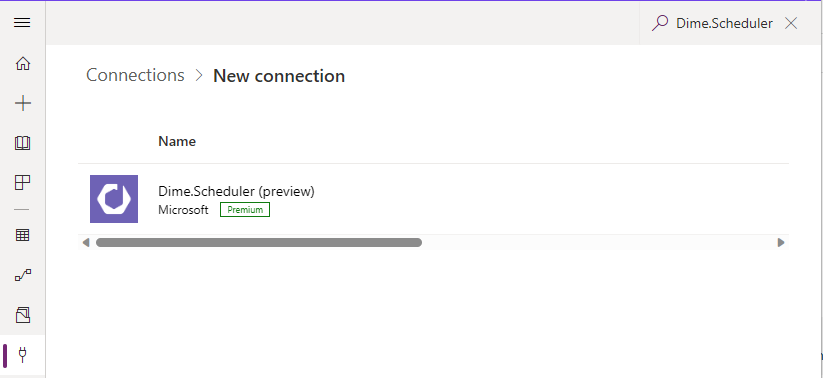
Open the Power Platform Connections list and click the 'New connection' button. Scroll down to find 'Dime.Scheduler', or search for 'Dime.Scheduler' in the search box:
Click the + button to open the connection dialog:
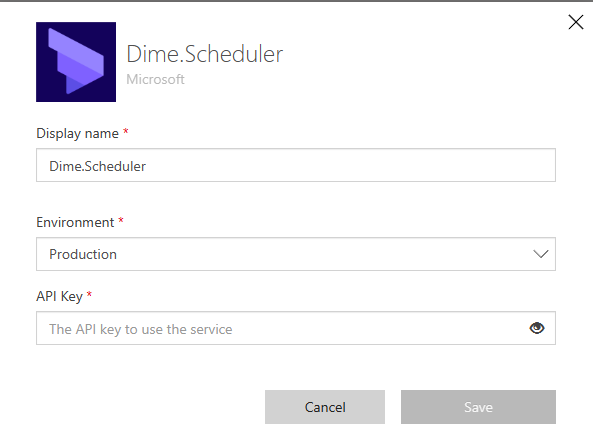
Fill out the form with the following values:
- Environment: select 'Production' or 'Sandbox'
- API key: the Dime.Scheduler API key.
Step 3: Test the connector
Take the connector for a test drive by inserting a category, a visual indicator that sets the background color of appointments on the planning board.
Create a new Instant cloud flow:
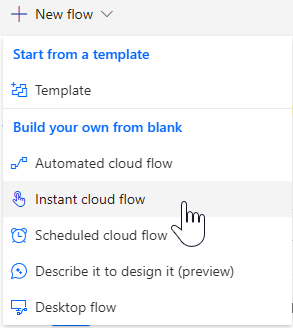
In the modal window, give the flow a name and select 'Manually trigger a flow':

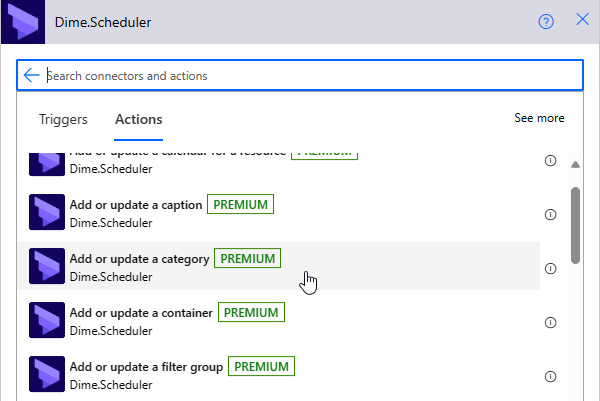
The Flow builder opens with the trigger already on the canvas. Add one step to give the flow meaning. Click the + New step button, search for Dime.Scheduler, then select the 'Add, update or remove a category' action from the list.
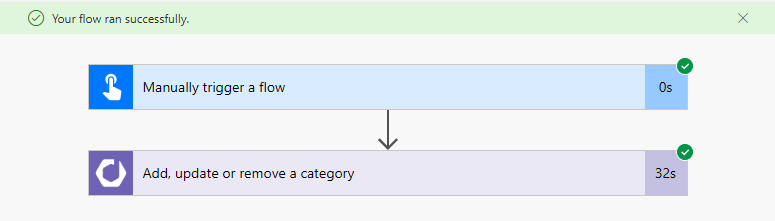
If all went well, the flow should look like this:
This is where your knowledge of Dime.Scheduler pays off. If you know the data model, the Power Platform is straightforward to use. If not, these references will help you navigate the data model and its terminology:
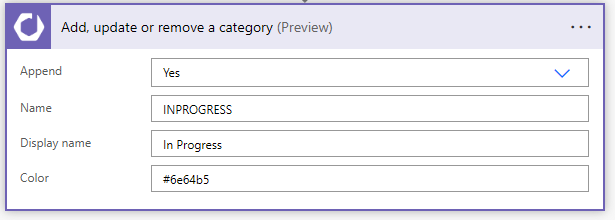
A category is a simple type. Fill out a name and a color, and indicate whether to append (create or update) or to remove the record. The name serves as the external identifier, while the display name appears throughout the application. When you're done, you should have something like this:
Save the flow, click the Test button in the top-right corner, select 'Manually', and click the Test button at the bottom of the fly-in window.
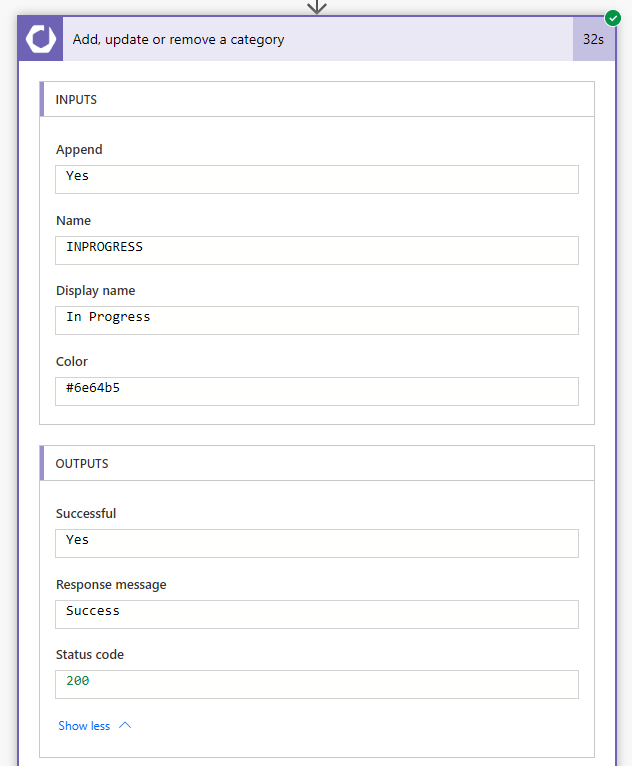
To check the status, go to the flow's 'Run history' section and click the last run:
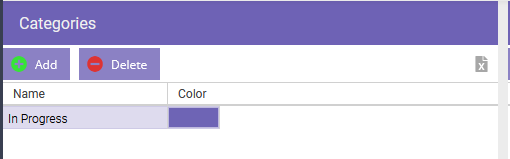
When you navigate to -> Indicators, you should see a new category in the list:
If nothing appears, check the status of the step in the Power Platform, or the logs in Dime.Scheduler.
Congratulations, you've just created your first Power Automate flow with the connector for Dime.Scheduler.
The next part explores the connector further and shows how to manage your resources and work items with the Power Platform connector and Dime.Scheduler.