Configuration
Every Exchange setting lives on this one setup page.
Microsoft Entra ID
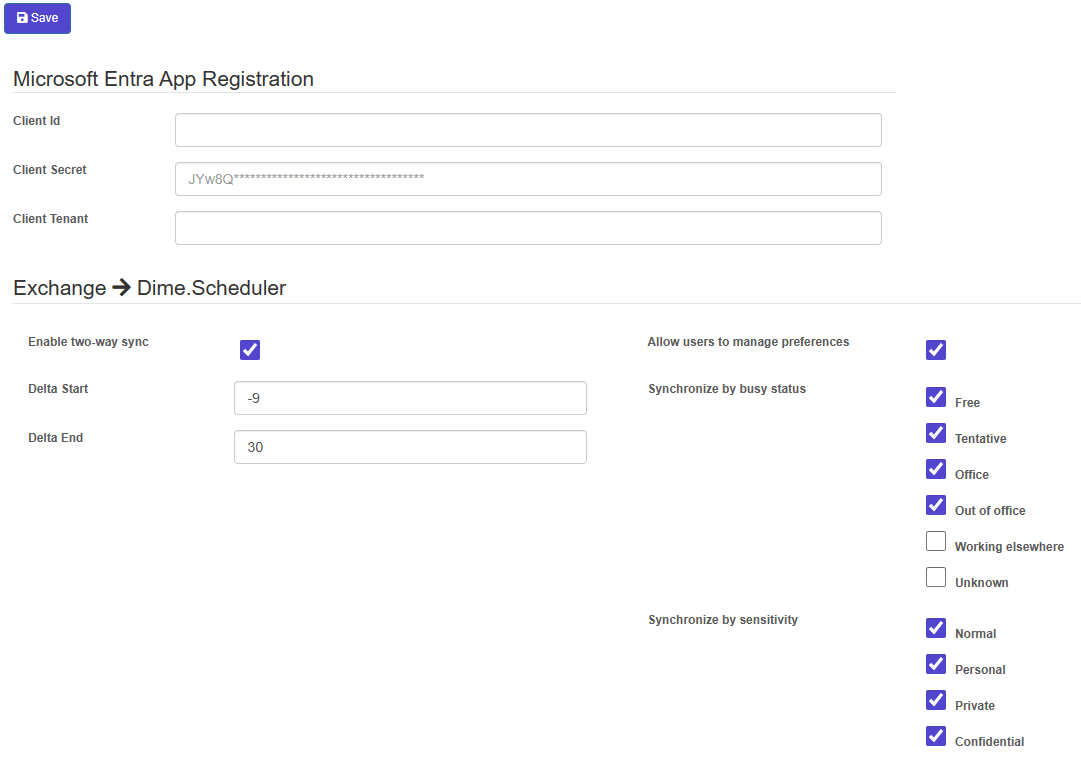
First, give Dime.Scheduler access to Microsoft Graph by pasting in the values from your Entra ID app registration.
Once those are filled in, Dime.Scheduler can sync planning to people's Outlook calendars. Two more things to do: enable the Exchange integration in the resource setup, and give each resource an email address your Exchange online administration can use.
Exchange to Dime.Scheduler
Pulling appointments from Exchange back into Dime.Scheduler takes a bit more setup. To turn it on, tick the bidirectional checkbox and set the range for the Microsoft Graph event deltas.
On the right of this section, choose whether the same sync settings apply to all resources, or whether each resource decides for itself which appointments flow back. Two filters are available: Show As status and Sensitivity.
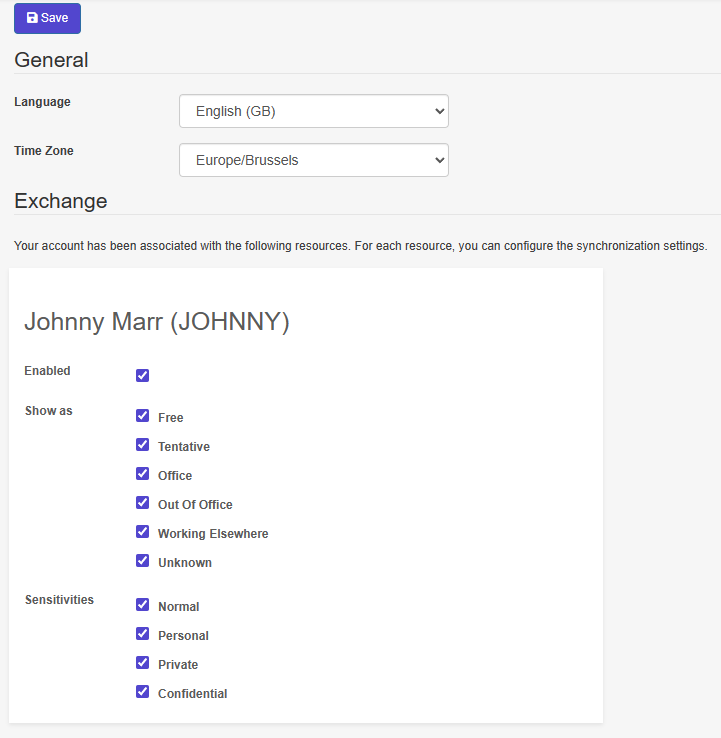
An appointment flows back to Dime.Scheduler when the resource has opted in to these settings:
- Enabled (called
Exchange integration (user)in the resource setup) - Show as status (choose any):
- Free
- Tentative
- Office
- Out of office
- Sensitivity (choose any):
- Normal
- Personal
- Private
- Confidential
If you let resources decide for themselves, each needs a user account. Grant them access to the application; when their email matches a resource's email, they can set their own preferences on a dedicated page.