Installing the extension
The Dime.Scheduler extension is a BC app that adds everything a stock Business Central installation is missing in order to talk to Dime.Scheduler: a setup page, the codeunits that publish and consume data, the appointment pages, and the FastTrack WizardFastTrack wizardThe setup wizard inside Business Central or NAV that connects it to Dime.Scheduler and switches on the modules to plan from. It writes the source app and creates the source types for each enabled module.. Until it's installed, the rest of the integration has nothing to attach to.
How you install it depends on where BC runs:
- On-premises: an
.appfile you publish to the BC server with PowerShell. You're in charge of versions, and you can hold back upgrades to match your release schedule. - Cloud: an AppSource listing. Microsoft handles delivery, and updates roll out with the rest of your BC environment.
Jump to your scenario below.
On-premises (PowerShell)
You have two routes: our installation script (the easy path) or plain PowerShell commands (the explicit one). Either way, you run them in the Business Central Administration Shell.
Option 1: the installation script (recommended)
The script does three things for you: downloads the right .app for the BC wave you specify, verifies its signature, and runs Publish, Sync and Install in the right order. We maintain it on the PowerShell Gallery as DimeScheduler.InstallBCExtension.ps1.
Install it:
Install-Script -Name DimeScheduler.InstallBCExtension
Find where it landed:
(Get-InstalledScript -Name "DimeScheduler.InstallBCExtension").InstalledLocation
Prepend cd to drop your terminal straight into that folder, and chain the install in one line:
cd (Get-InstalledScript -Name "DimeScheduler.InstallBCExtension").InstalledLocation; & .\DimeScheduler.InstallBCExtension.ps1 -serverInstance BC -version 24
Run it. The script takes these parameters:
| Parameter | Description | Required |
|---|---|---|
| serverInstance | The BC instance's name | ✅ |
| version | The major version of the BC wave (e.g. 14, 22, 23, 24) | Either -version or -path |
| path | The full path of the Dime.Scheduler .app file | Either -version or -path |
| skipVerification | Switch -skipVerification to skip verification. Dev/testing only. | ❌ |
Use -version when you want the latest extension for that BC wave - the script downloads it for you:
.\DimeScheduler.InstallBCExtension.ps1 -serverInstance BC -version 24
Use -path when you've already got the .app (a specific version, a private build, or an offline server):
.\DimeScheduler.InstallBCExtension.ps1 -serverInstance BC -path C:\dsfiles\Dime_Dime.Scheduler_2.3.0.3.app
Option 2: plain PowerShell
The script is a wrapper around three native BC cmdlets - so if you'd rather see exactly what runs, here it is:
Publish-NAVApp -ServerInstance BC -Path ".\Dime_Dime.Scheduler_x.x.x.x.app"
Sync-NavApp -ServerInstance BC -Name "Dime.Scheduler"
Install-NAVApp -ServerInstance BC -Name "Dime.Scheduler"
Replace x.x.x.x with the version you're installing. On a multi-tenant server instance, add a -Tenant parameter to the second and third commands. The third command is optional: you can also install the app from the client instead.
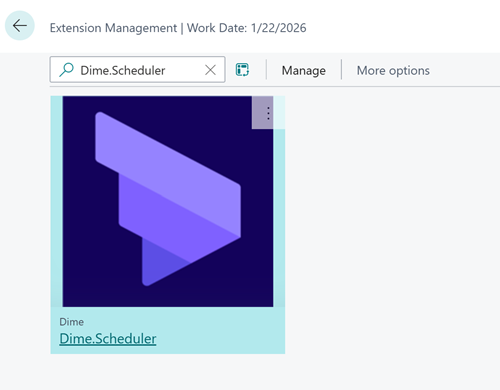
Within moments the Dime.Scheduler extension appears in BC's extension list:
Cloud (AppSource)
Cloud installations don't run PowerShell - everything goes through AppSource, Microsoft's marketplace for Business Central apps.
Find it
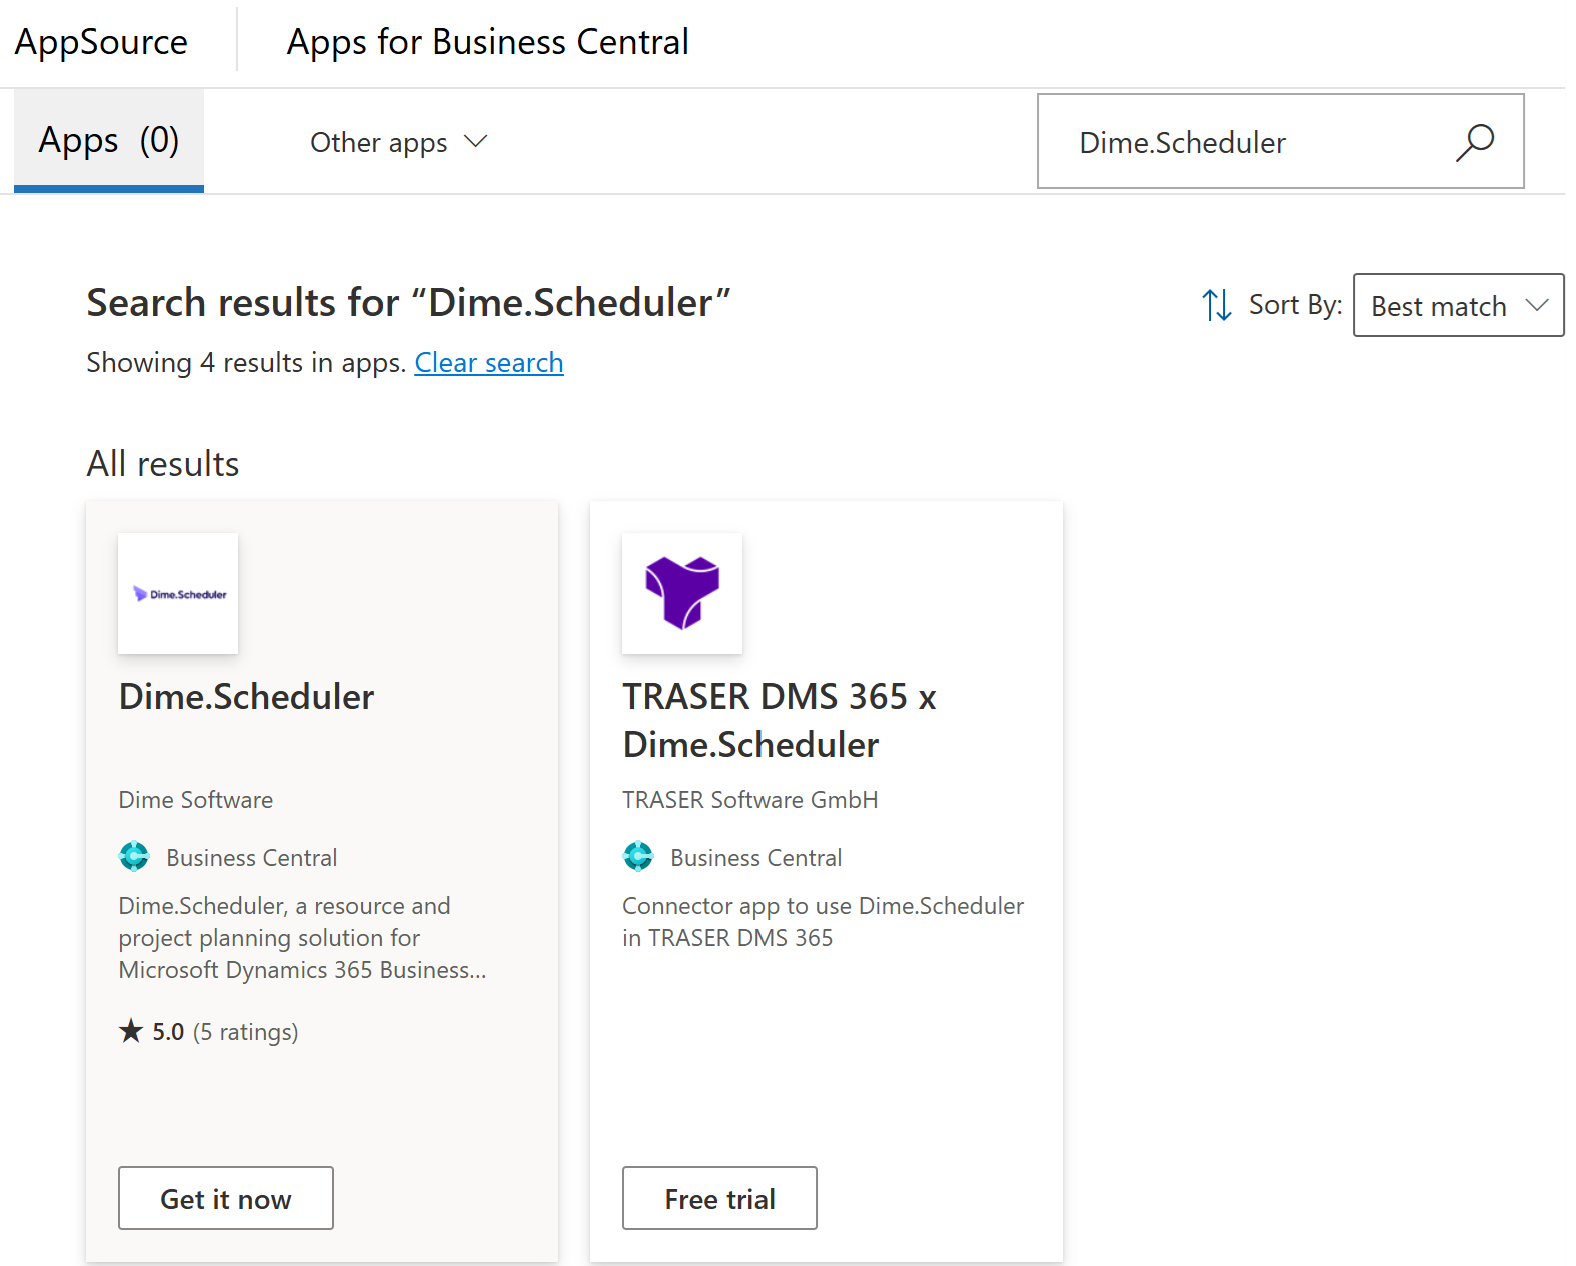
Open the AppSource listing directly, or search AppSource for Dime.Scheduler:
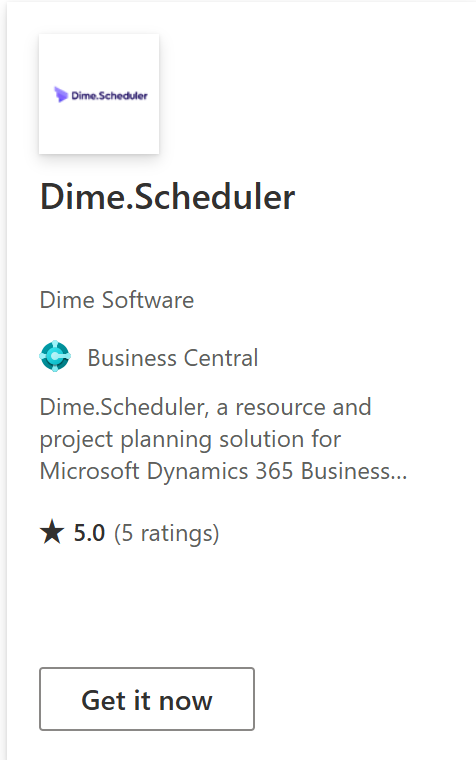
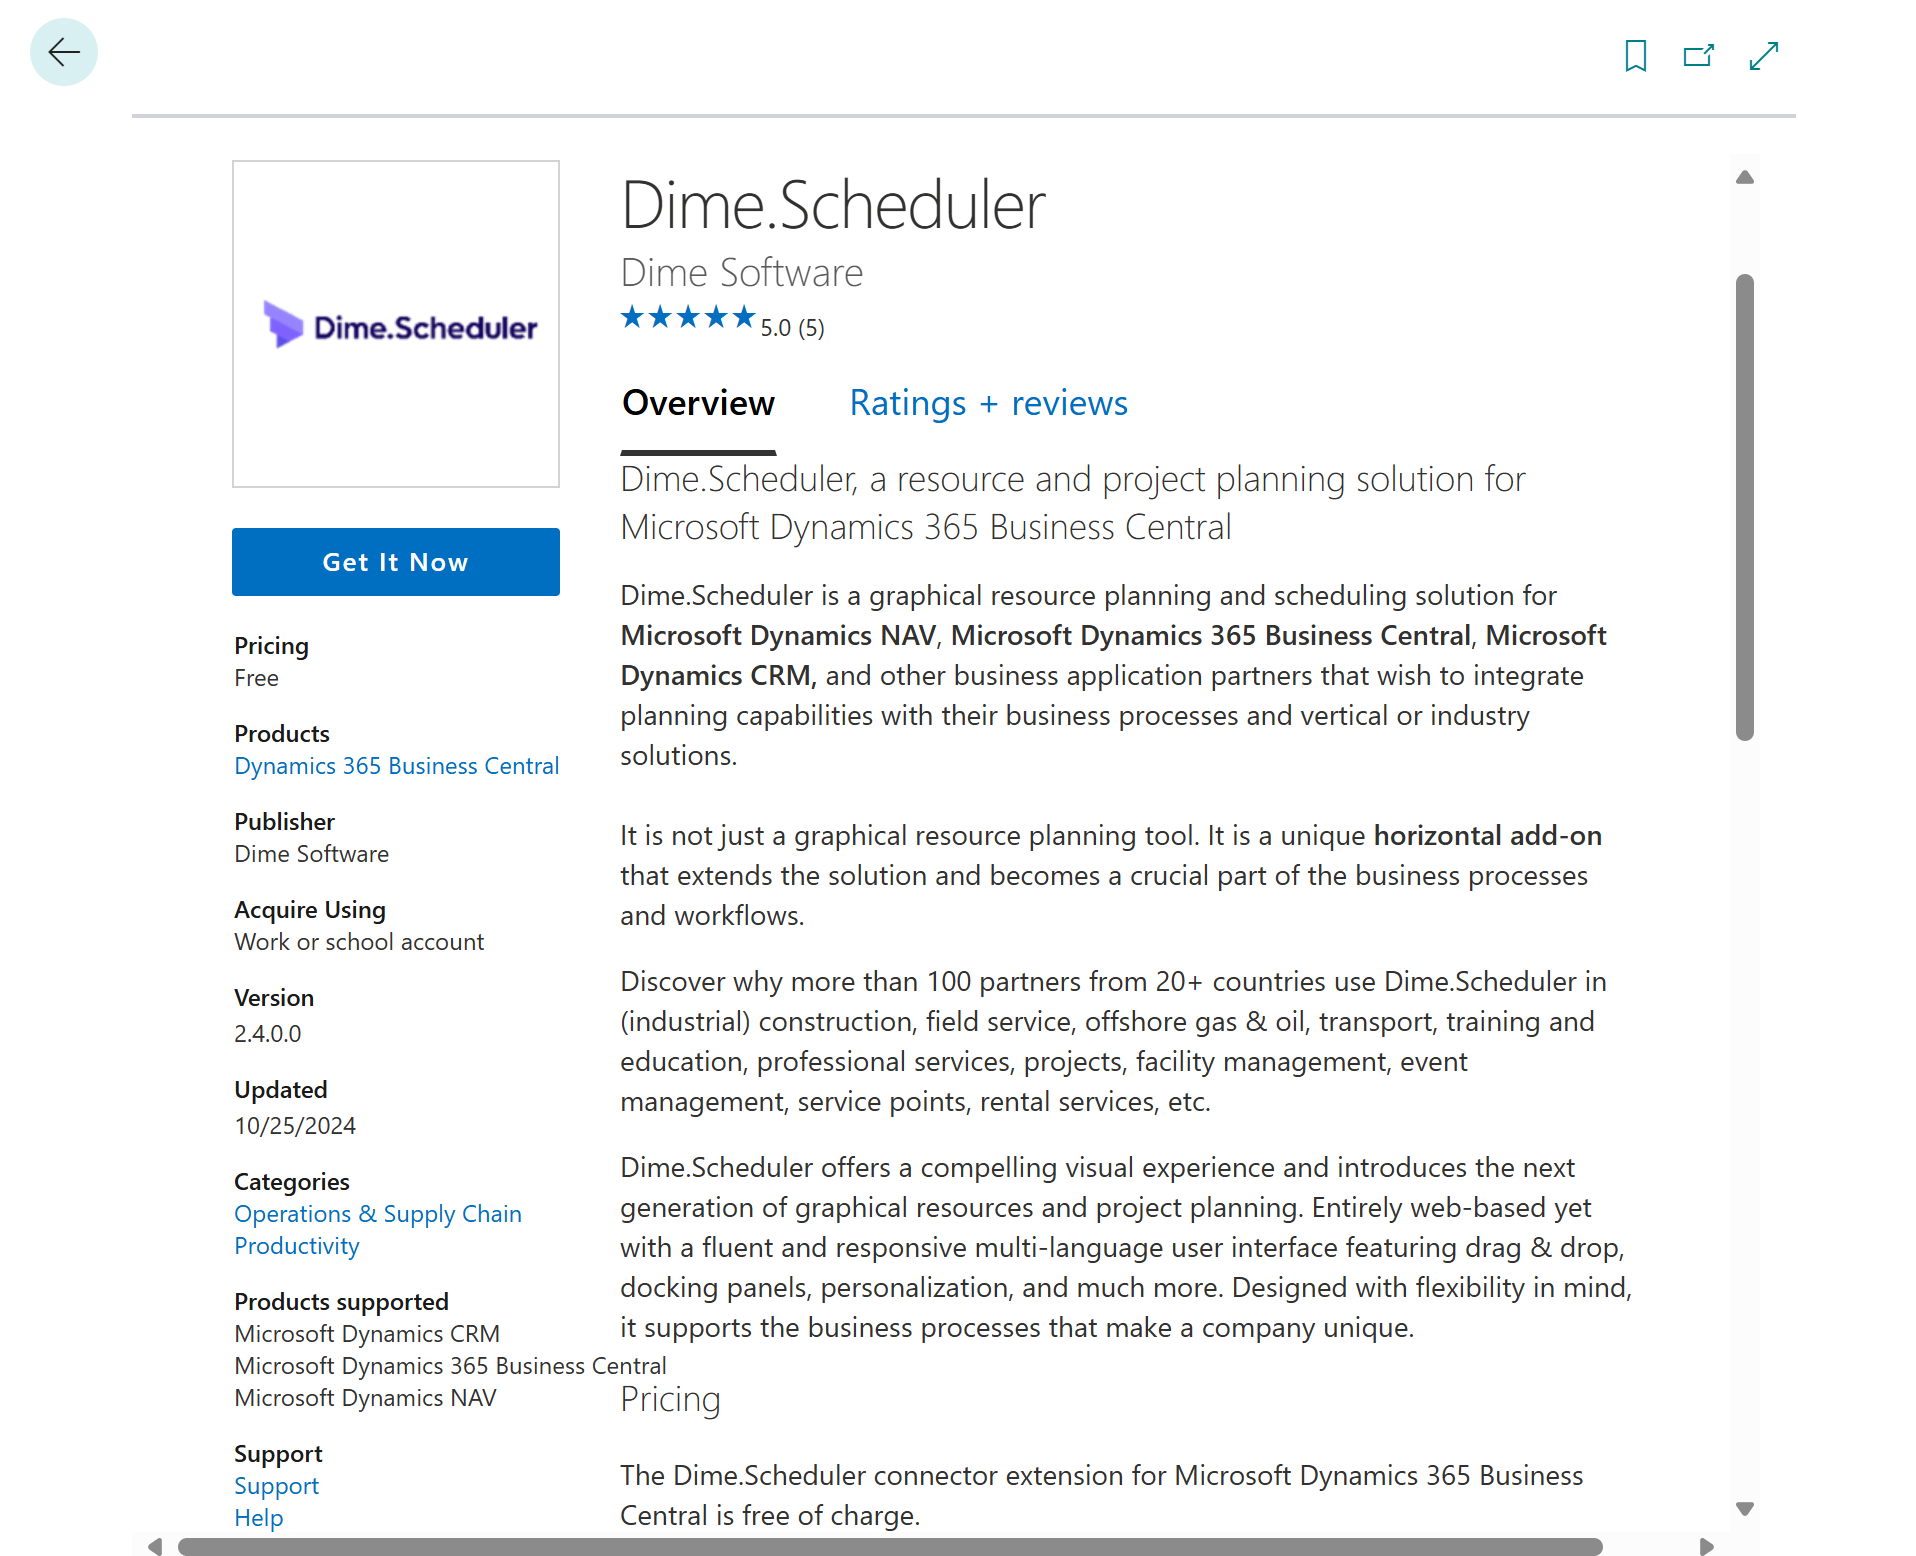
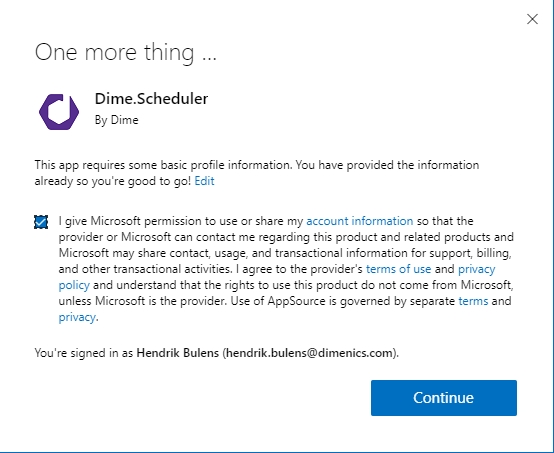
Open the card, click Get it now, tick the checkbox, and continue:
Install it
AppSource shows you every Business Central environment your account can reach. Pick the one that should host the connectorConnectorAn integration that links Dime.Scheduler to a back-office system, routing data in and scheduling decisions back out.:

Choose a language, and AppSource hands the deployment off to BC:

The actual install runs in the background. Track it from the Extension Management page - it usually finishes in a minute:

Next
The extension is installed, but it isn't connected to anything yet. The next step is the FastTrack Wizard, which uses the pages and codeunits you just deployed to tell BC which Dime.Scheduler instance to talk to. Connect Business Central to Dime.Scheduler.